


Ercol Desk with Hairpin legs
So it’s time for more of what I’ve been working on to be posted. It’s not many posts ago that I wrote about my previous my desk build. Now I really liked that desk, but we have now moved house. The new house is much older and full of character. The black office furniture is too dark for the room really and it needed to be dealt with.
I had lots of plans for what kind of desk, it started with a lego desk, then onto scaffolding boards. Finally in a complete rash purchase I ended up buying an Ercol dining table on eBay. My wife had refurbished an Ercol coffee table and I loved the shape and wood. Looking for larger ones there was one locally for an amazing price so I bought it.
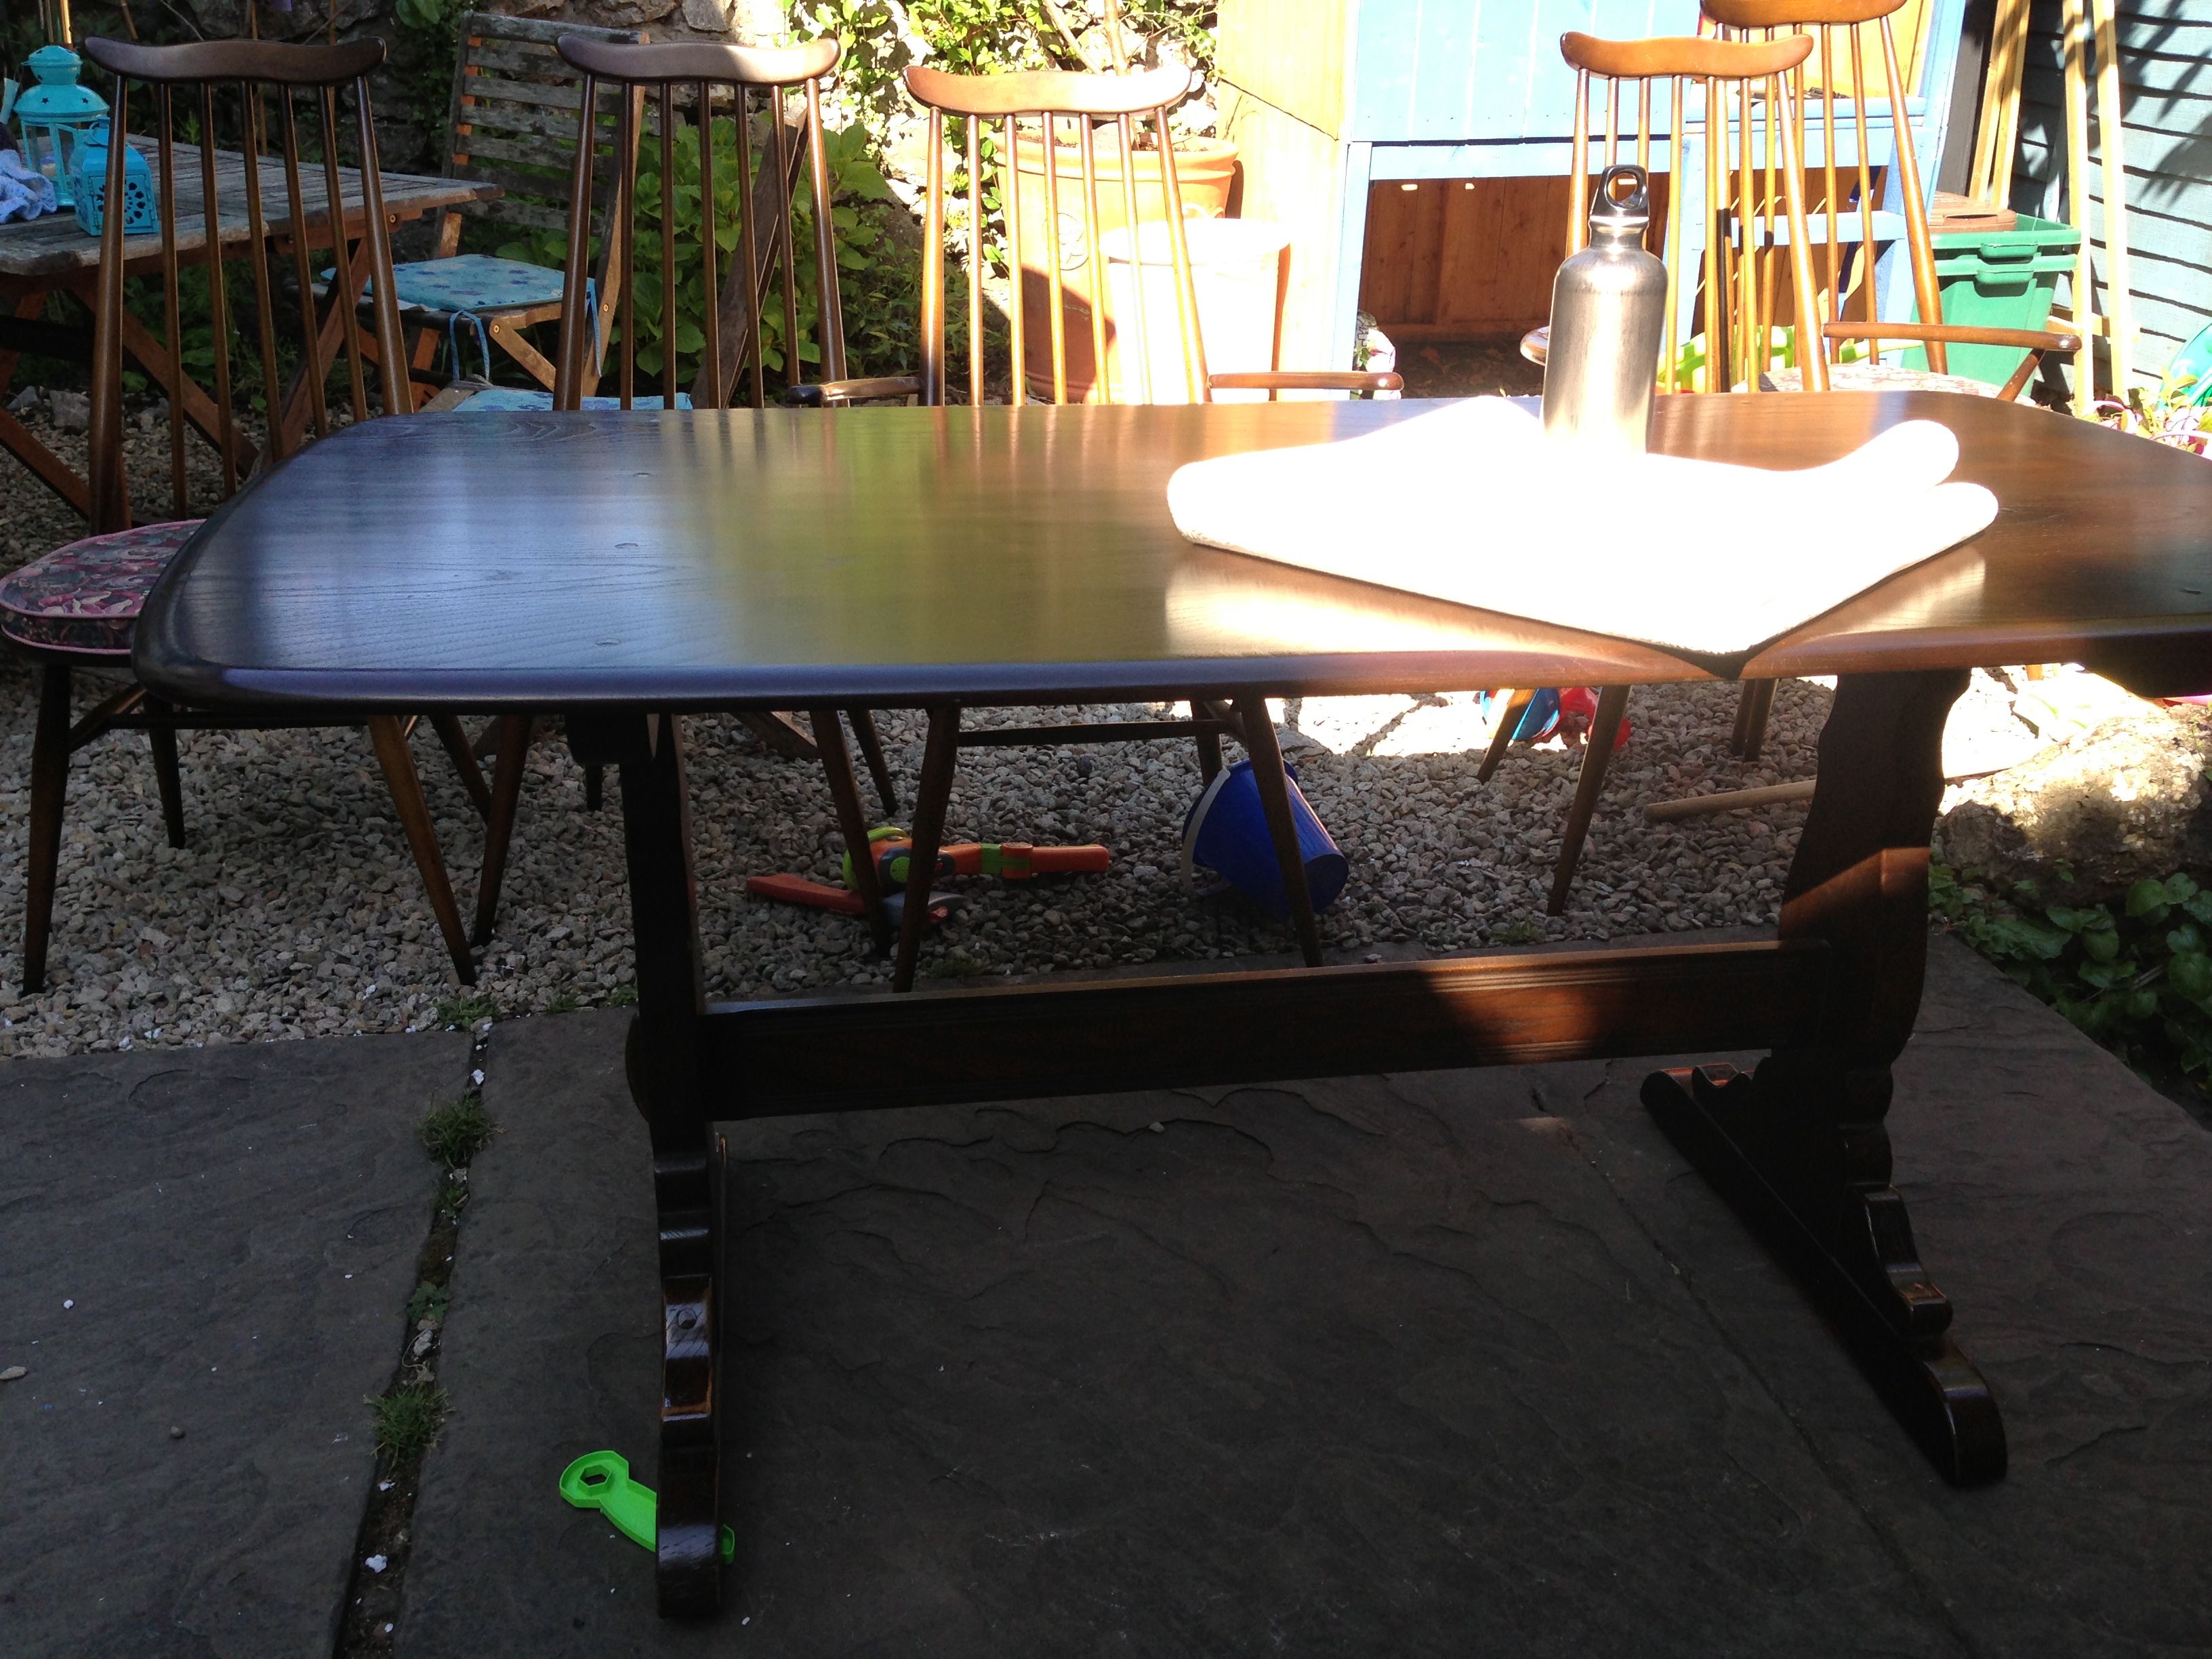
I set to work sanding the top to remove the dark stain. It took a few hours work but it came out very well. I loved the grain underneath.

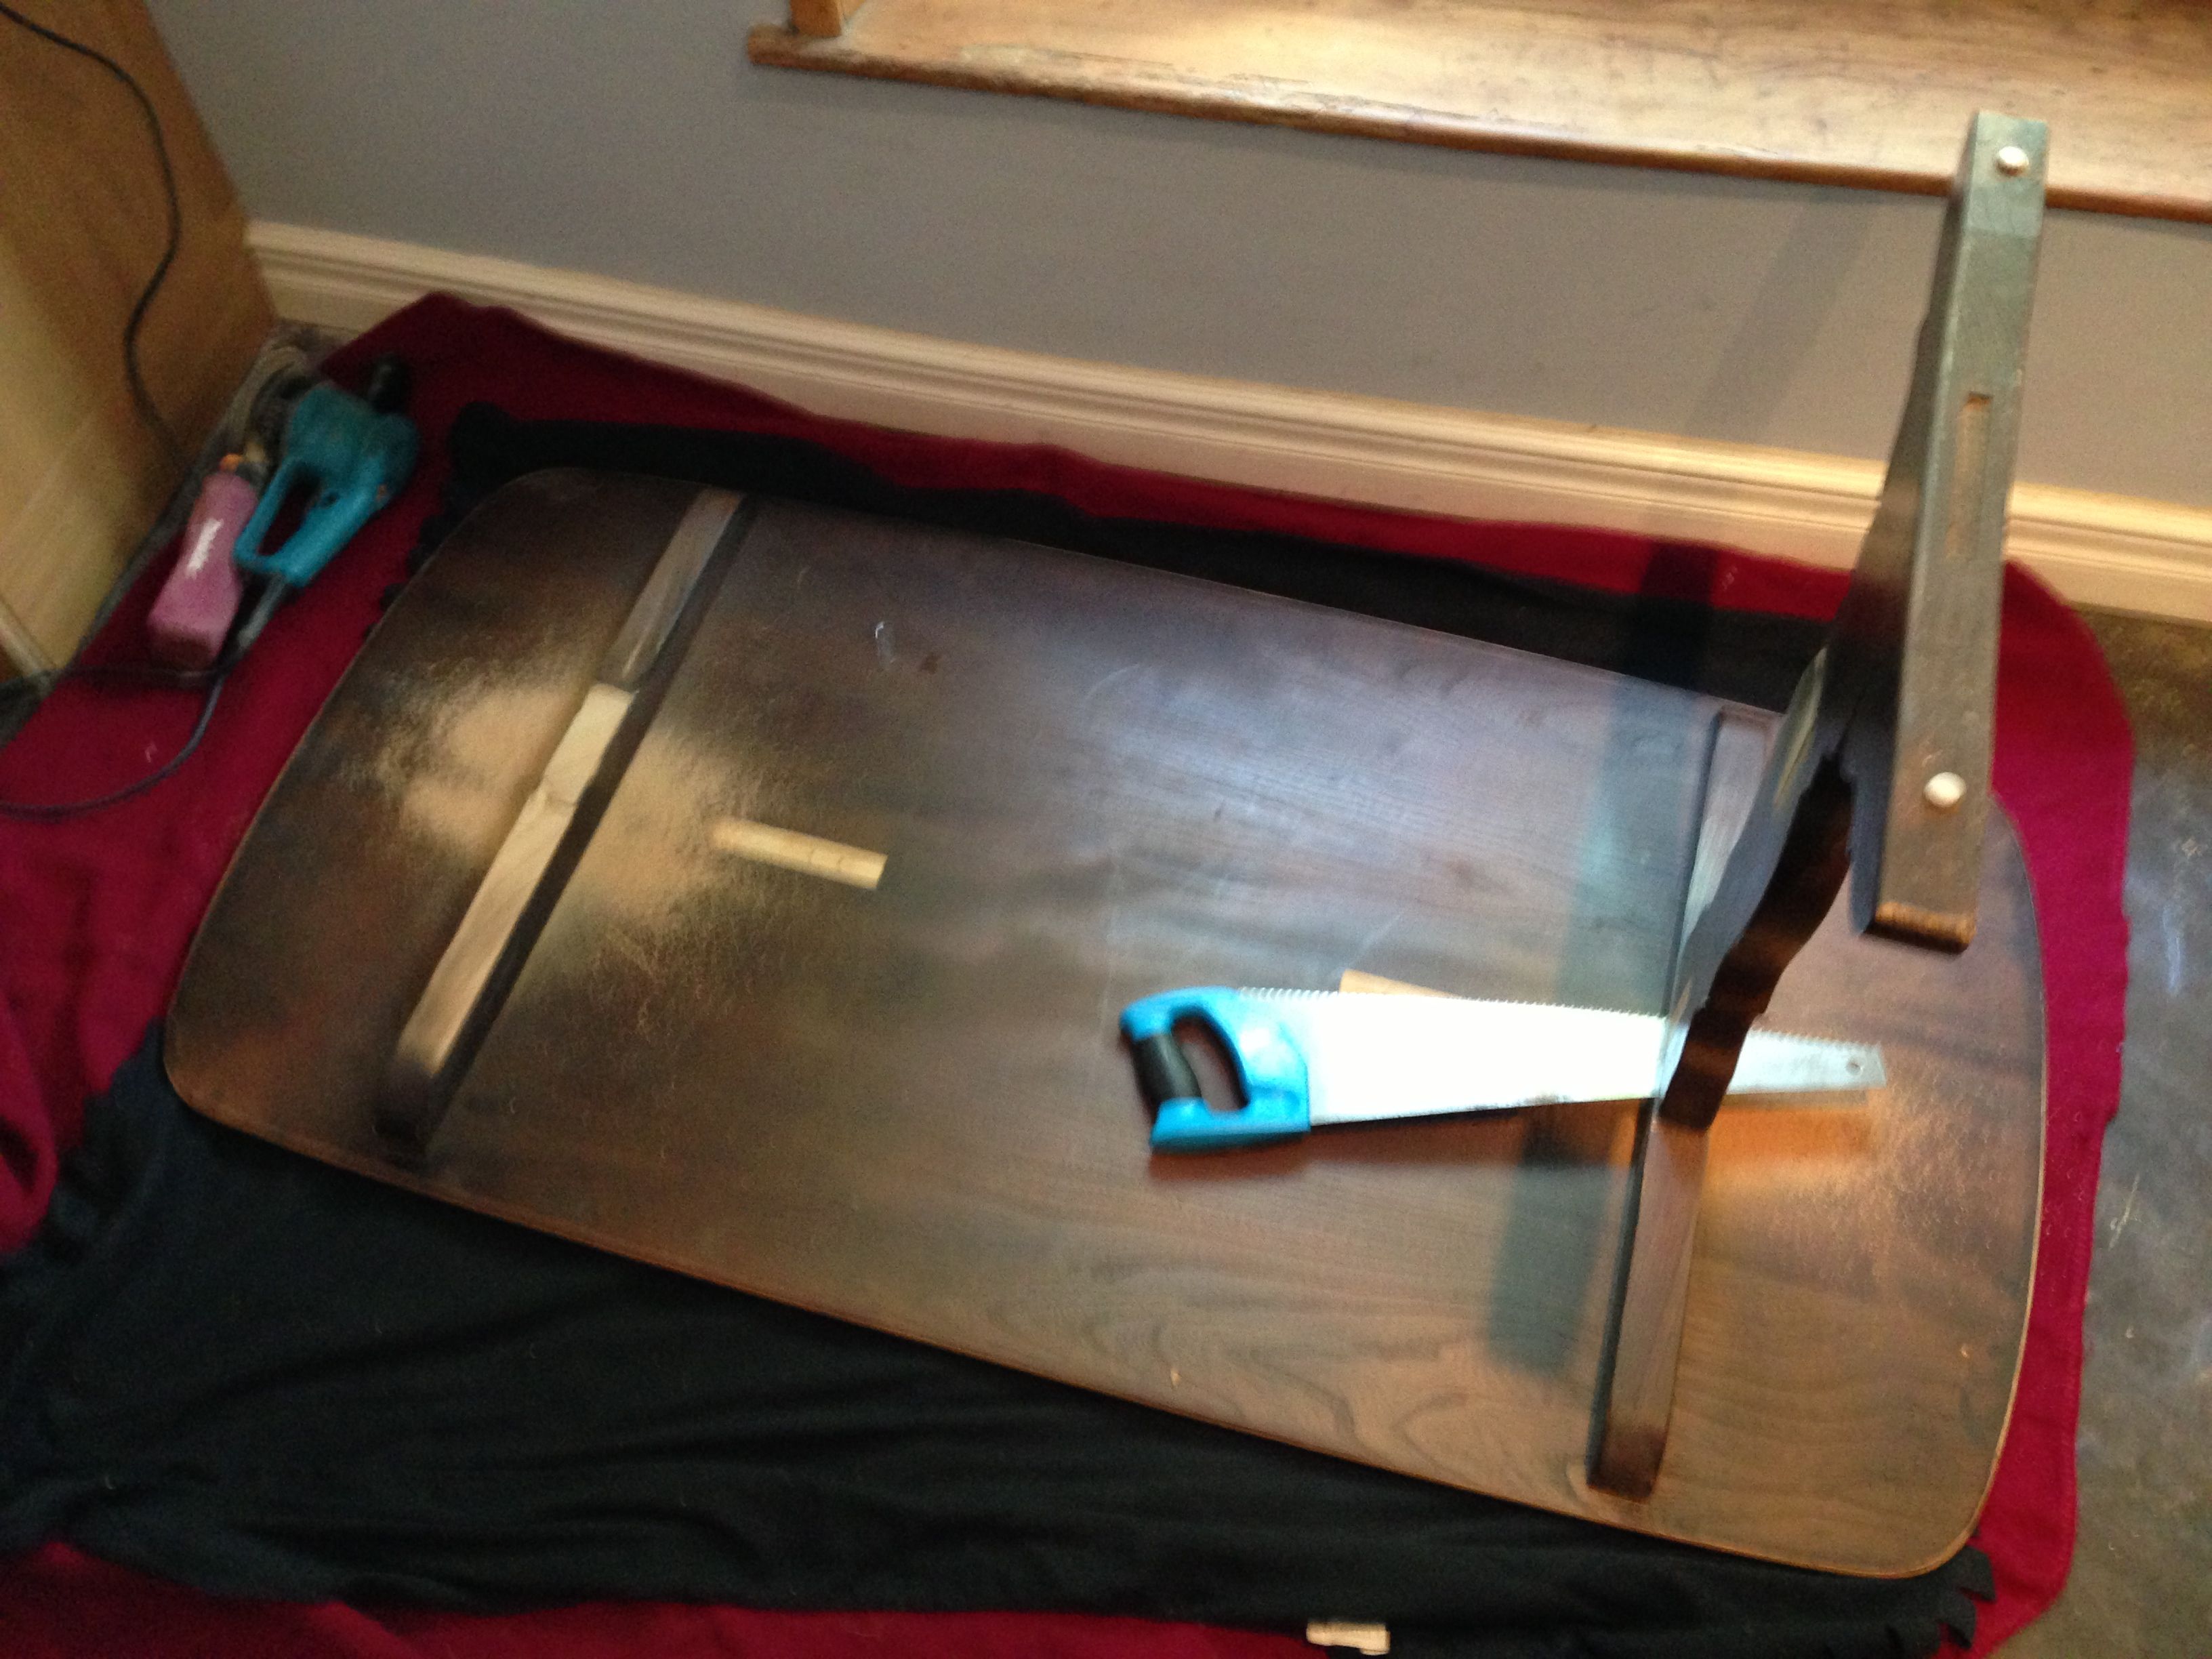
Once the table had been sanded back, the next step was to remove the original legs. These were too bulky and designed for a dining table not a desk.
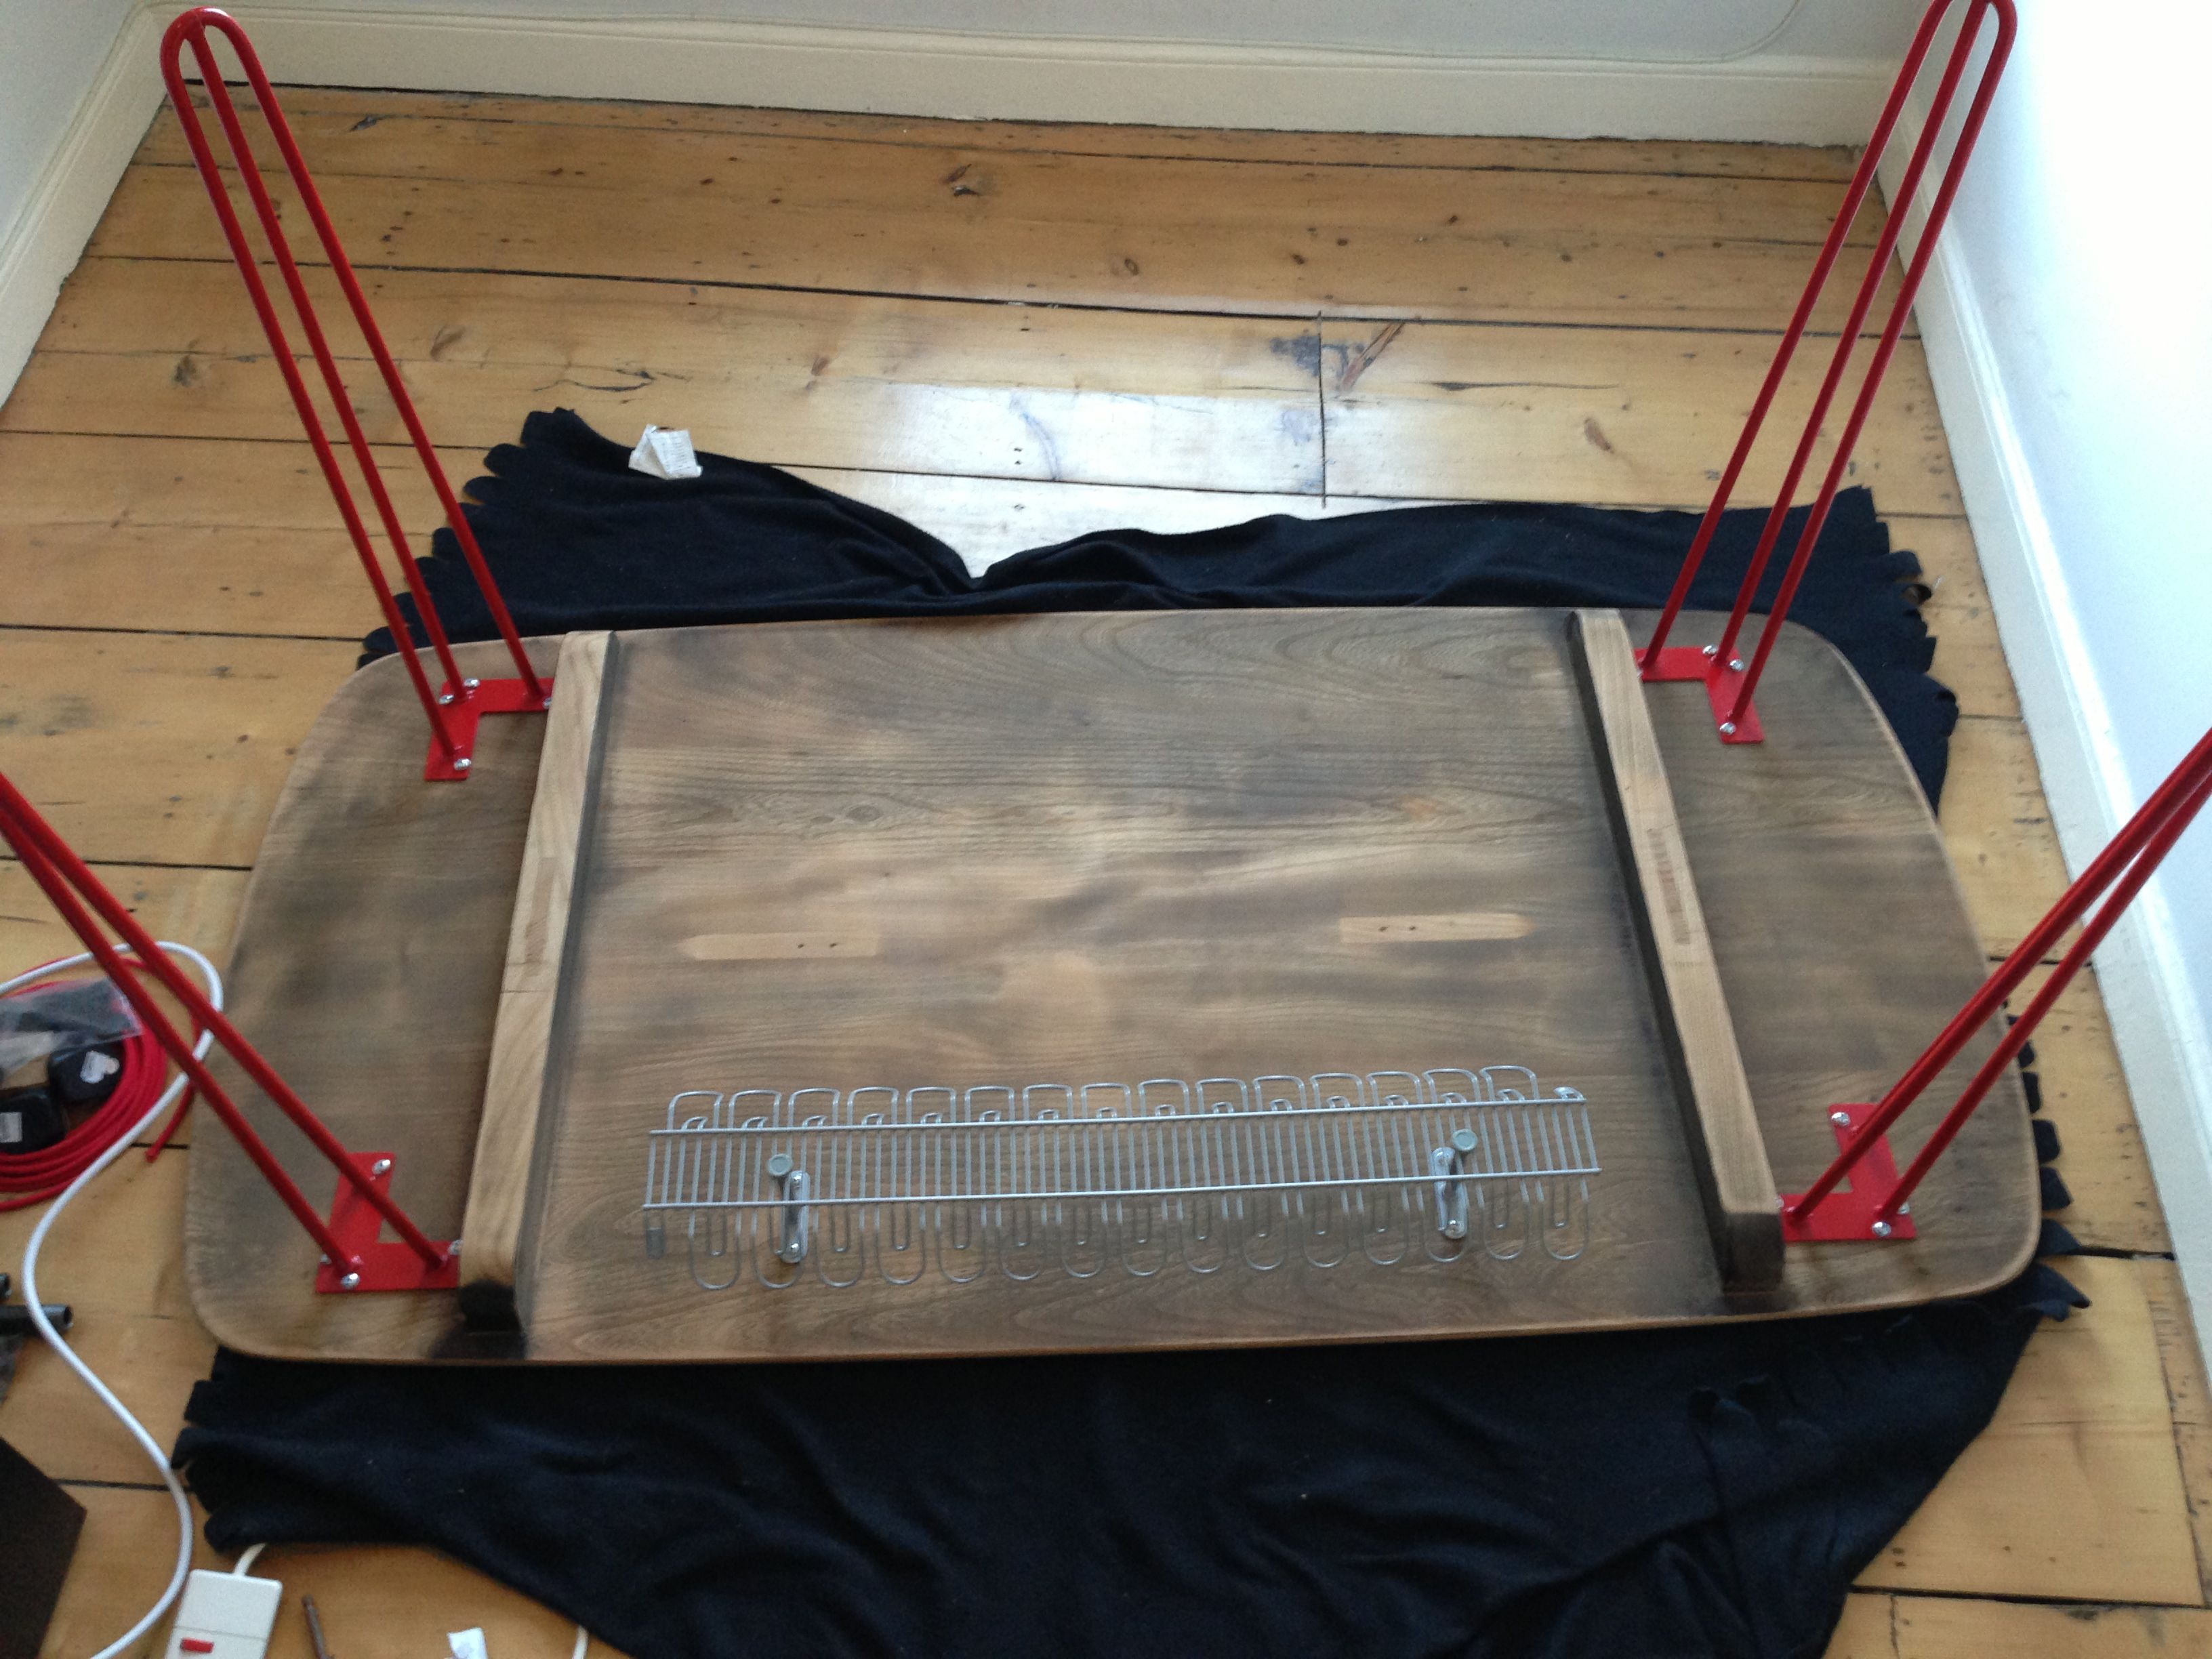
I then needed to decide what to do for the legs. I had lots of different ideas, but in the end I went for a Hairpin leg. These are beautifully designed, but are very sturdy.

They looked ace in the bare steel, but would rust over time. I therefore painted them red. This required lots of coats, but the end result was superb.

Mounting the four legs in place required some perfectly size screws, but went well. I kept the Ikea cable tidy from my previous desk to hide all the cables inside. Long term I want to paint the tray red to match the legs, but for now it will be grey.
The last job was to get all my kit setup on the desk. I’ve a vesa mount for my Apple cinema display which I screwed onto the desktop. I’ve still got many more jobs in the office to do, but the desk is up and running.

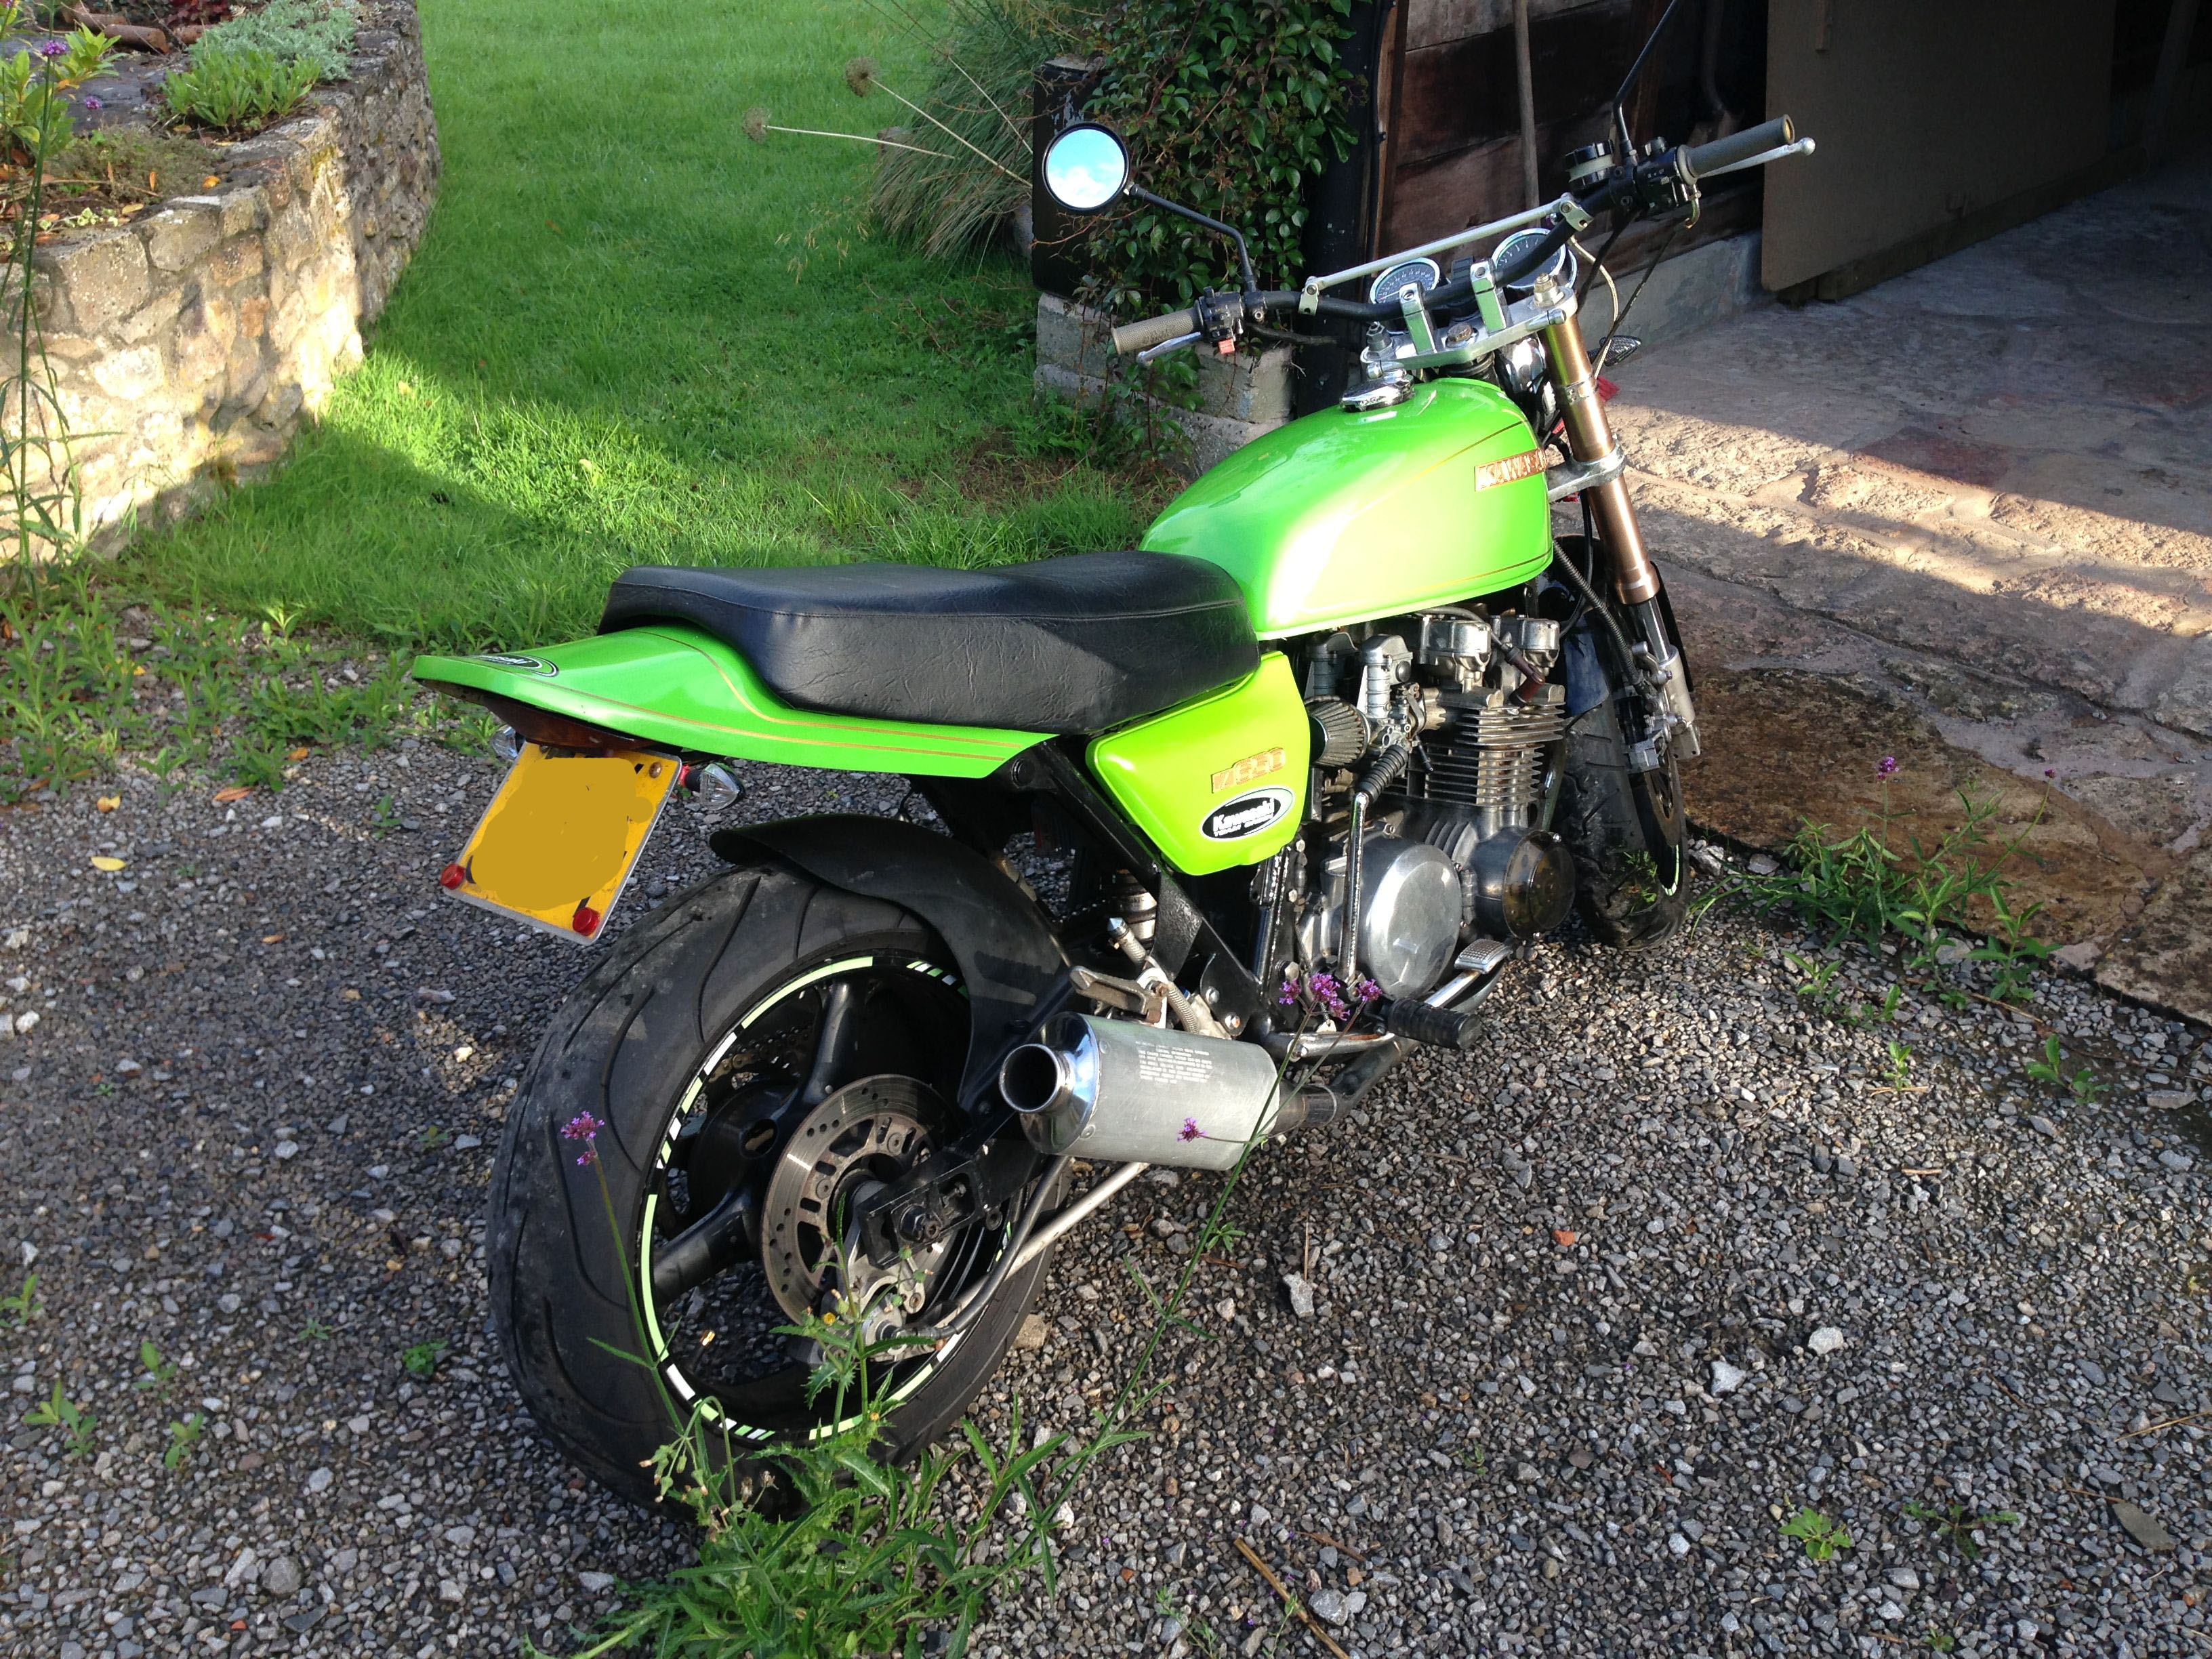
Kawasaki Purchase
Well it’s been a bit slow round here. I’ve got a few fun projects to add to the site over the next few weeks. First up though is my first motorbike. I bought it last week and I’m very pleased with it.
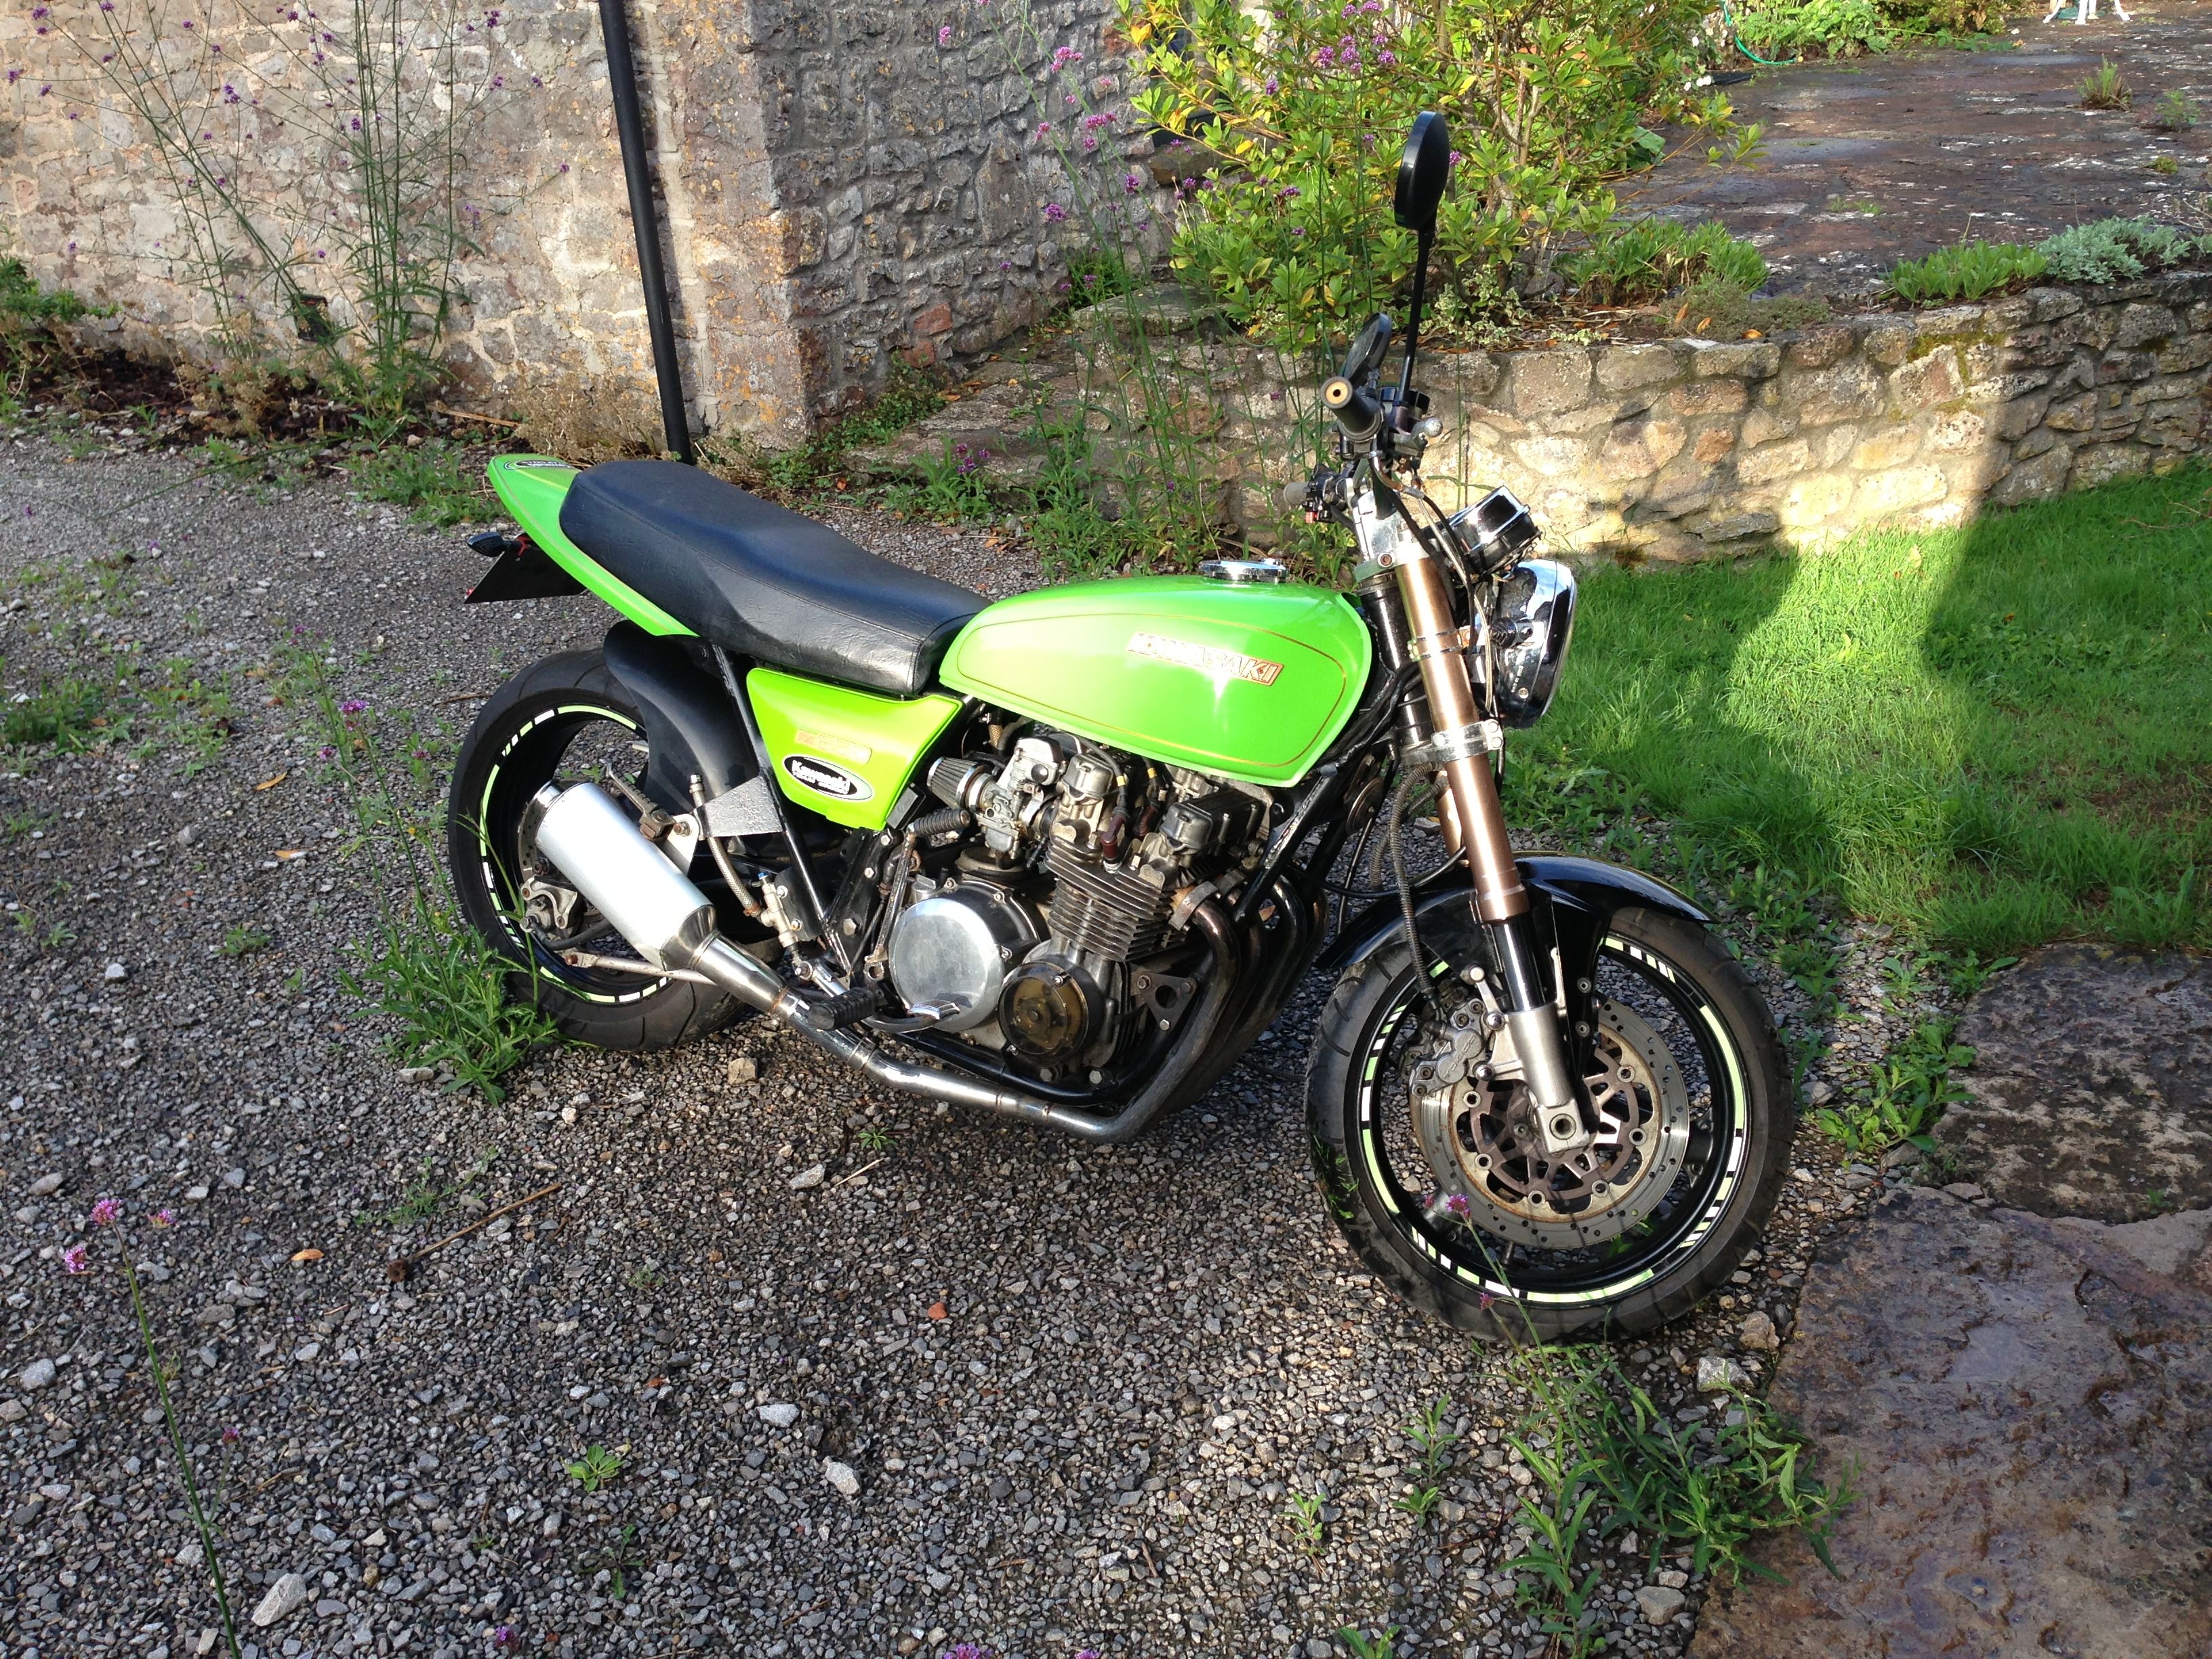
Kawasaki KZ650 Arrives
It’s a 1978 Kawasaki KZ650, though its far from standard. It’s had the front and rear of a ZXR400 added so has much better handling and braking. It’s also got Ducati monster exhausts for added sound.
I plan on modernising and simplifiying the bike, with the aim of making it more cafe racer styled and losing some of the bulk.
First off I’d like to clean up the bar area as it’s currently got lots on. I’ve a wish list of parts including the following

Motogadget M-Unit
This will clean up the tired wiring and make the whole thing much more simple.
Next will be a new speedo

Motoscope Mini
This is a tiny digital speedo, that will clean up the bars.

M-Switch
I think with these dream items I can clear the bars up a ton and clean up the current wiring a fair bit.
How to Add an instapaper button to the firefox toolbar.
I’ve been a great fan of Instapaper for a long time now. It’s a superb way of saving great articles for later reading. I am also a user of Firefox. I’ve also been using that for some years and I have customised it to fit my needs. I’ve tried switching to Chrome or Safari, but they have never fit my needs perfectly.
I used to use the great instasaver addon for firefox, but sadly it no longer works in the current version of firefox. I’d given up ever having a simple one click button in my toolbar for saving to instapaper. However I discovered a great addon called Custom Buttons.

Download and install the addon on from firefox. (I used the latest developer release from here.) Now right click on your toolbar and choose add button.
You need to add a name for the button, I chose instapaper, along with an image for the buttons icon. I used the favicon for instapaper.
![]()
Now in the code section of the custom button window you will need to add the following:
loadURI("BOOKMARKLET HERE");
You will need the code for the instapaper read now bookmark. I just copied and pasted mine where it saves “BOOKMARKLET HERE”. Hit Ok to save the button and you can now add it to your toolbar.
Any questions grab me on twitter
A router to go with an Apple Airport Extreme
Up until last week, I have always had one model or other of a wireless netgear router. I’ve found the netgear routers work really well and are easy to manage. However with my purchase of a 11in Macbook Air, I needed someway of sharing files without my Air being at home all the time. I’ve used various NAS drives and even an HP Mediasmart server for this role, but I’ve never found something that fits my needs.
I’ve always looked at the Apple Airport Extremes as a nice choice, but the price has put me off in the past. However I bit the bullet on one to get the best Wifi speeds I could with the Air’s Wifi only specs. I thought I would try it out and try out sharing using it for a week and see how it went. I was most impressed. However it has one major downside. No integrated ADSL modem. I was using my existing Netgear router for that, but it seemed overkill. So I picked up a 2nd hand Netgear DG834 wired router off ebay. I had it in my mind that I would use this in addition to the Airport Extreme.

Whilst I was waiting on the router to arrive, I got to thinking that it would be nice to have some that matched my Airport Extreme or at least didn’t take up more space. I hit upon an idea, what if I put the routers circuit board inside a matching hard drive enclousure?
I’ve had an old Lacie Mac Mini Companion drive in the loft for a while and thought it may work.
 After taking apart the router and the lacie mini I tried for the first time to fit the circuit board of the DG834 into the space. It fitted to the milimeter. I couldn’t believe my luck.

I then took some plastic standoffs and glued them in place using hot glue. These would hold the router circuit in place. I next needed to expand the holes at the back of the enclosure to allow the cables to exit the router.


It is a bit rough and ready, but does the trick. It won’t be seen from the front anyway. I then built the enclosure back together.

With that done it was time to put the router in place and see how it worked. You can see in the above shot, that I put some extra spacers above the board. They give the board more support when the lid is in place.

It sits underneath the Airport extreme very nicely. It required a bit of tweaking of cables, but it now stays in position perfectly. The hard drive next to it is the one I store all my films/music/etc on. The added bonus of doing this is that the Airport extreme and Netgear DG834 seem to run much cooler. They are shut in the cupboard 24/7 with no issues. So finally my fast silent way of sharing files is done.
New Desk Completed
Well it took me a bit longer than I thought. Mainly because the stain took far longer to dry and needed more coats that I planned. I’ve now had the desk in place for nearly a week and it’s great. It is a little bigger and much more sturdy than my previous one. I feel much more relaxed having a giant Apple Cinema Display on top of it.
Ok so how did it come together. After staining the desktop, and the shelf along with some wooden shelving brackets. I cut the shelf down a little bit so that I didn’t hit it with my knees. I then brought all the bits into the house for the final build. (It was far to cold outside for trying to do it in the garage!
I had some issues along the way, firstly the desktop had bowed quite a bit in painting. I assume this was because I left it drying on a workbench. This didn’t support the desk as widely as maybe it needed. I was thinking that I would need some strengthening struts to fix the bow, but in the end the metal supporting strips could be adjusted. I got the whole family to stand on the desk whilst I loosened and re-tightened each one. Fun for all the family!

Desk with Legs in Place
The next step was to attach the legs, then decide where to mount the shelf. I decided to follow the lead from my previous desk, which meant shortening the shelving brackets to make them fit.

Shelf in Place
Sorry for the poor pictures, I took them in bad lighting on my phone.
The next job on the list was to add some mounts for the power strip on the shelf and add the cable cage to store all the cables out of sight.

Desk cable system in place.
With the cable tray in place it was time to get the old desk out and new one in. I had to remove the legs to get the new one in, but I had planned for this. I then spent ages getting my kit back in and tidying cables. With the desk in place no cables can be seen underneath and only the iphone dock one is visible on the desk.

A Blank Canvas
In the next day or two I will try to take some new shots with everything in place. I need the tripod to get better shots than I have already.
Desk progress
Well progress on the desk has been slow. Mainly as it is so cold in the garage. Because of this the stain is taking longer to dry. Most of it is now done so hopefully there will be some building happening this week.
Here is a quick shot of the shelf drying.
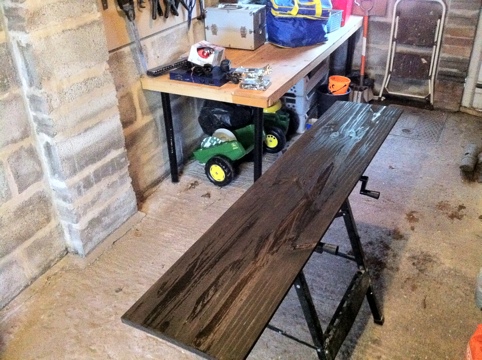
This second shot is the desktop drying.

Apple’s Support
As most people who know me in person know, I’m a bit of an Apple fan. You only have to take a look at my desk to tell what a sucker for apple kit I am.

I’ve owned lots of Apple products, and I’ve yet to be disappointed with one of them. I’ve also loved the Genius bar service when I’ve needed them.
Two weeks ago my beautiful Apple 24in Cinema Display had to be taken into my local Apple store. It had been suffering from strange cut outs in sound. So I booked a genius bar appointment and took it in. The Genius was very helpful, booking it in for repairs, but I took it home to use it until the parts arrived. A day later I took it back in for the repair. It was all so easy. They fixed it on a Sunday so I could collect it on the Monday.
Sadly however repairing the logic board failed to fix the issue, so I took it back in the following week. They tried to fix it again, but in their testing they could replicate the issue so it hadn’t worked.
Normally at this point I’d be worrying about what the company was going to do about my issue, however with Apple I was positive they would sort things out.
Now seeing as the 24in ACD is no longer made, the genius’s couldn’t give me a replacement. So they said right we will replace it with the 27in model instead! Now the 27in ACD is far more expensive and a massive upgrade. I was over the moon!
I’m now typing away on my mac mini using the new 27in ACD. It’s simply stunning to behold! And of course massive!
So top marks for Apple and in particular the Cribs Causway Apple store staff who were superb.

There is only one downside to the new 27in ACD and that’s me wanting to pair it with an 11in Macbook Air! Ah Gordy you nugget.
New Desk Time
I’ve had various desk over the years. From shop bought ones to ones I’ve made myself. I’ve enjoyed making them very much in the past, but for my new office I decided to buy one from Ikea instead of making one. The upside to this was the cost and speed. The downside it wasn’t exactly what I wanted.
With my new setup I had a Humanscale M7 mount for my then Apple Cinema display. However the construction of the IKEA desk wasn’t good enough and the desk started to bend in the area with the vesa mount met the desk. I hate to think what my new 27in ACD would have done to it!
So with my lovely wife wanting to take a trip to IKEA for some storage items, I decided to take a look at the desk options again.
I came back with the following
A Vika Furuskog desktop

IKEA Link
It’s a large solid pine desktop that is nice a chunky. No more terrible particle board desk for me.
I then picked up 4 Vika Curry legs in red as I wanted to bring some more colour to the office.

IKEA Link
I also took a trip to B&Q to collect a shelf. I’m going to mount this to the underside of the new desk to hide the cables behind.
The first step is to stain the desk and shelf. Currently the shelf has had it’s first two coats with a third to come.
I will post a progress report when I have some.
Twitter background fun
I’ve spent some time today having a play with twitter. In particular I’ve looked at the design options they give.
At first it seemed fairly trivial, however I was soon forced to have a rethink. The main issues I had were twitter reporting odd errors when uploading fresh background images. Along with the variations caused by browser size differences. To get a good looking background with some features on the left was hard without ignoring smaller browsers. Looking around at other people with wicked backgrounds it’s clear they had the same issues.
I’ve always wanted a cartoon version of myself and it took so little time I was stunned. I used WeeWorld which seemed the easiest and coolest looking that I found on a quick search. I believe the result is instantaneously recognizable to those who know me.

Next up it was a case of finding a nice font to use for the text. Luckily I had seen a twitter post with some nice fonts from my nice Sister in Law Celia.
In the end I also changed some of the template on the blog too I liked the font that much!
I’m quite happy with the end result here on my twitter
