


Speedo Bracket Fitted
I’ve managed to do a few more bits on the bike. I’m awaiting a few more parts before I can the last few bits done before getting it on the road.
I’ve fitted the speedo bracket into place using the existing bolt holes. I was going to paint it, but actually it looks better in silver. So I’ve left it like that for the time being. I plan on changing this in the future when I get rid of the ignition switch for an m-switch.


I’ve rewired the front brake switch to something less dodgy. I’ve also ordered a new headlamp.

It’s smaller than the current one and has led’s in a ring. That should look nicer and be safer.
Wiring Hell
So, it’s been quite some time since I have updated this thread. I have made some progress on the bike. However not as much as I’ve hoped for. It’s still not on the road, but closer than ever!
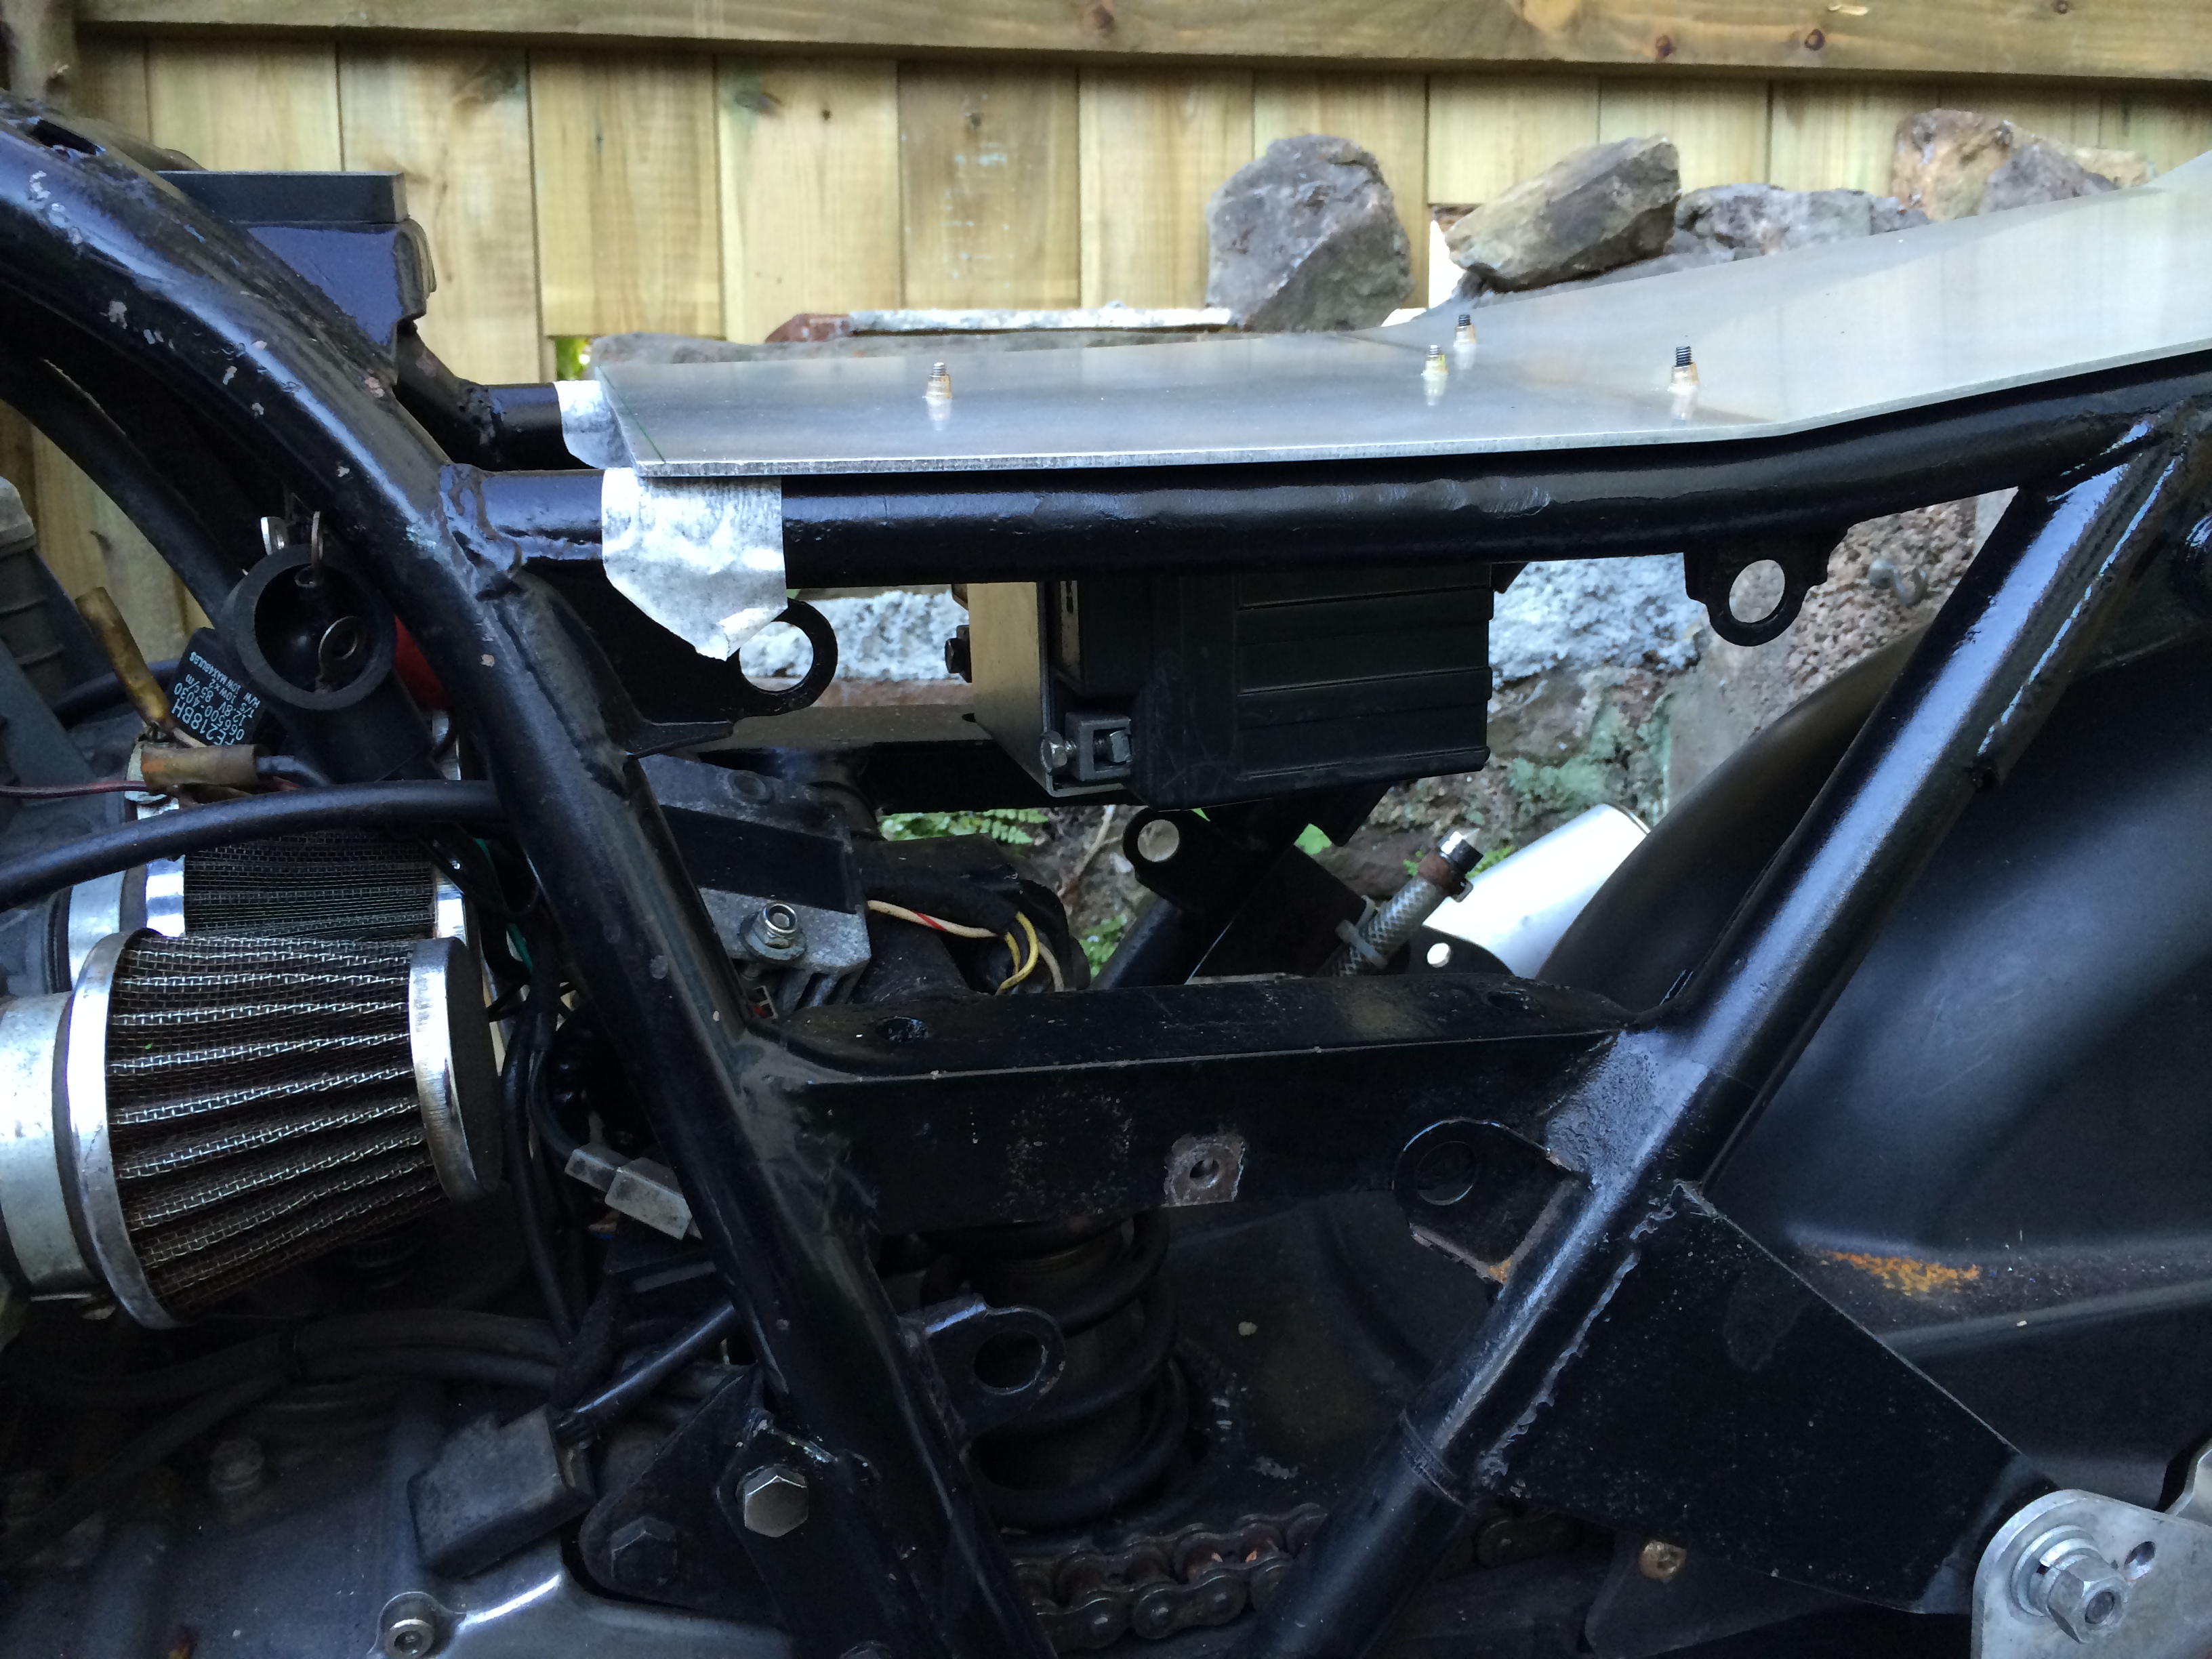
The major issue has been some wiring gremlins. Some caused by me and some caused by some shoddy work in the past. I got a couple of wires wrong when hooking up the new controls, which I fixed quite quickly. However there was a very bad short which caused smoke to appear from near the speedo and fry the main fuse. After much poking around with the multimeter I realised that the speedo wiring was to blame. I found a really awful mess of cables hidden under some tape. Really really shoddy work, some of which was touching the frame of the headlamp and causing a short. So instead of waiting to fit the new speedo I’ve ripped out the old dials and wiring and started doing it now, as the wiring would have taken ages to fix properly.


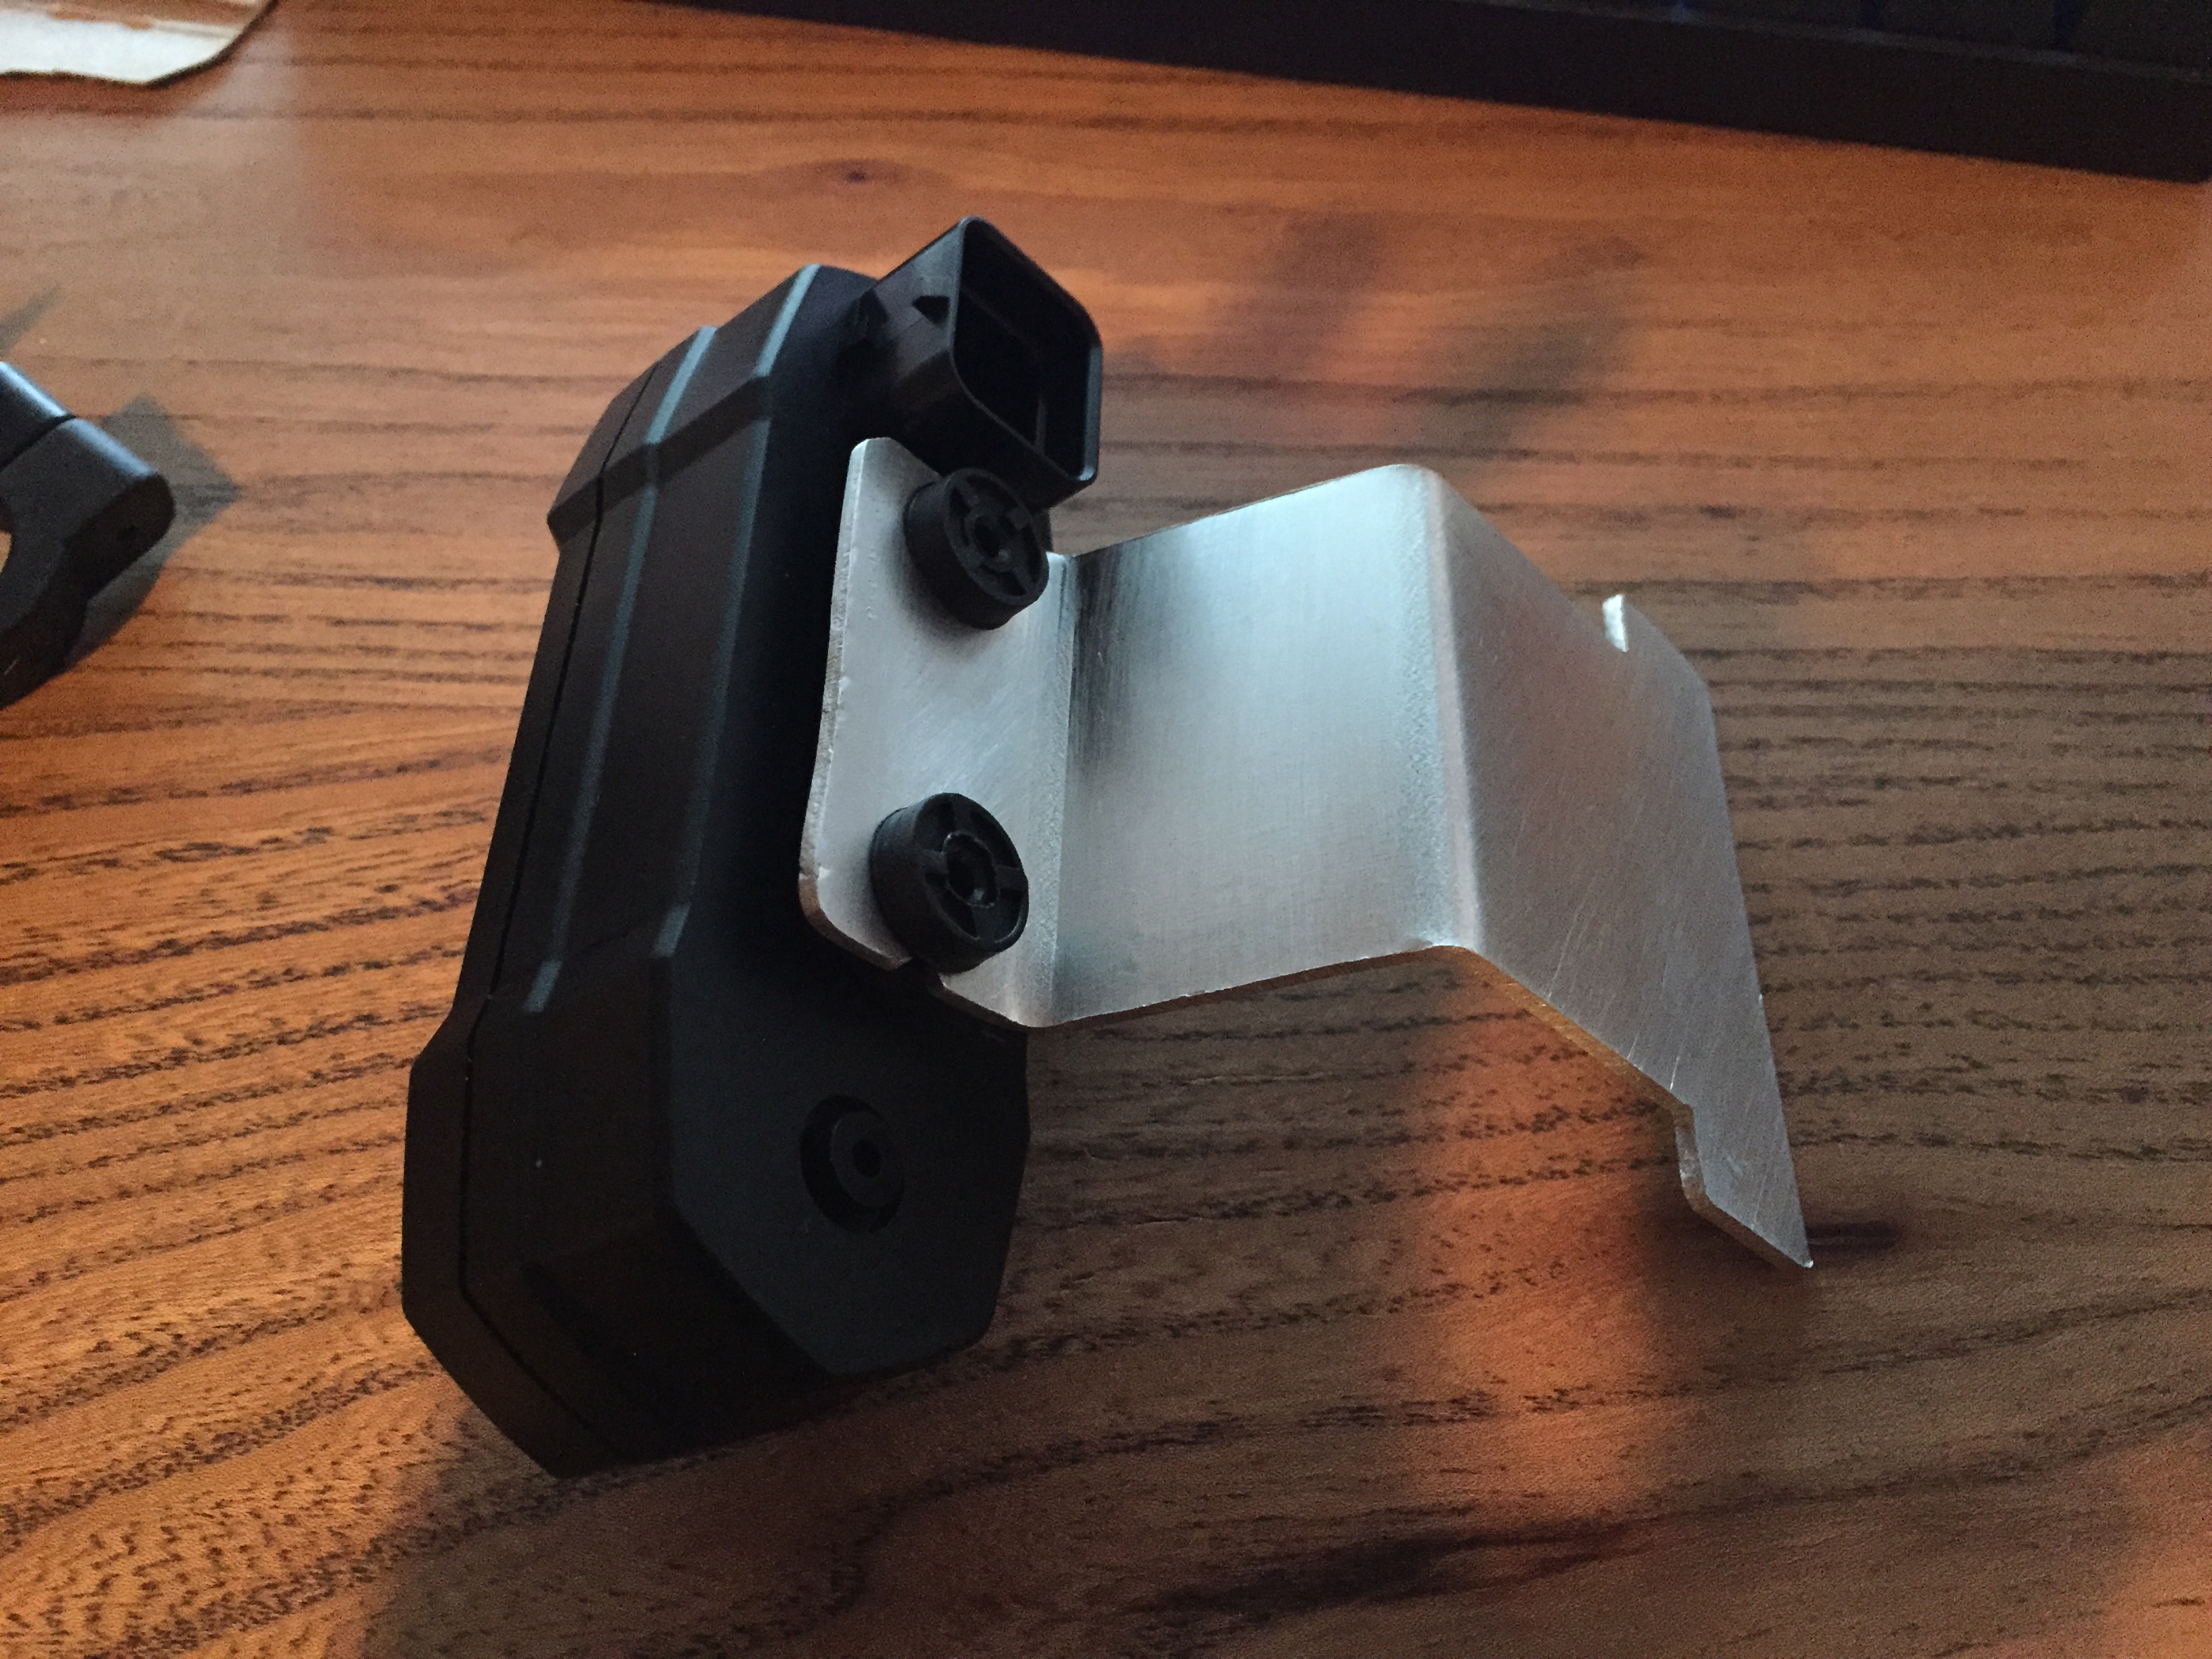
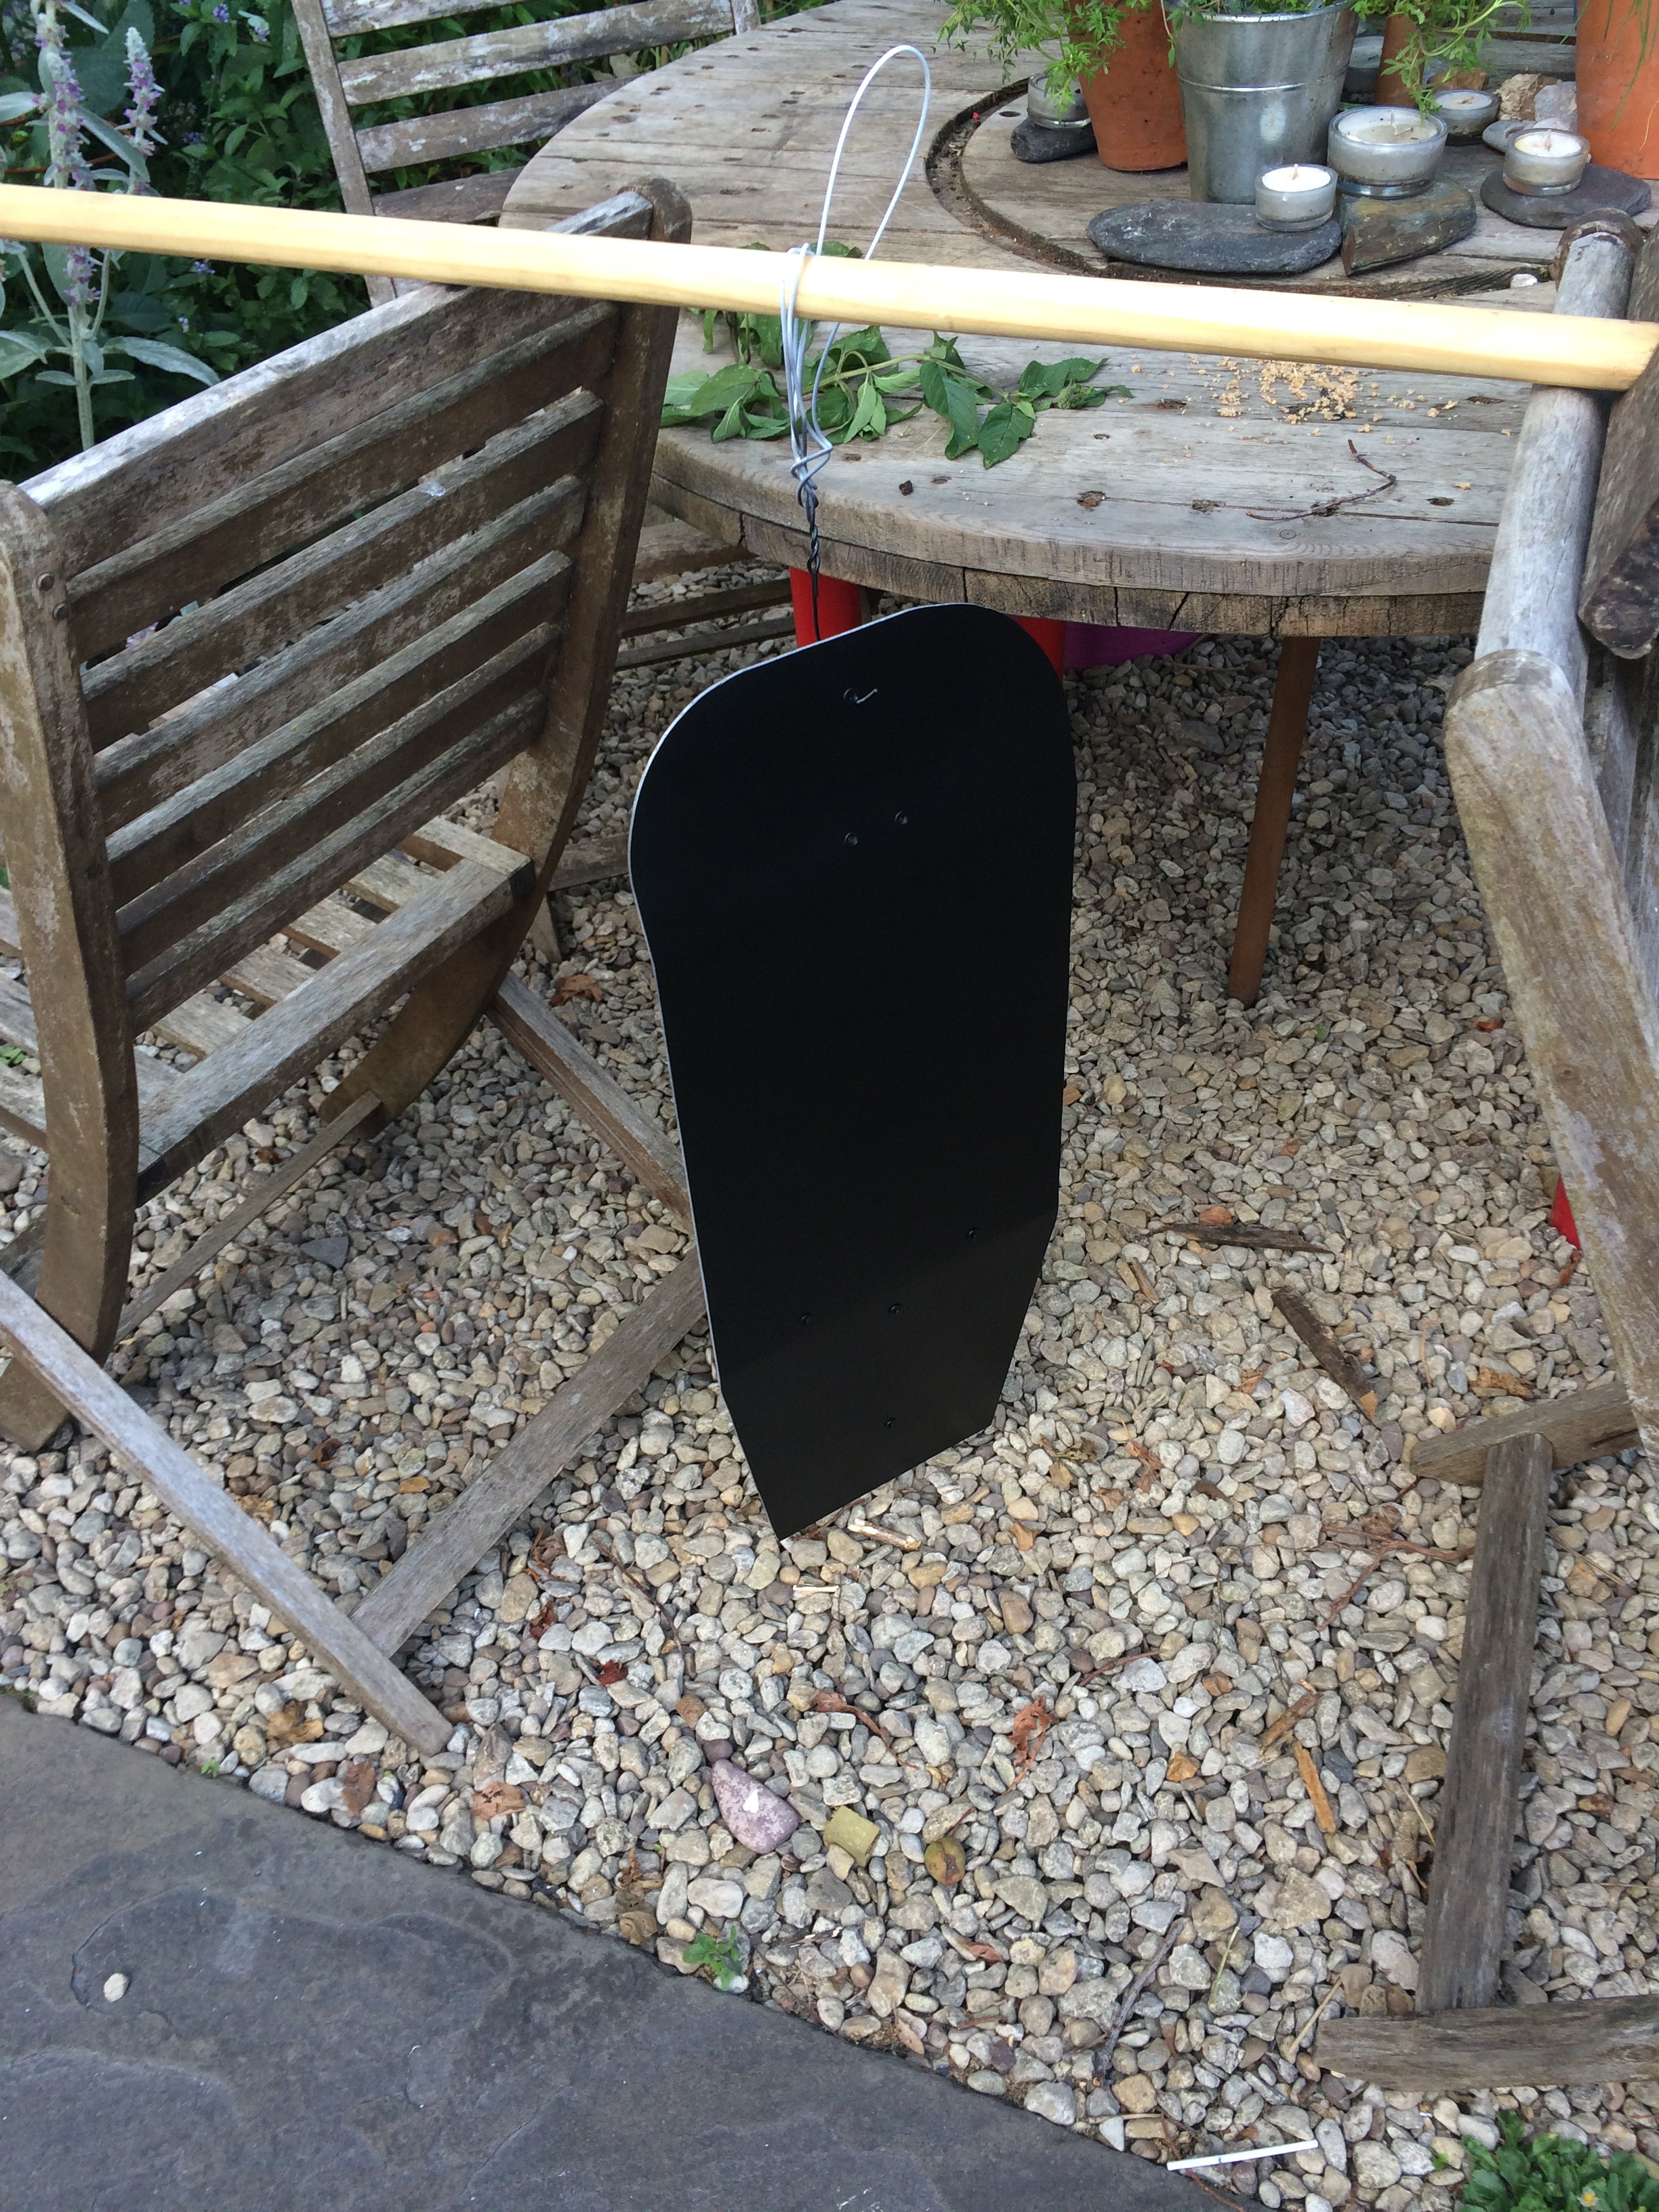
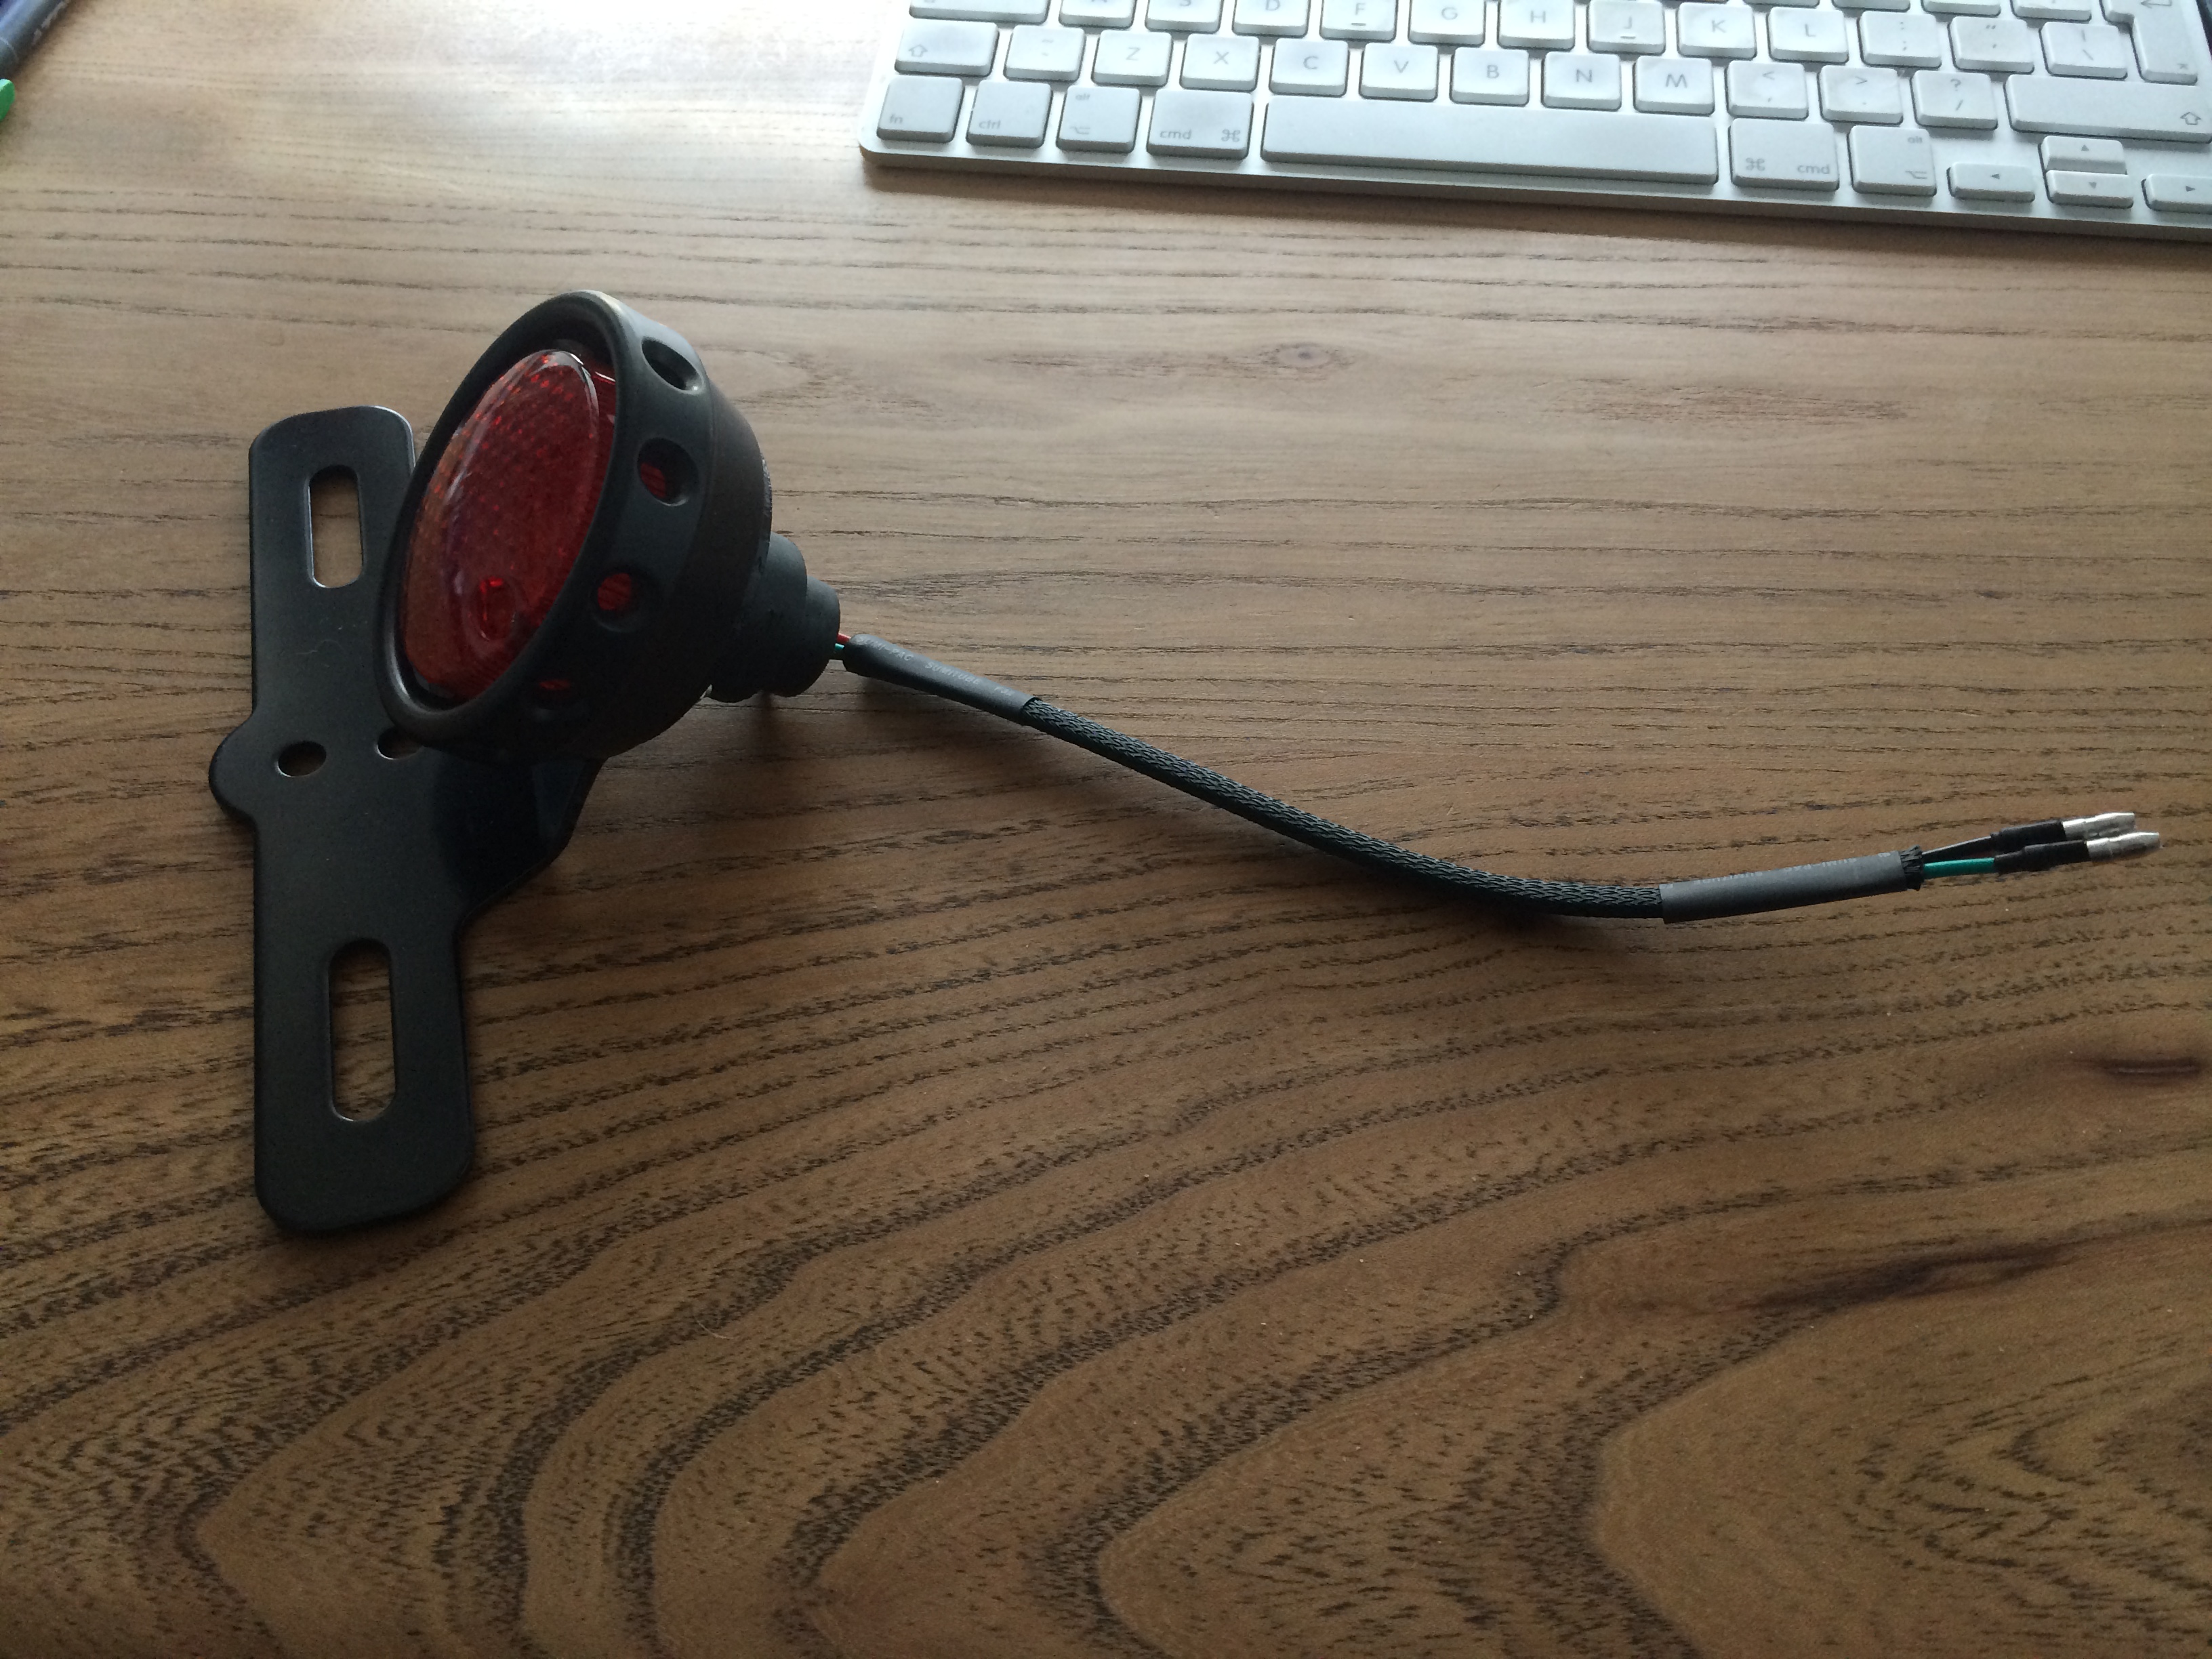
Next up I needed to create a bracket to mount the new speedo in place.
Here it is as it sits now, it needs painting and preparing, but I’m very happy with it.

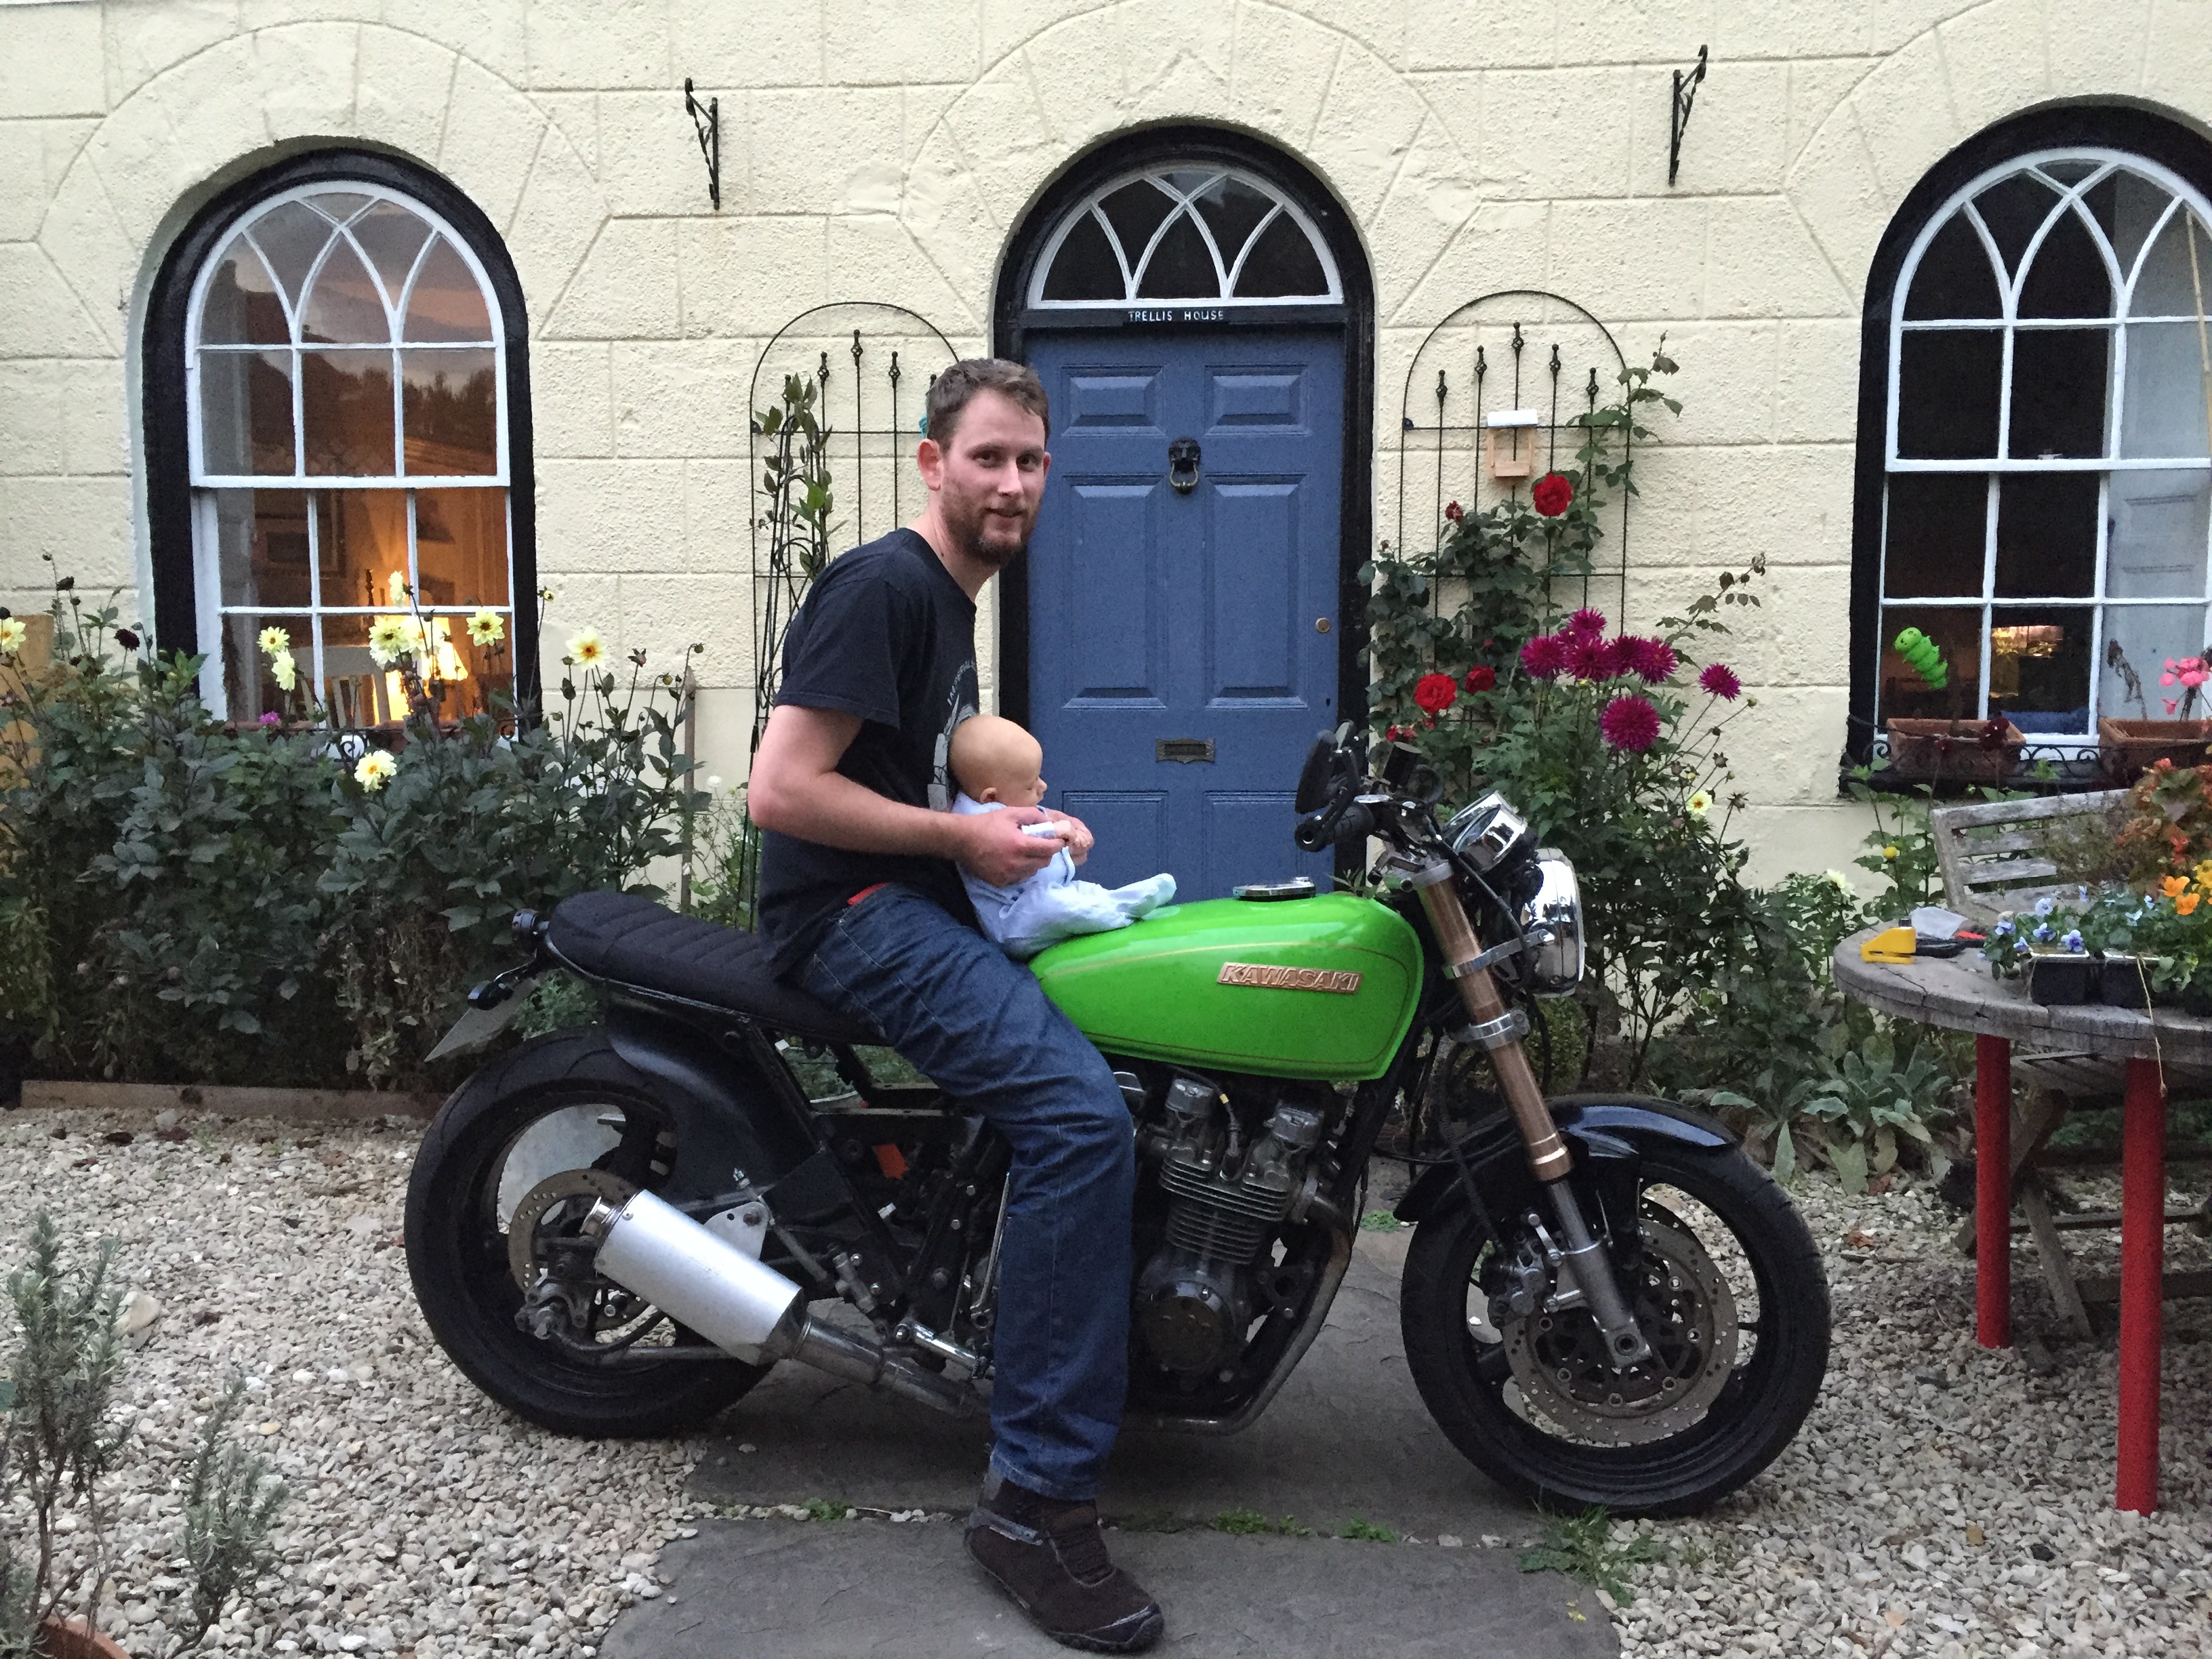
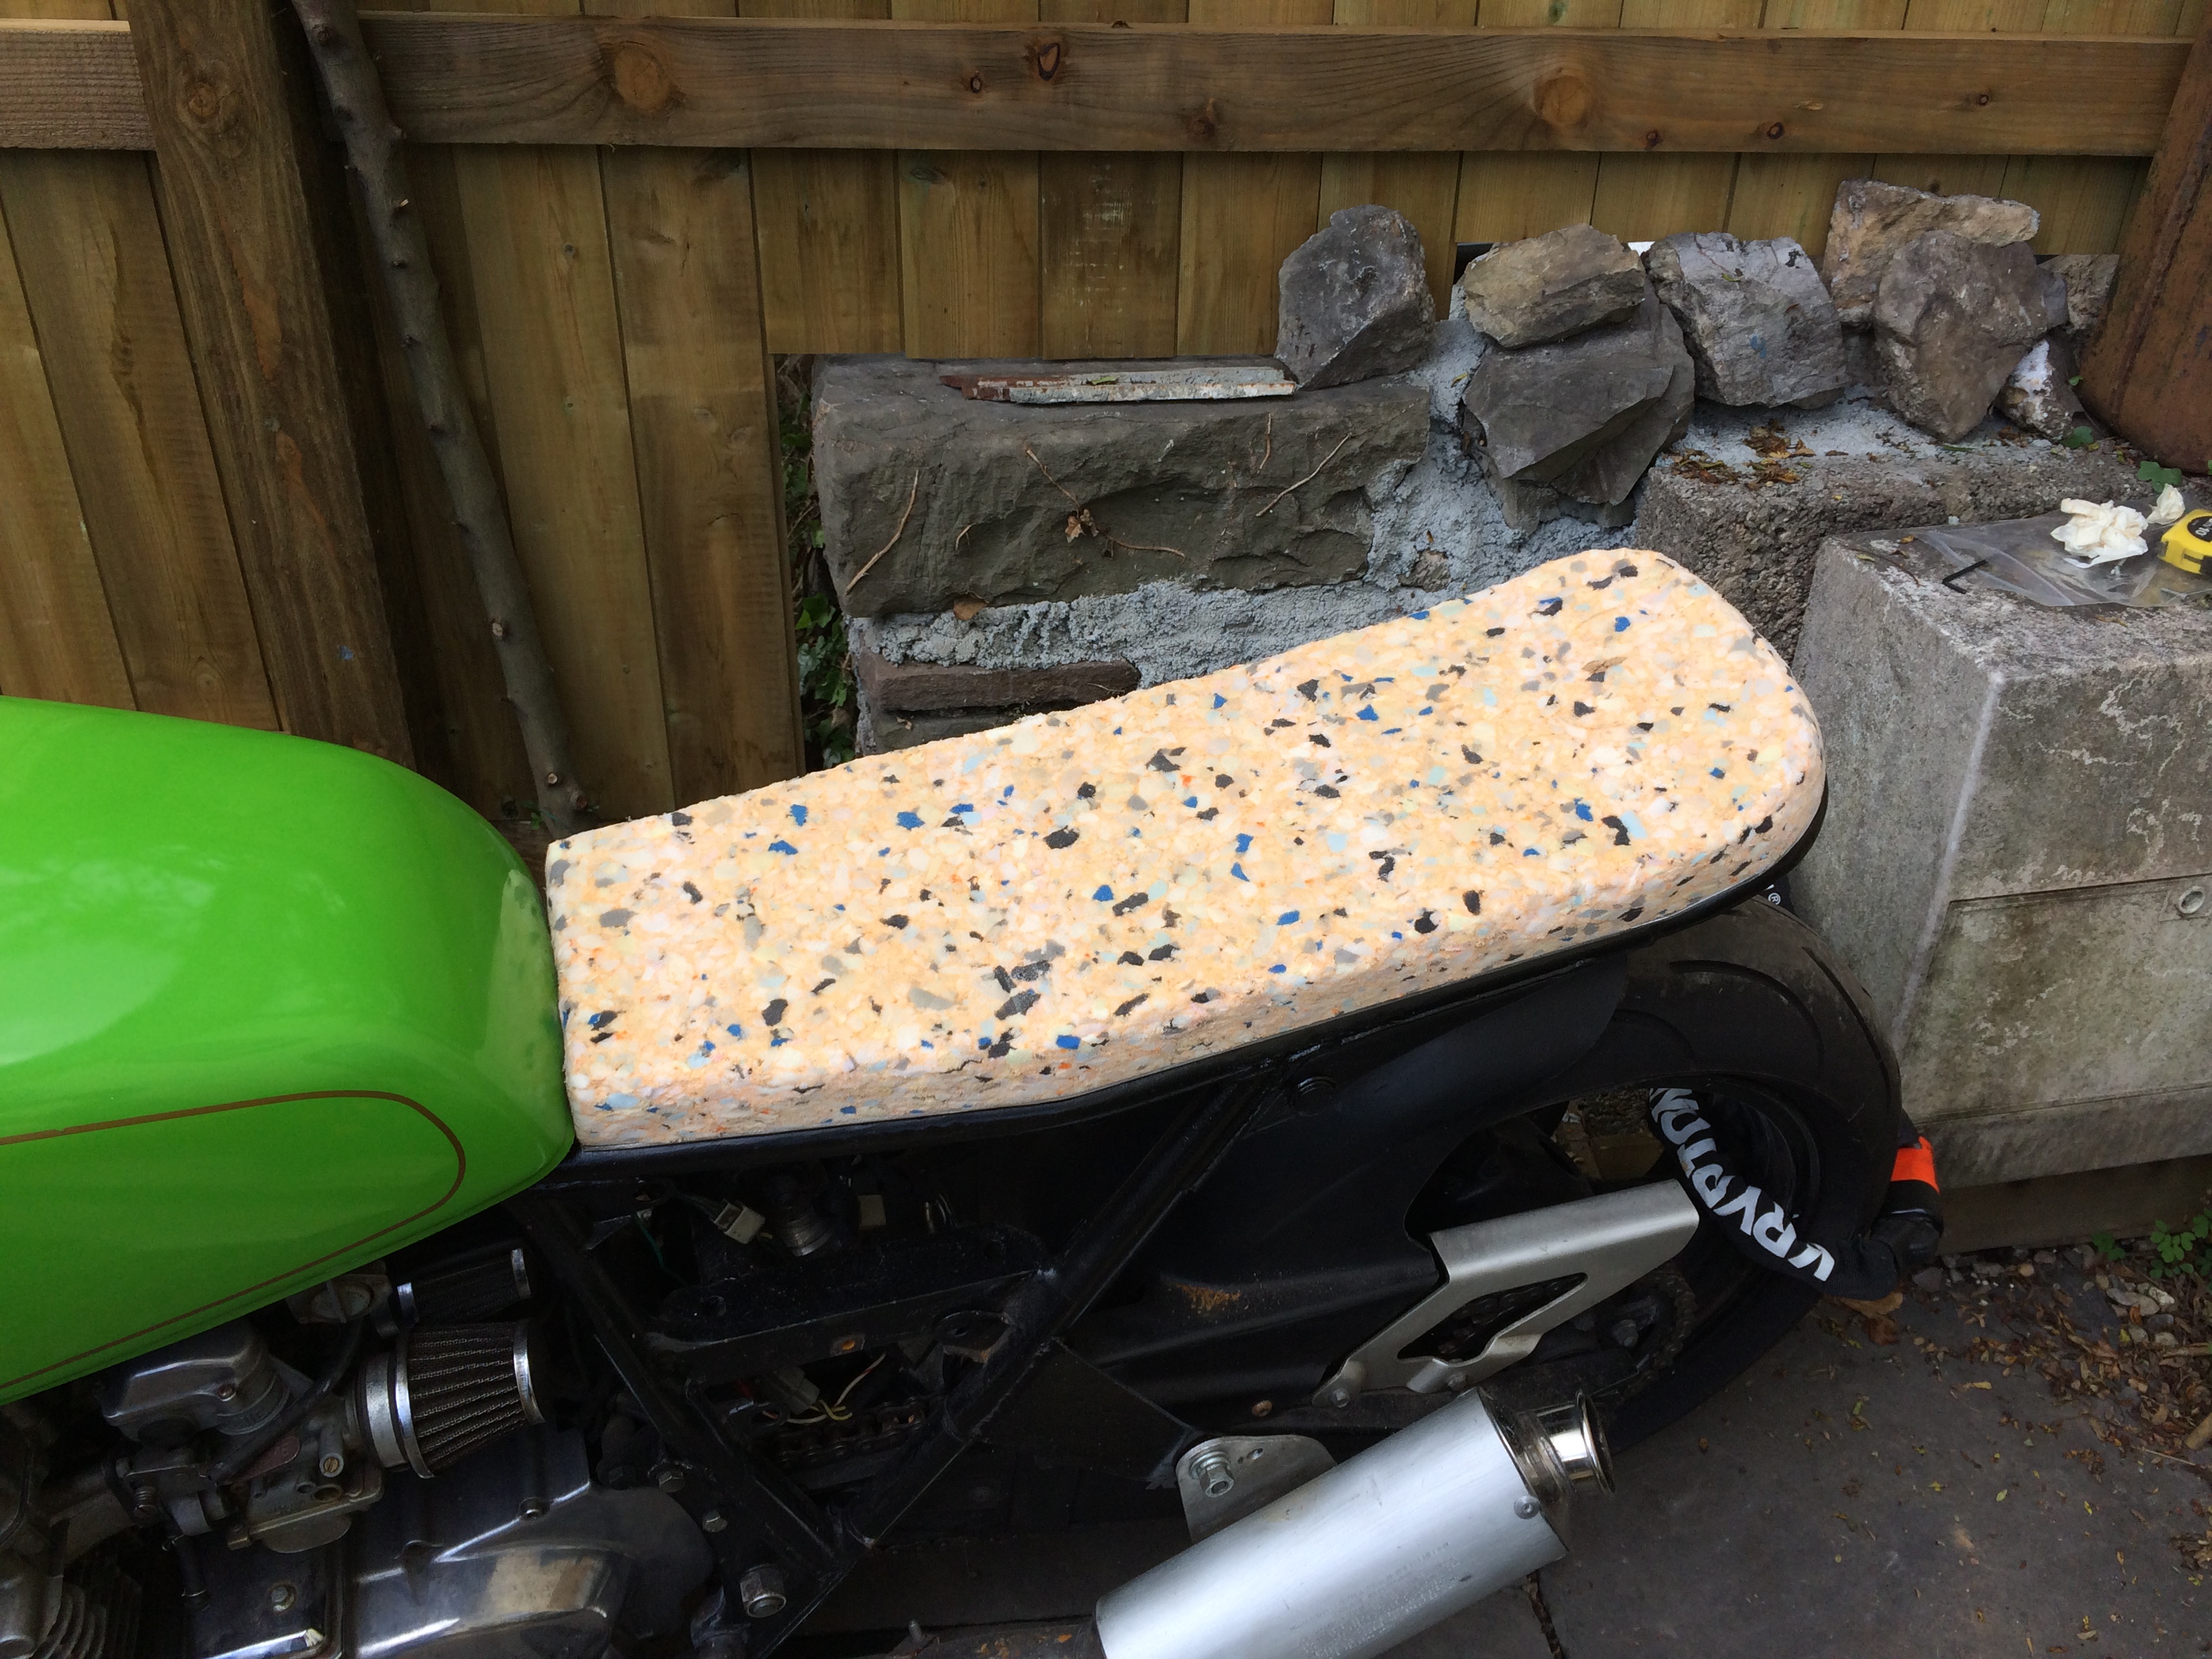
The other major job ticked off the list is the seat. With the superb skills of my wife the seat is now fully in place. It was a pig to fit, but I’m really happy with how it looks.
Seat being fitted


The seat is in place.


Got to make sure to start the little un on bikes as young as possible!
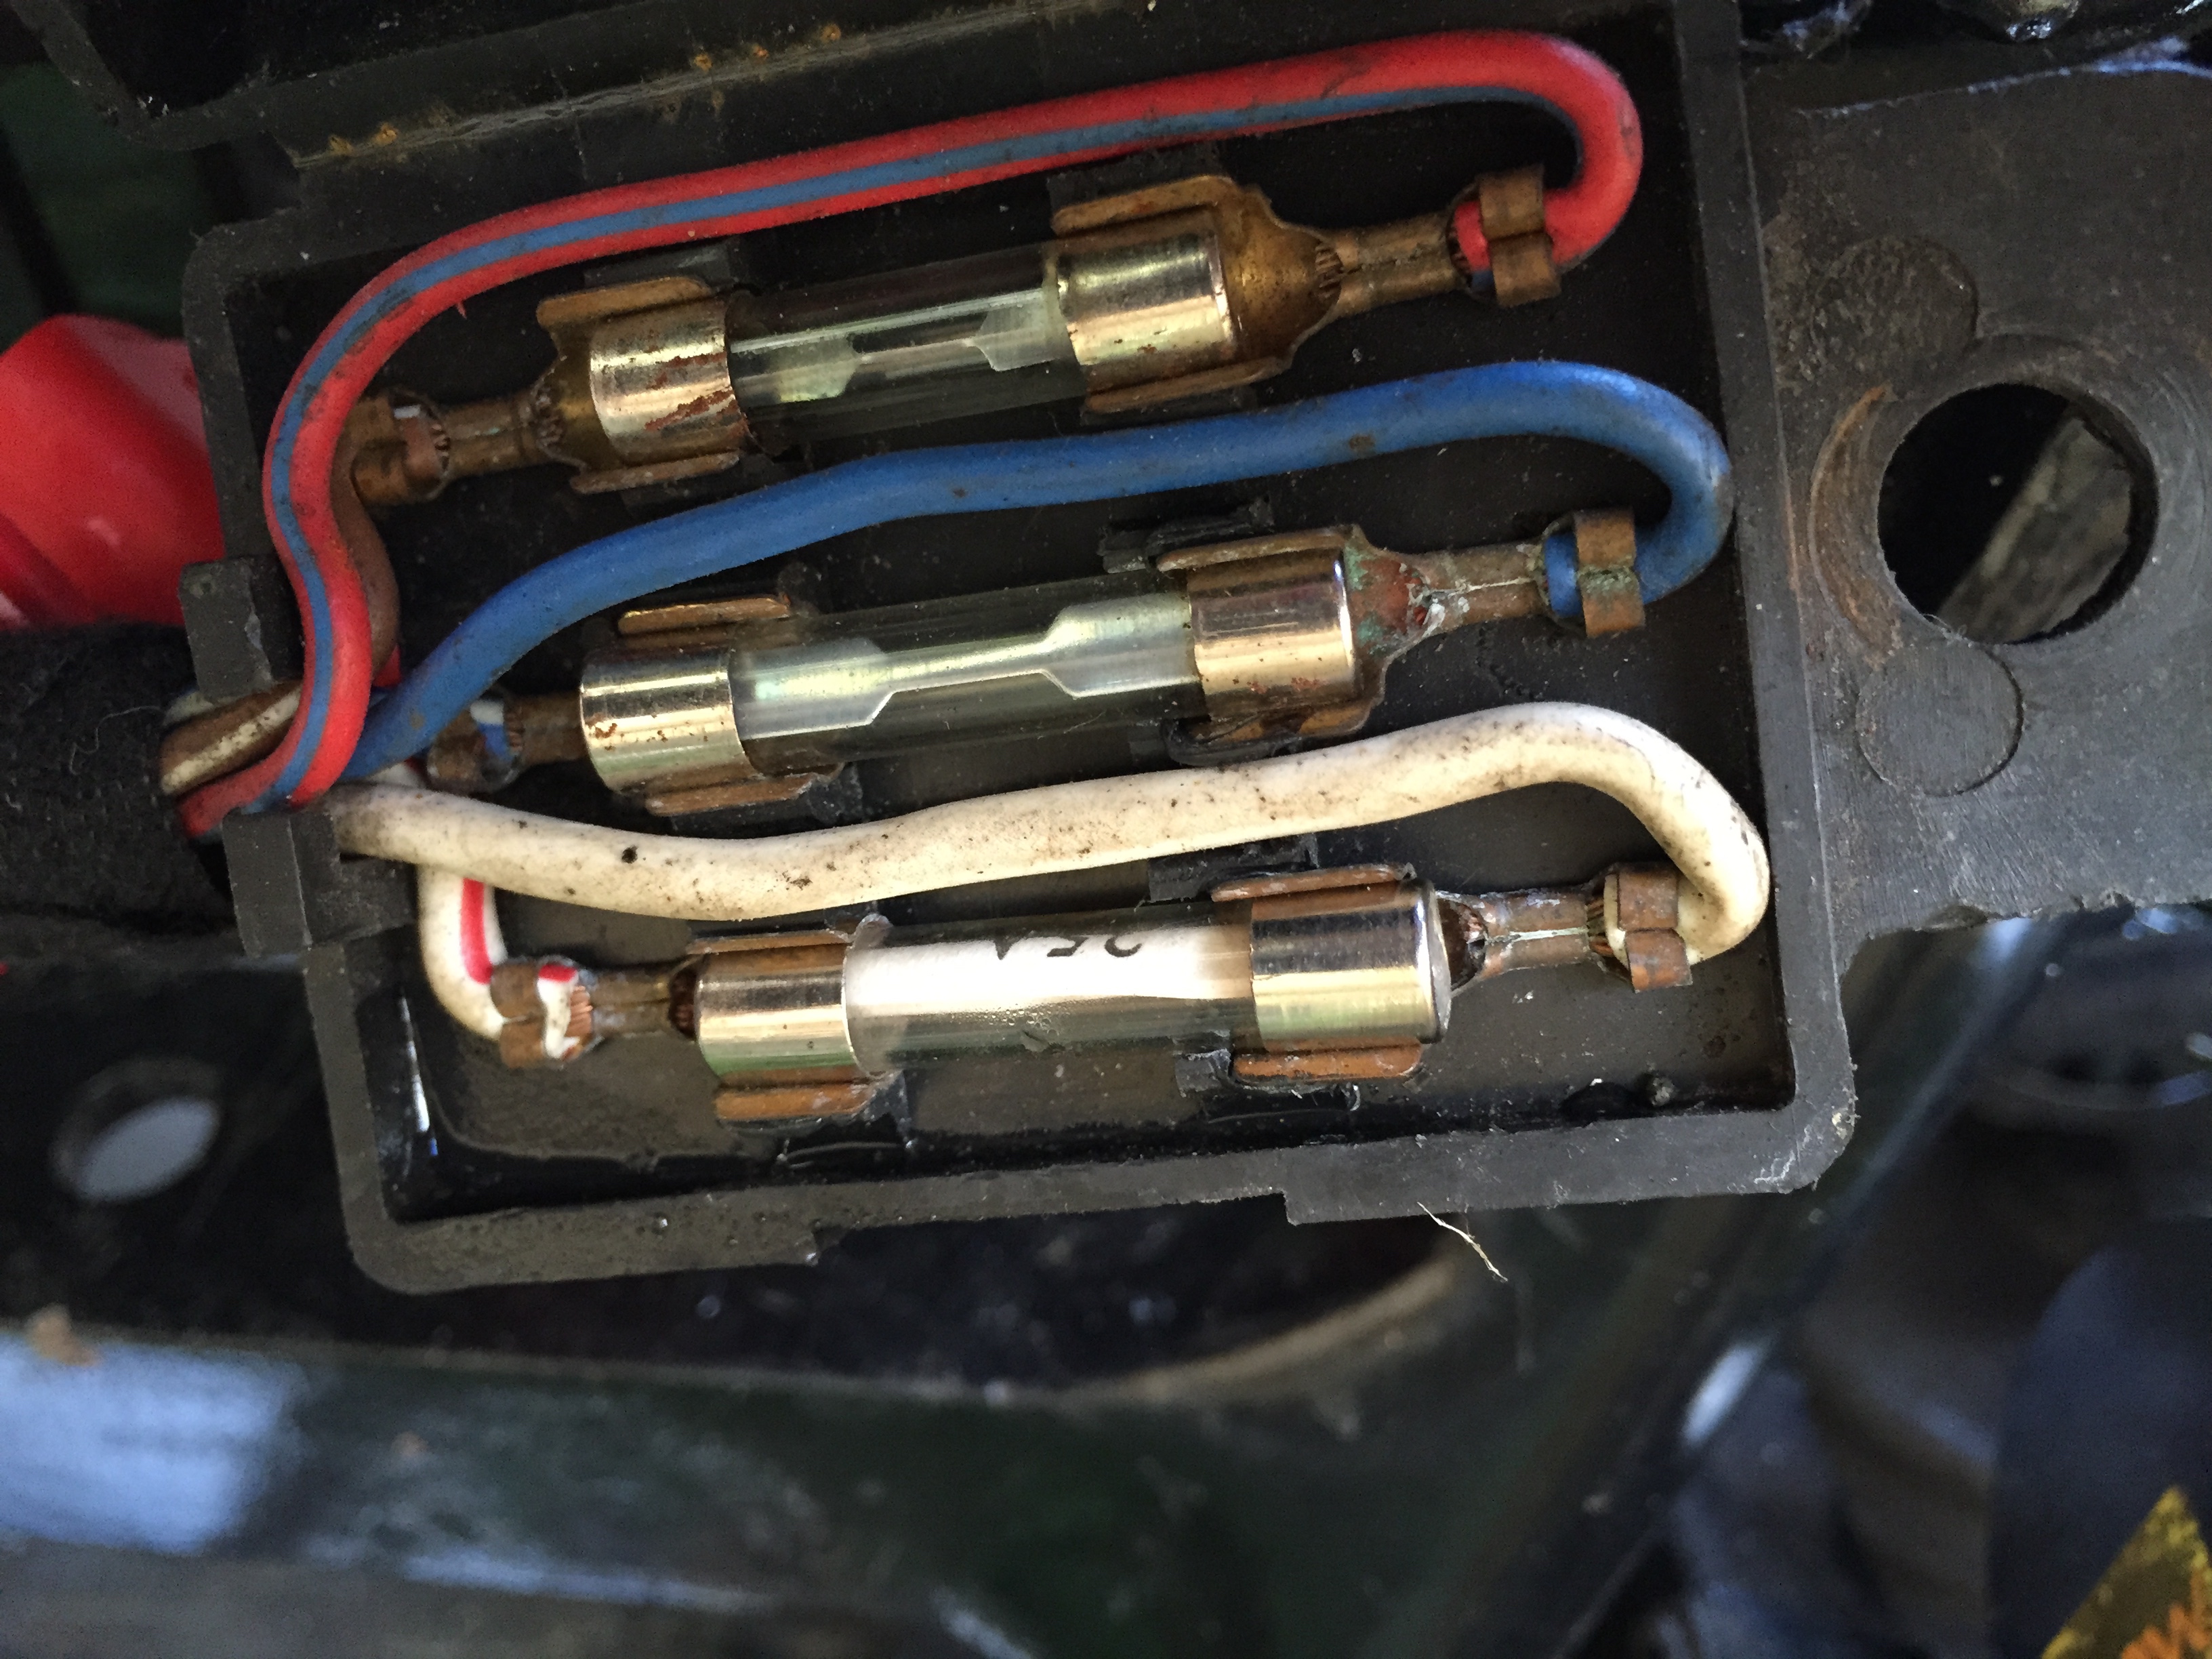
The next week or two is time for me to do some other wiring jobs. I need to wire up the new speedo and get that working. I also need to replace the current fuse box as it’s in terrible shape.
I’ve picked up this blade style fuse box to replace it with

That and the other wiring I’ve done will fix the headlamp issues I’ve been having. I’ve managed to fit a relay that fixes my led indicators which was one more job done.
Slow Progress
Well, I’ve not had a chance to do very much on the bike, as we’ve had a more important addition to the family

He’s taken a bit of focus away from the bike for some reason 😀
What I have been doing is fighting the mirrors wiring. The mirrors are supposed to be attached inside the bars, but they just don’t work very well. They come loose all the time. I tried various mirrors, but in the end realised the best method was to attach them around the bars and shift everything else inward. This leaves a hole in the bar end which I picked up some Hope Bar Doctors from the cycle shop. They were a nightmare to fit due to the bars, but I have one side in okish.

The other side will wait until I fit the new throttle.
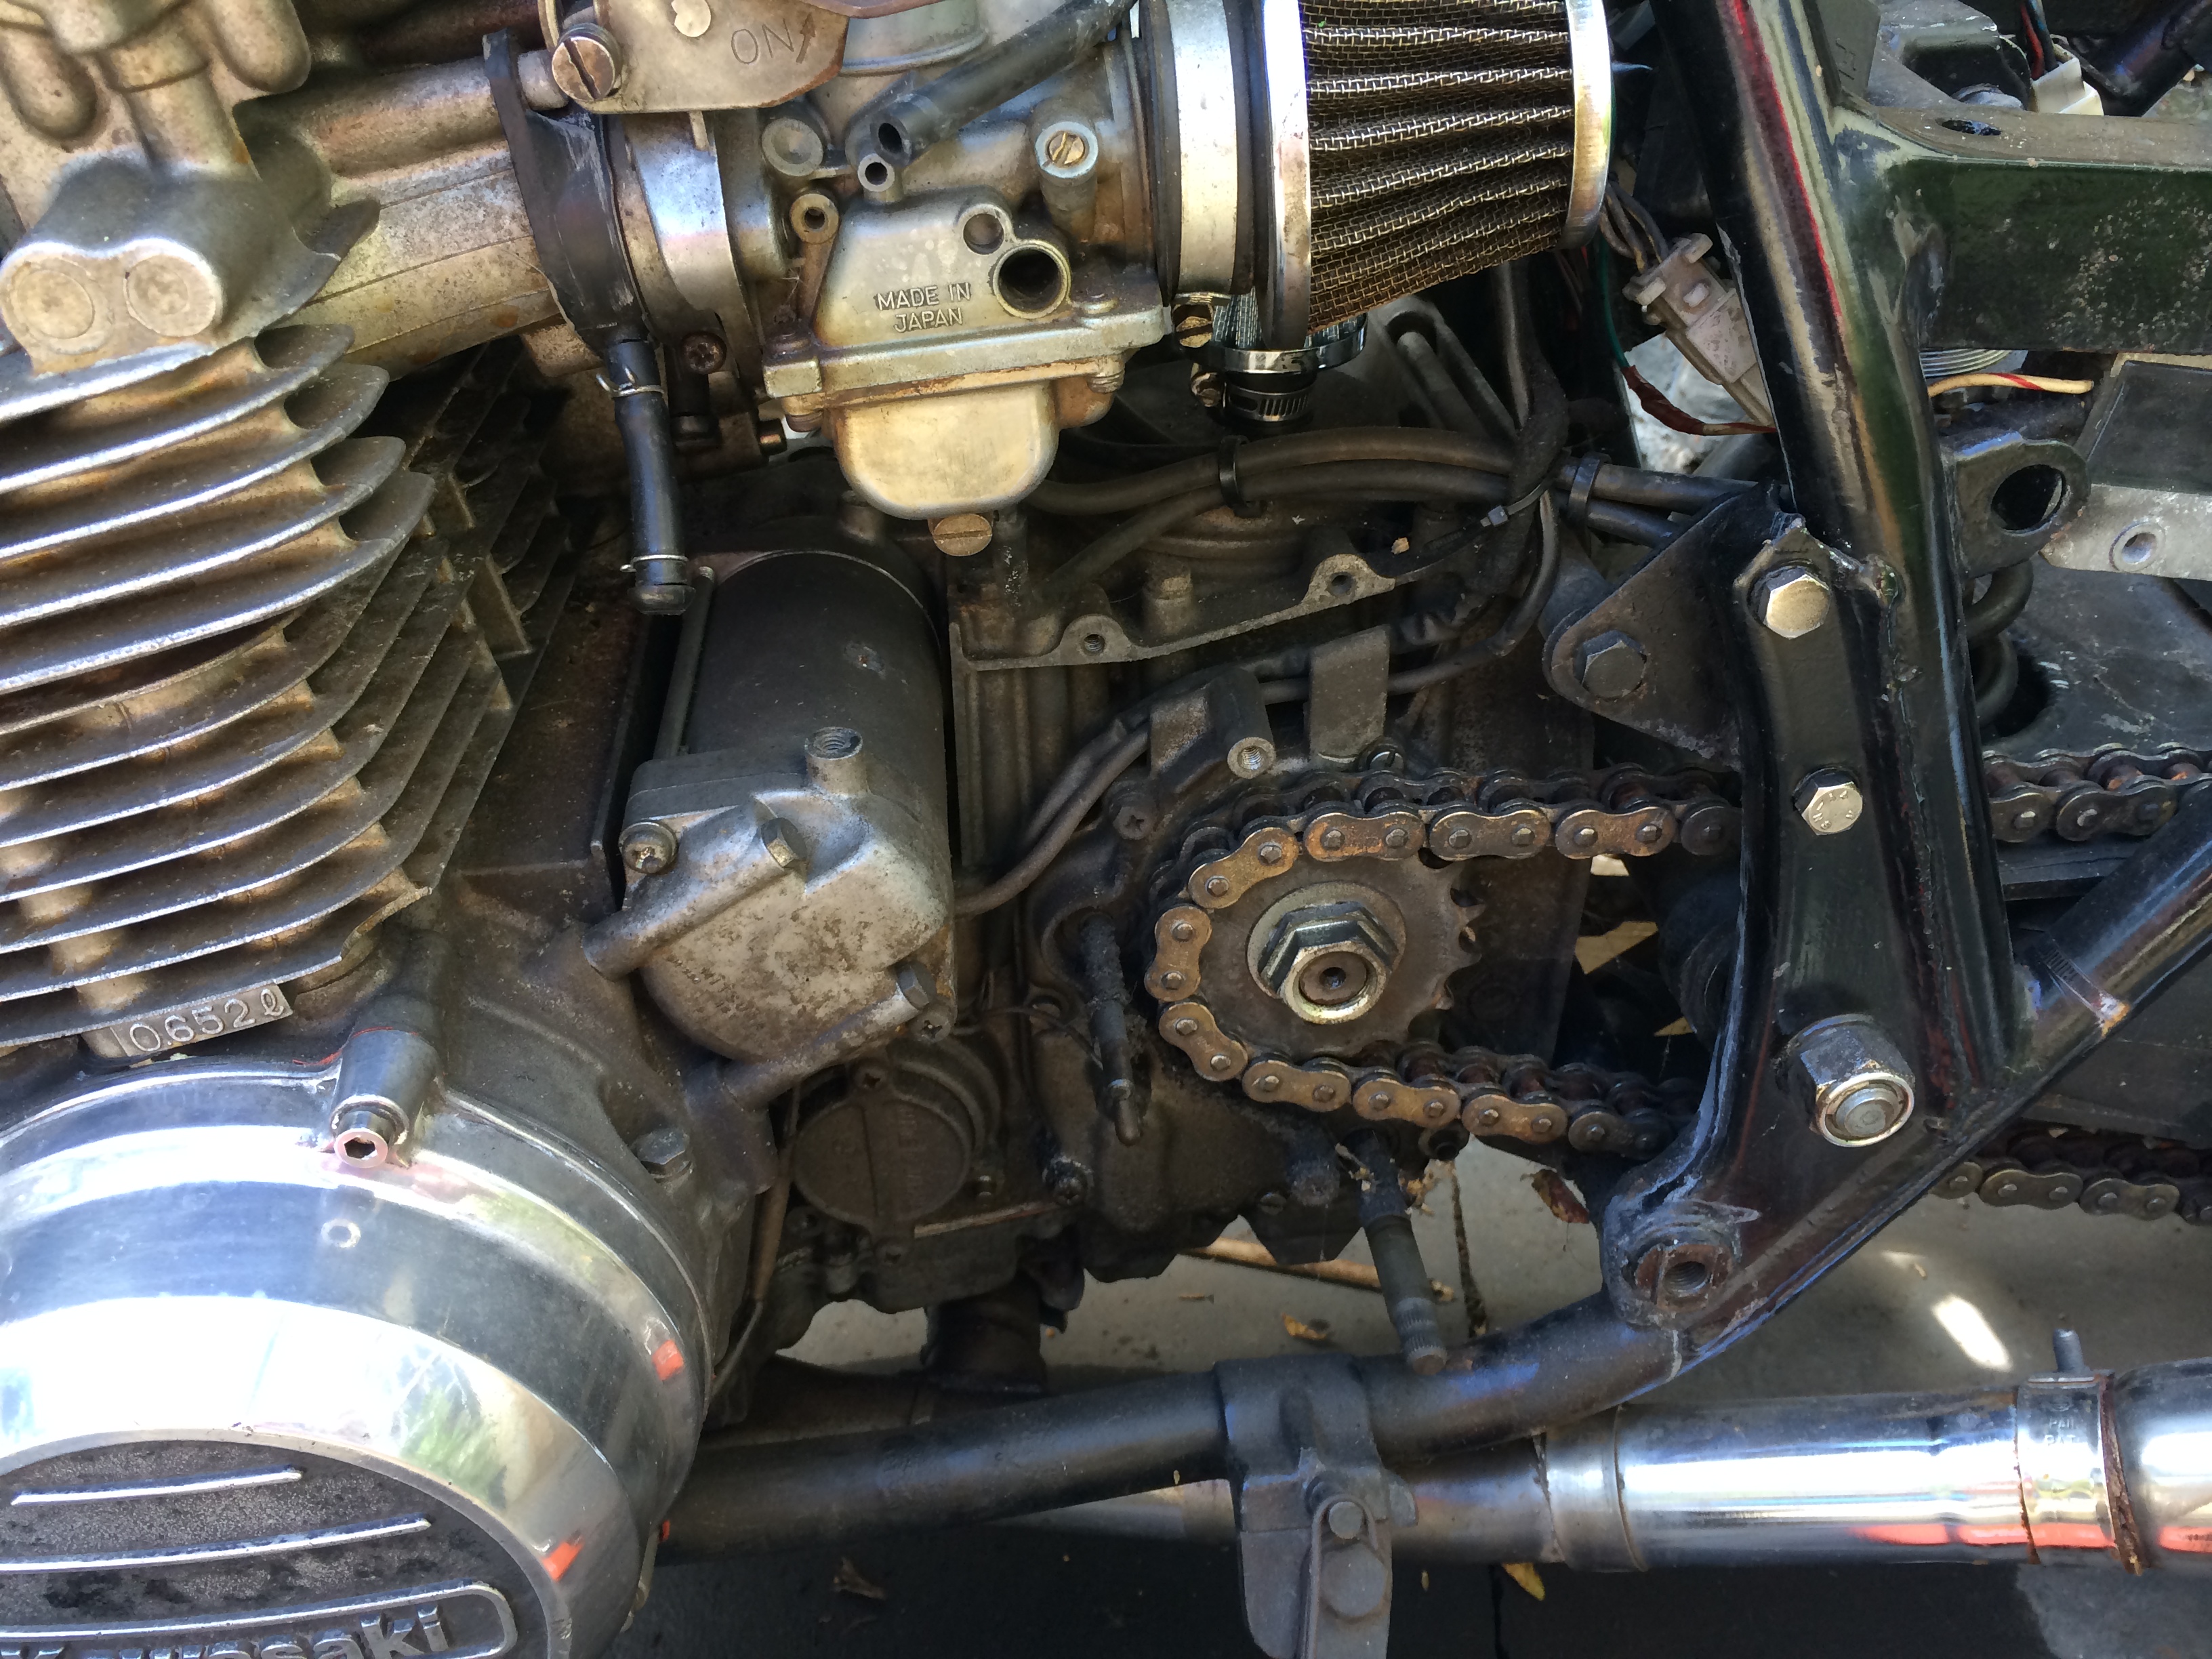
Next up I’ve been wanting to fit a replacement clutch cable as the original one was far too long and frankly dangerous. After reading a tip on here that the z1 was a good fit, I swapped them over. Getting the sprocket cover off was a little bit tricky, but I got it done in the end.
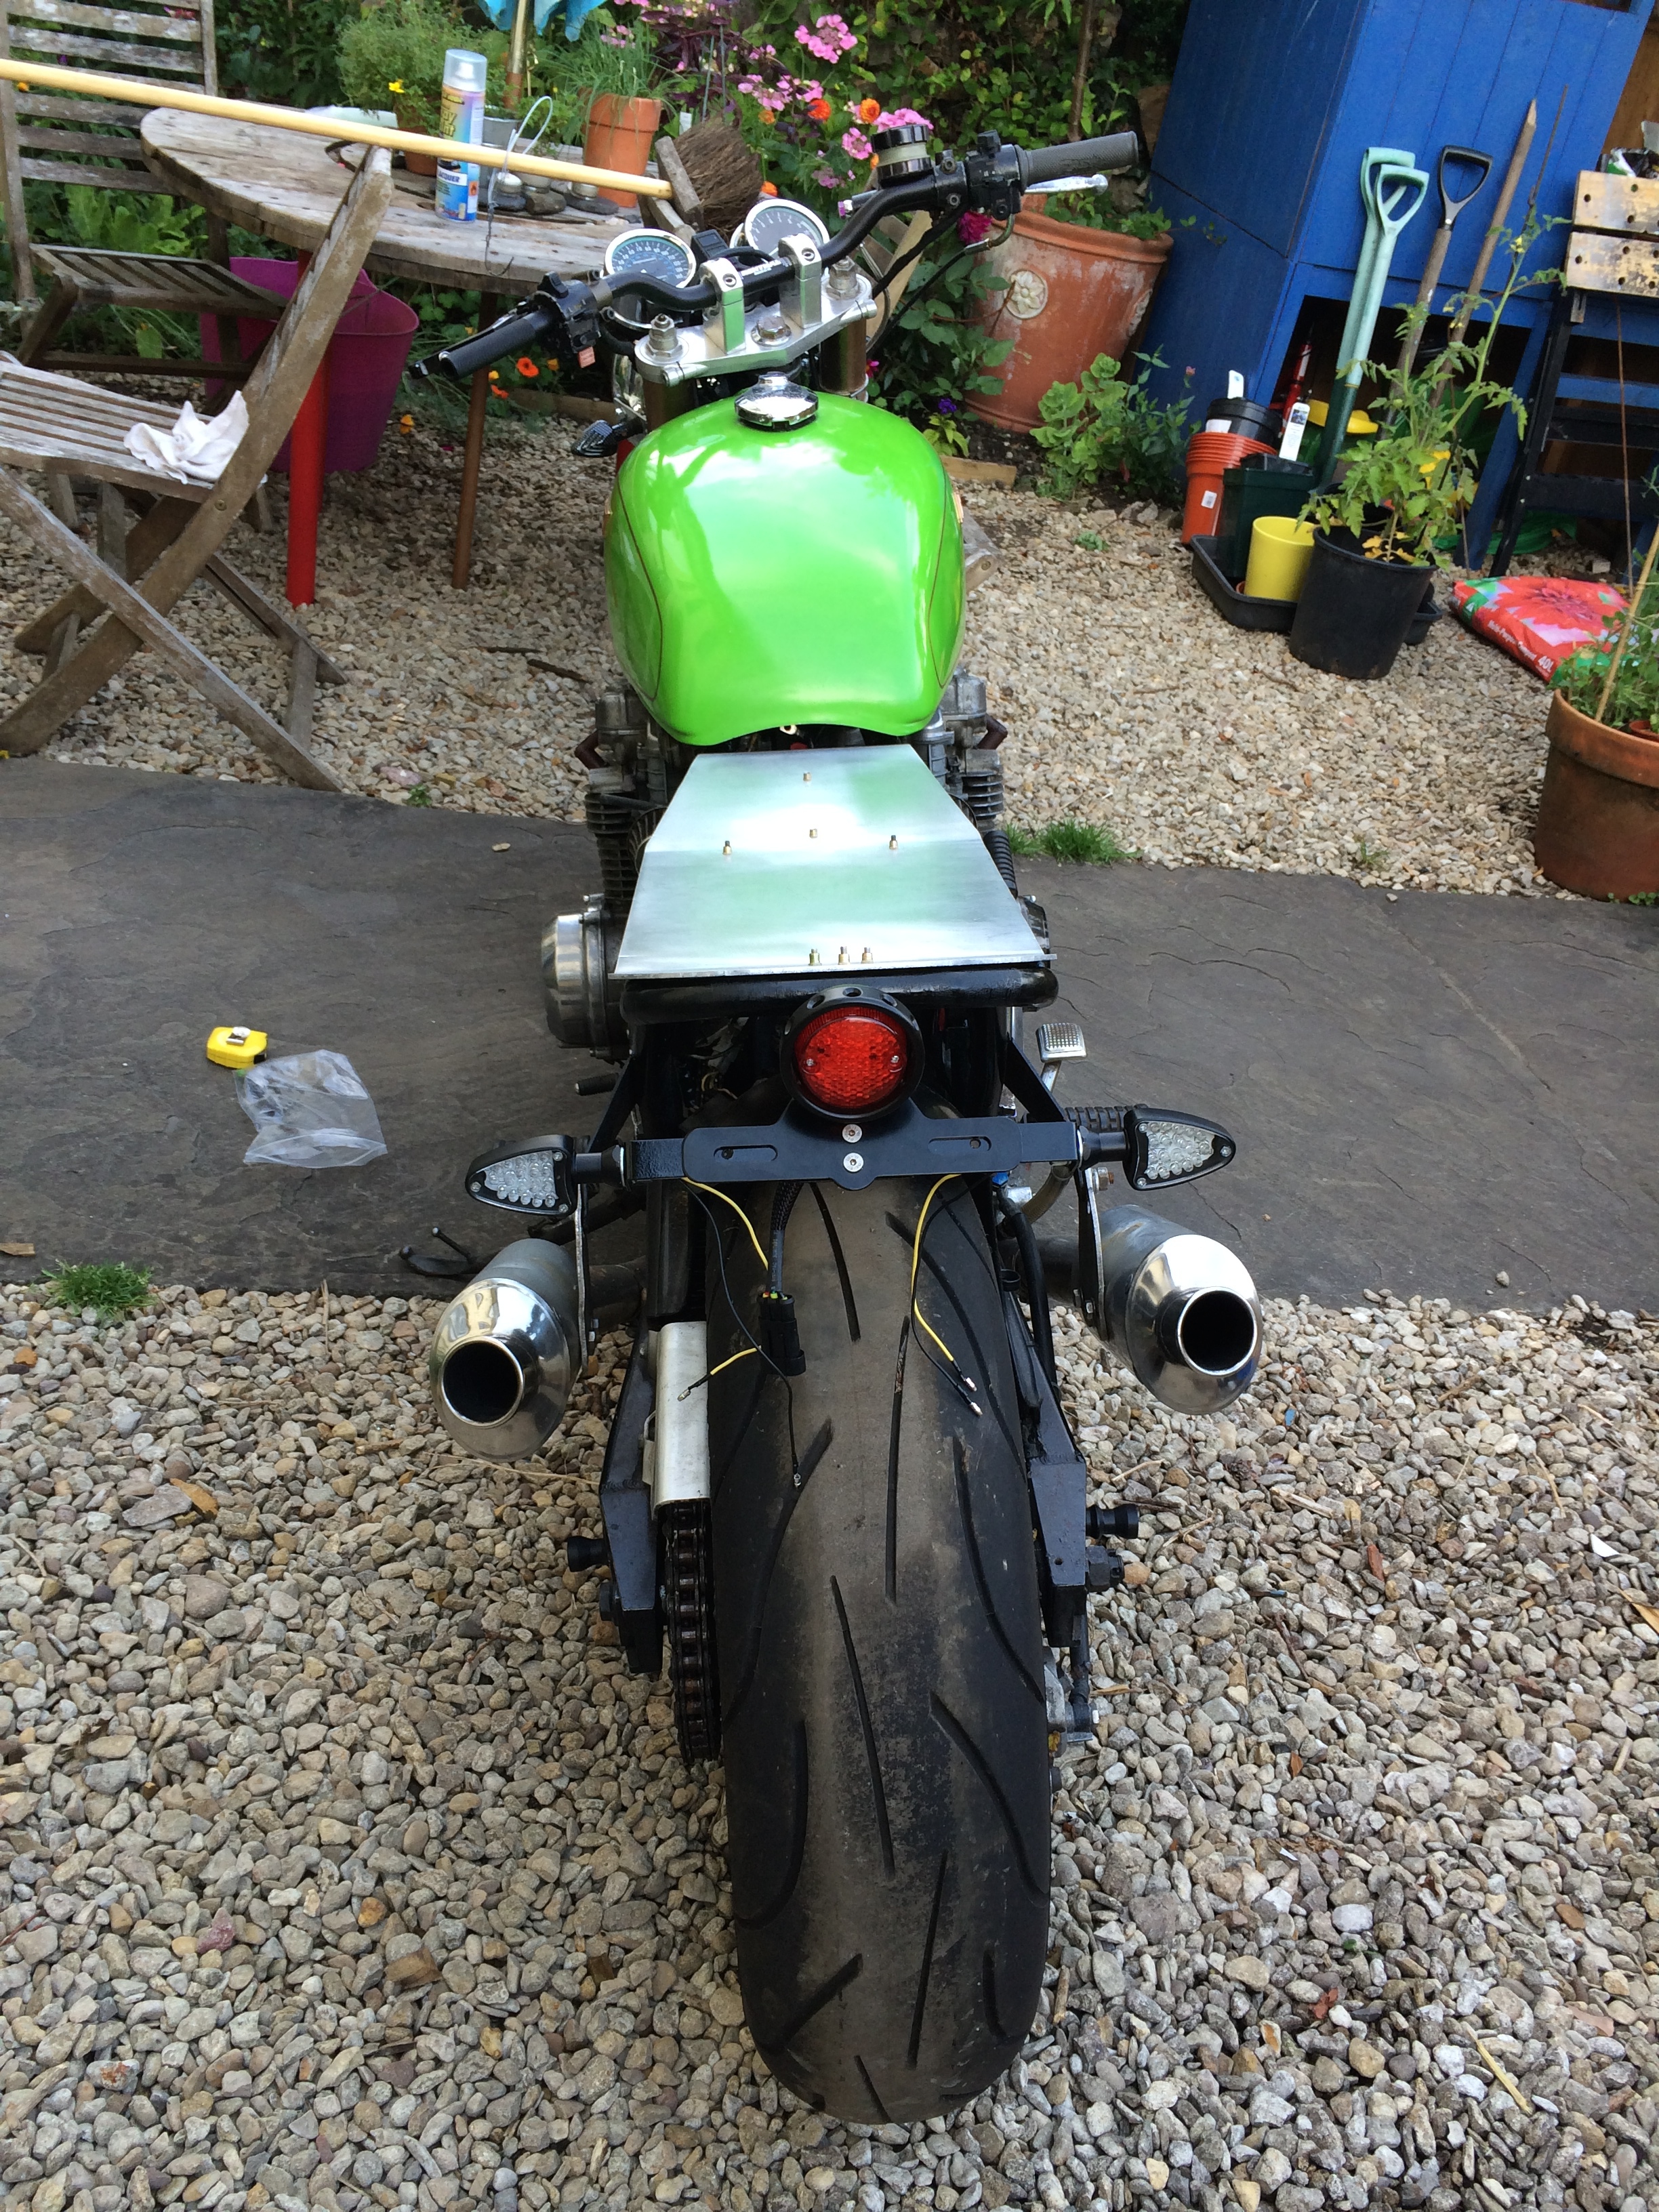
I’ve been wiring up the rear lights and indicators which I think I’m on the third different way of doing it now. I was going to use waterproof connectors, but these just end up looking messy. So I’m just going to solder and sheath them all instead.
Next target is to get the wiring done and tested, then to try to find a time with my wife and the baby so that I can finish my seat cover.
More seat action and painting.
Well, I’ve had an interesting couple of weeks, but I’ve made more progress on the bike. Not nearly as much as I hoped for but at least it’s moving forwards.
The indicators I ordered to go with the headlight brackets have arrived and I think they are going to look ace.

I’ve been making up a bracket for the rear lights and indicators along with the number plate. I’ve also after ordering four sets of indicators found some that didn’t look cheap and nasty. They are cnd’d and look good. I need to sort the wiring out for them though.


After this I have continued work on the seat. First order of business was to paint the seat base. It will be mostly be hidden from view, but I wanted to make it black like the other parts.

I then glued the seat foam into position using spray on contact adhesive. I used tape to hold the foam in place whilst it dried. I was worried that the glue wouldn’t work to well but it was great.

I then took an angle grinder with sanding disc to shape the foam. I thought this would be a nightmare, but it wasn’t too bad. I have quite chuffed with the results.


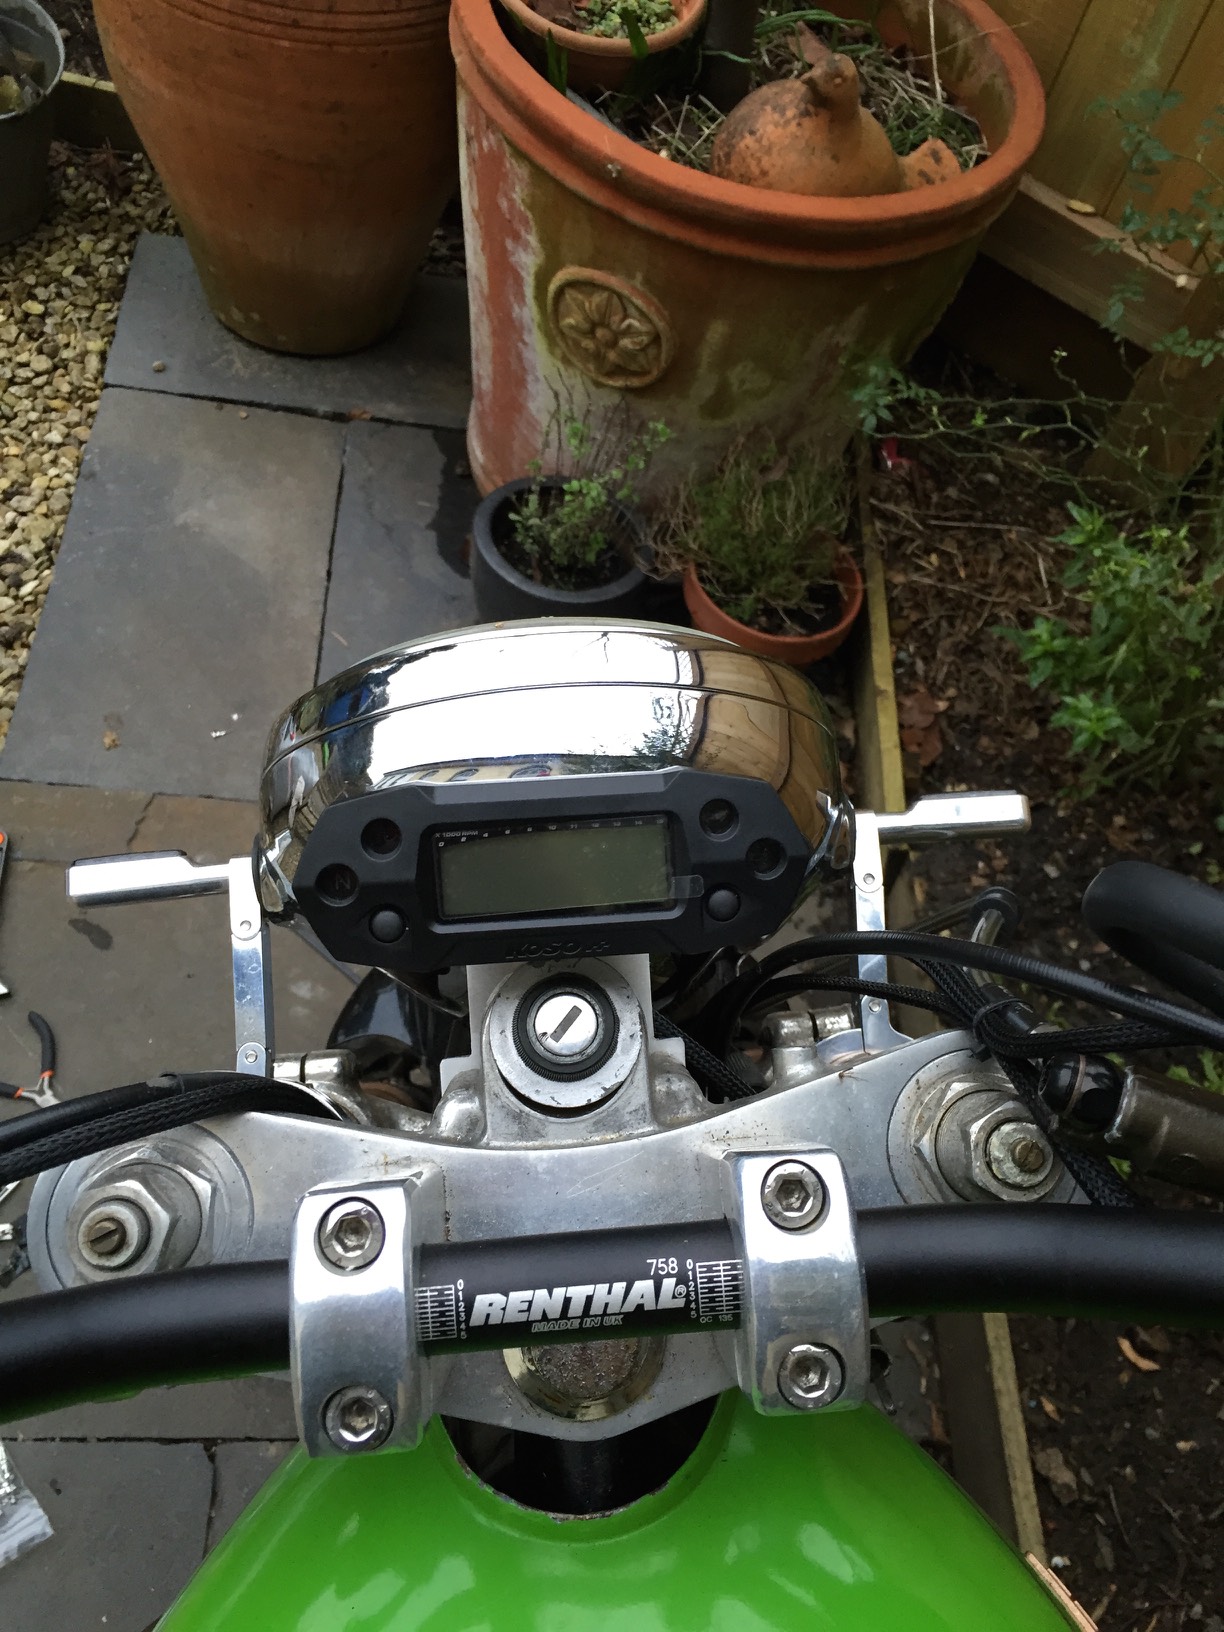
The other item I’ve been working on is getting a replacement set of gauges. As I would like to clean up the front a lot more. I was looking at Motogadget ones, but they are a little bit too expensive. Also the ones I liked didn’t have both a rev and speedometer. So in the end I went for a Koso DB-01R which ticked most of the boxes for me. Of being small, but having all the features.
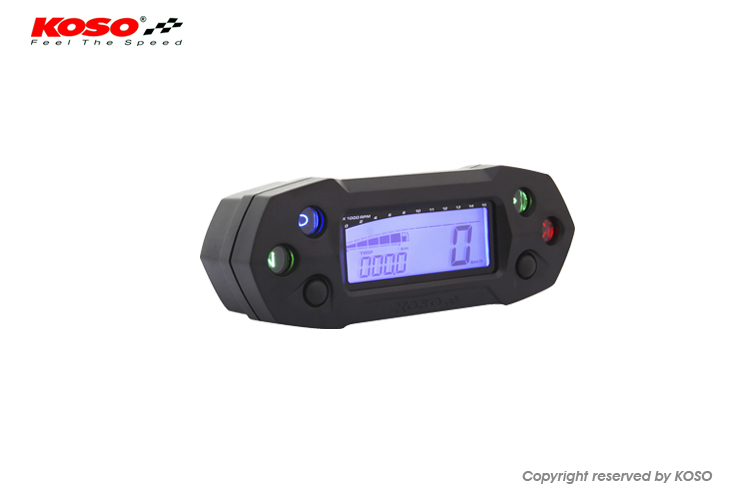
It came with a mount to attached to the handlebars, but on my bars it isn’t going to work as you can probably tell from these pictures. Where the cable needs to go is right where the brackets are. So I will have to create some kind of mount so that I can attach it. I will wait until I remove the original gauges to decide where best to mount it.


Another job that I have completed is the battery bracket. It is now painted black and has a rubber base to keep the battery
Seat Pan Progress
Well, I’ve made a fair bit of progress, some of it forward, some backwards.
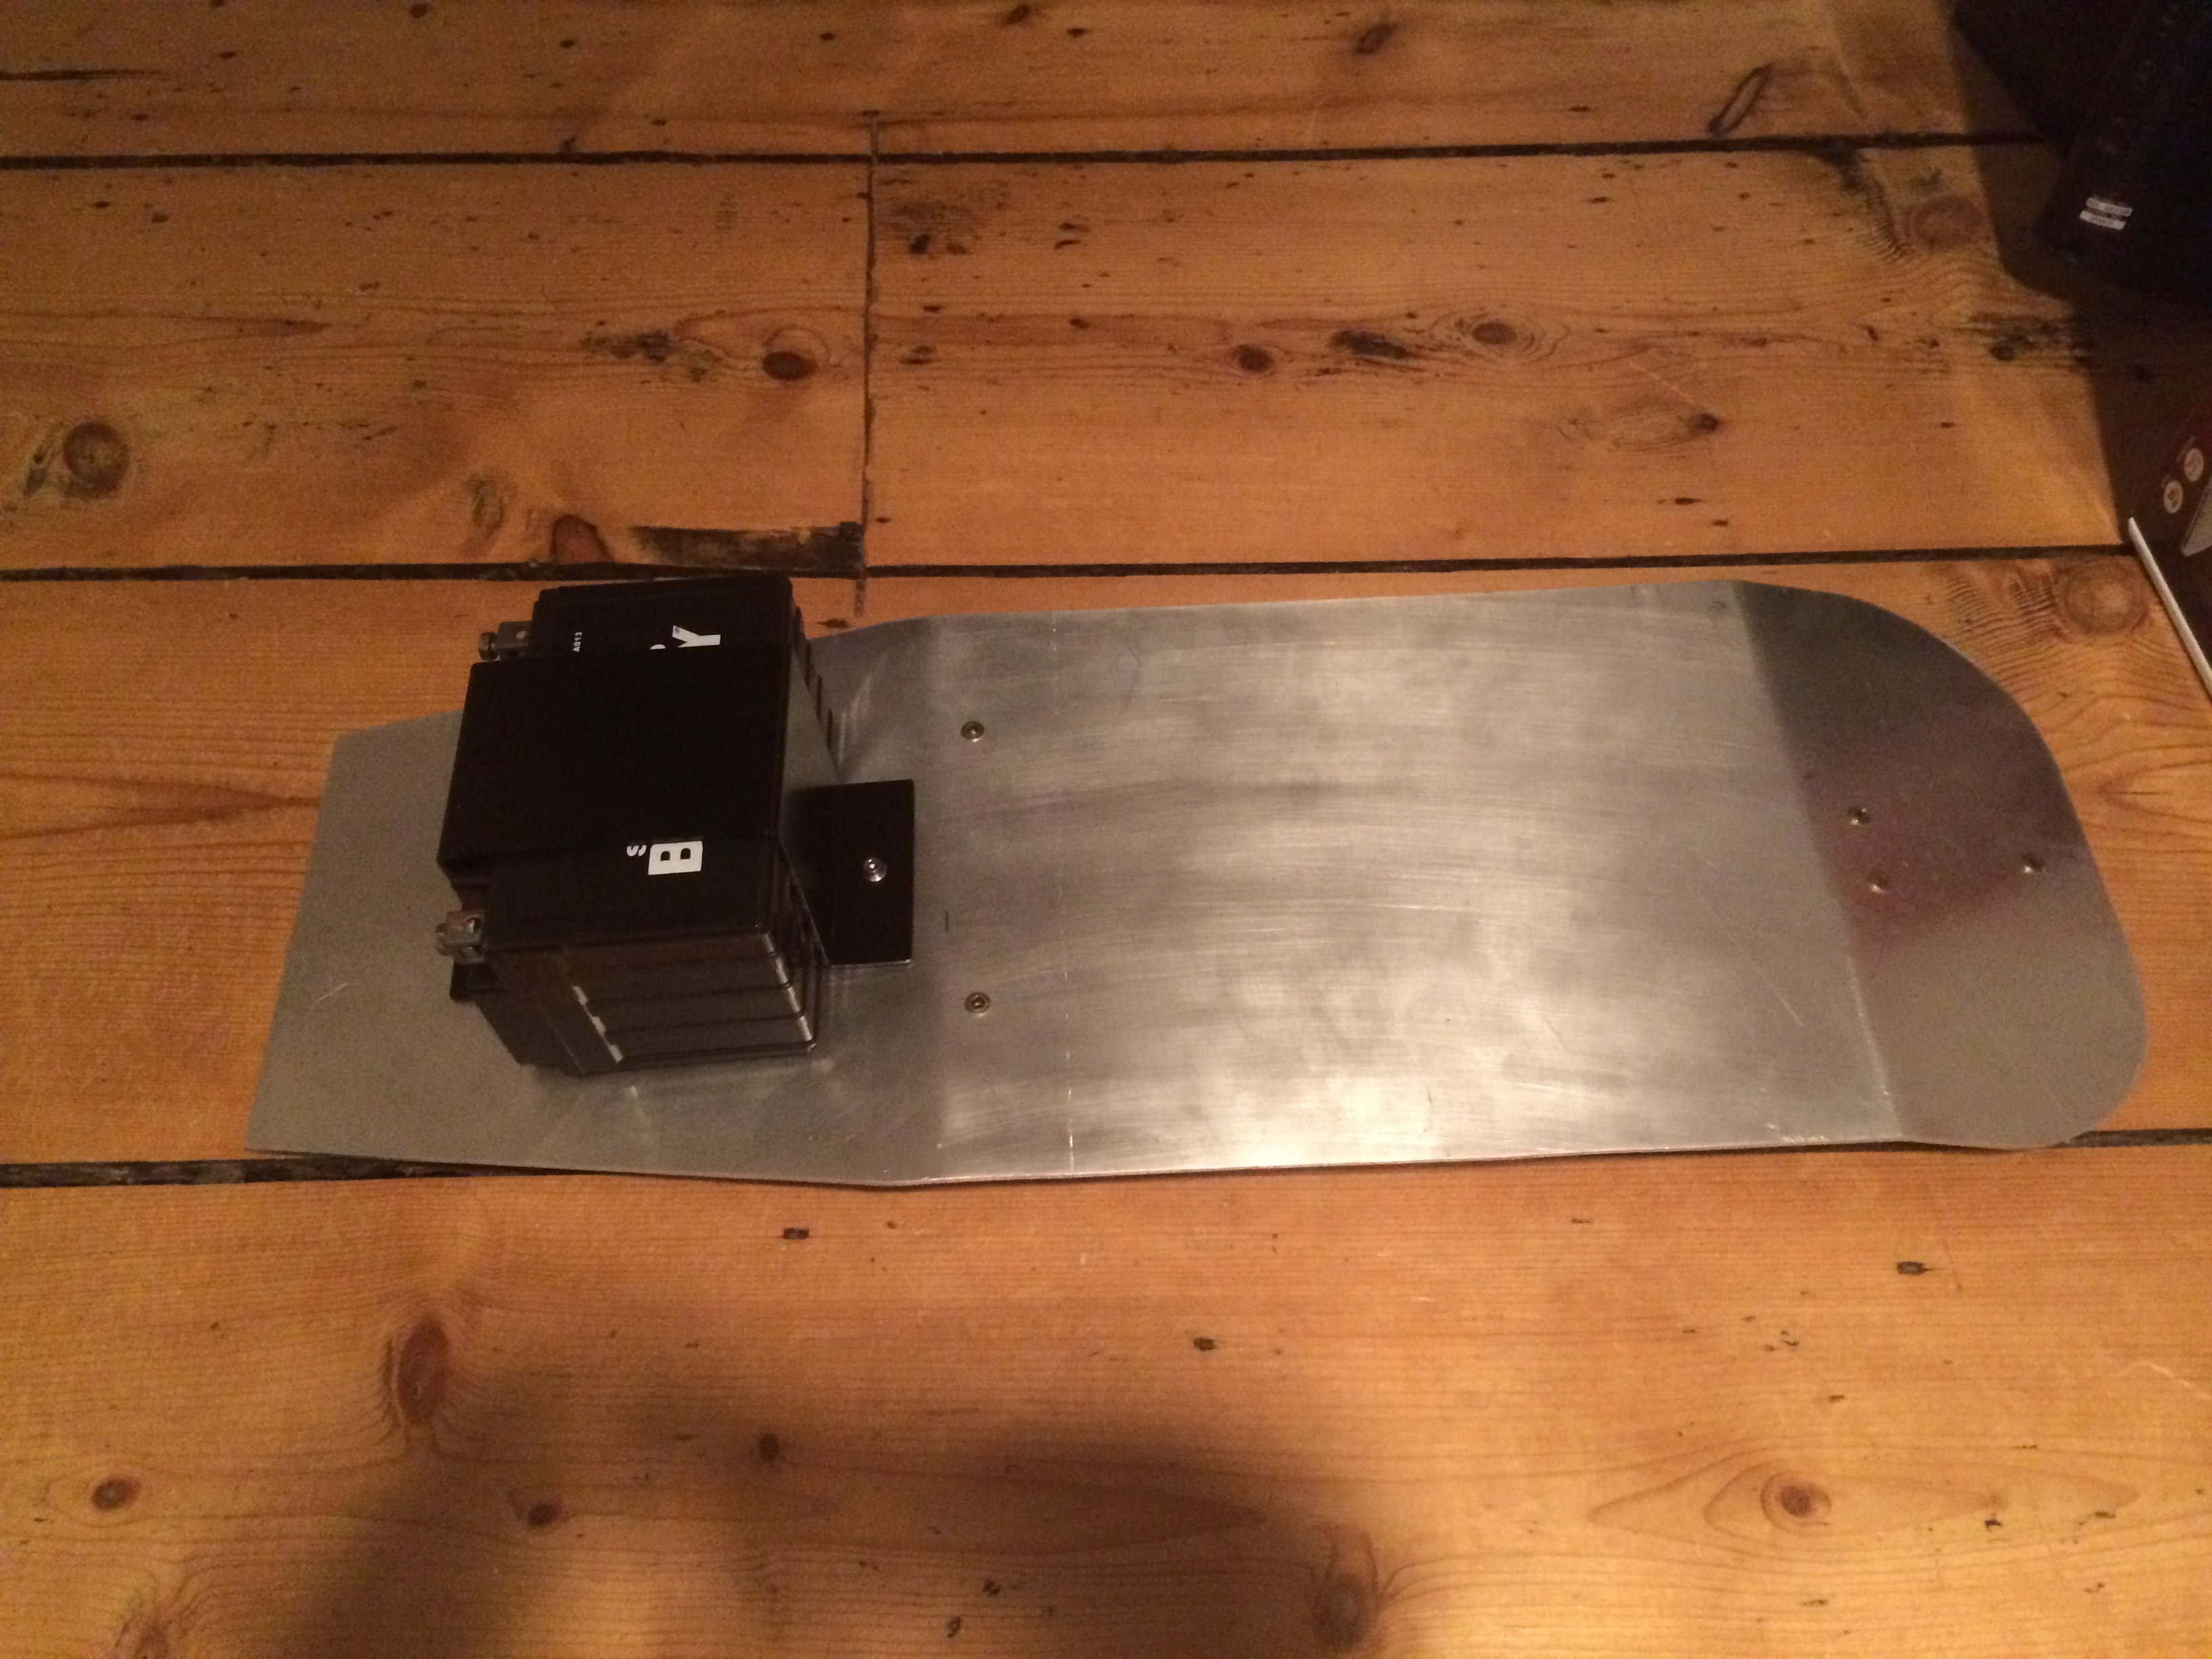
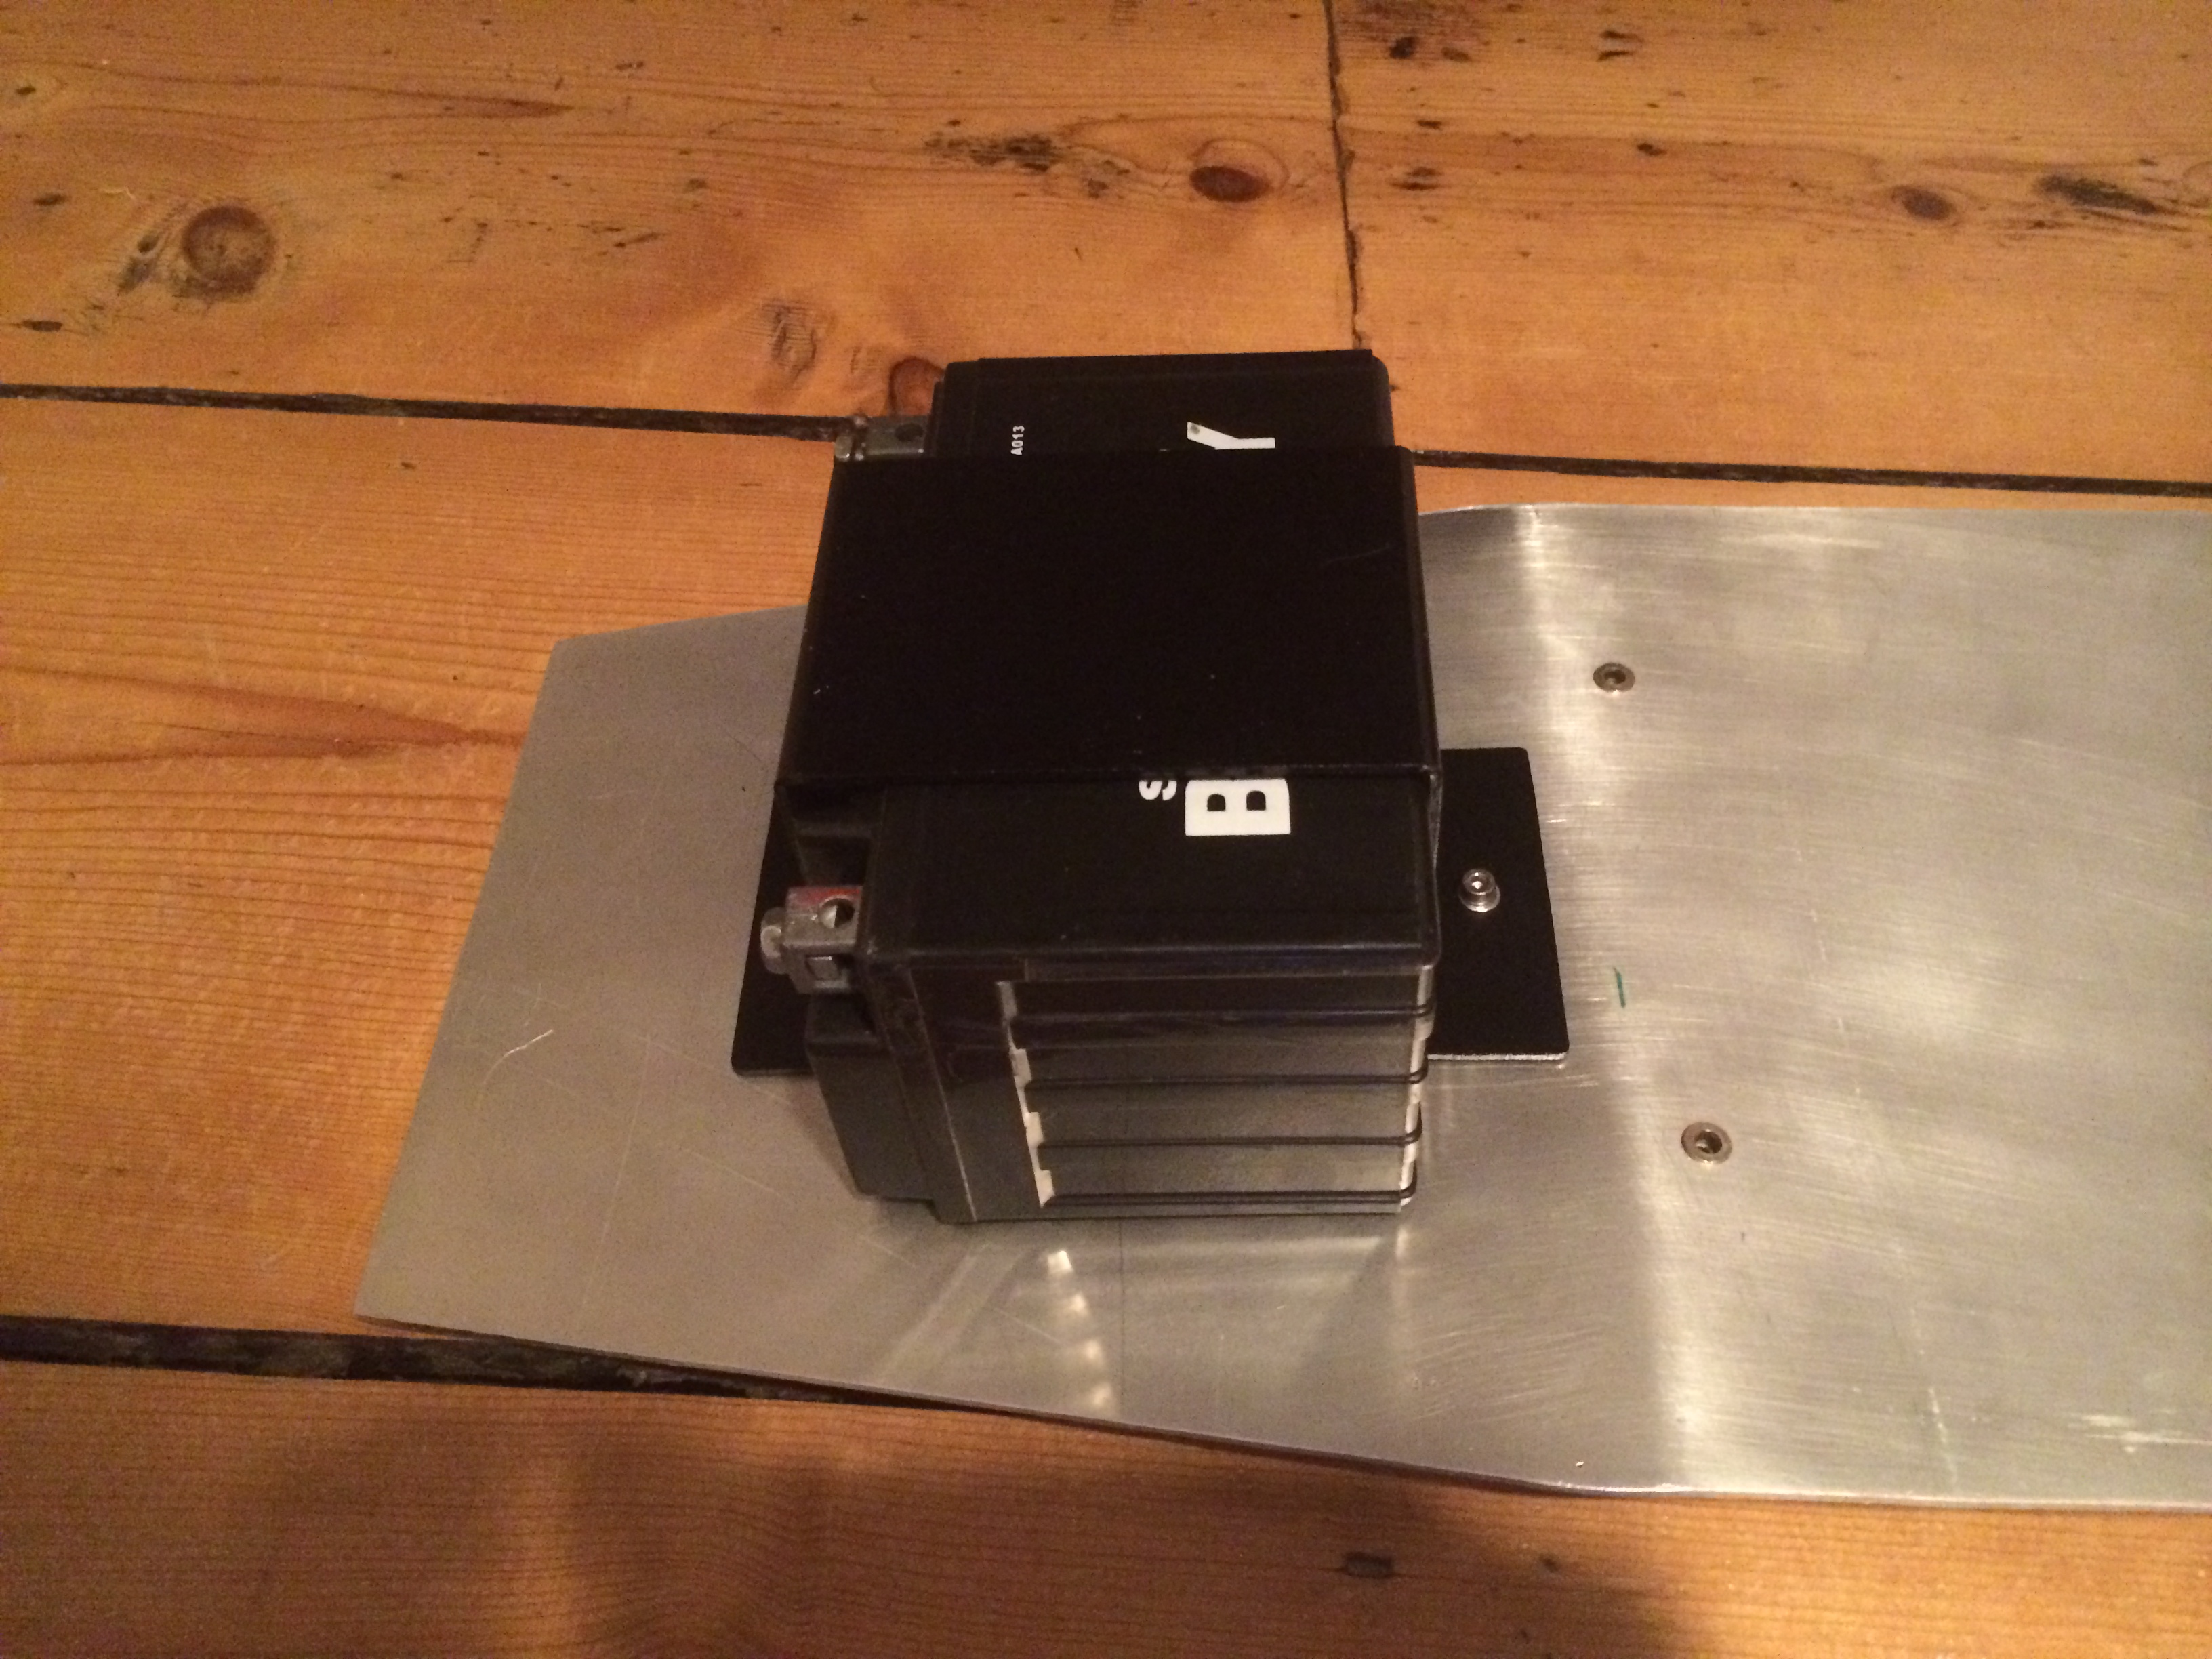
I spent a load of time creating a battery box mount in aluminium. I thought I had it perfectly, but I had not allowed for the support bars in the frame, so it’s not going to work.


So I’ve decided to mount the battery to the underside of the seat instead so I had to remake it.
Next I was trying to find some new brackets for the headlight as the current ones are bodge jobs and rusting. I thought these would work.
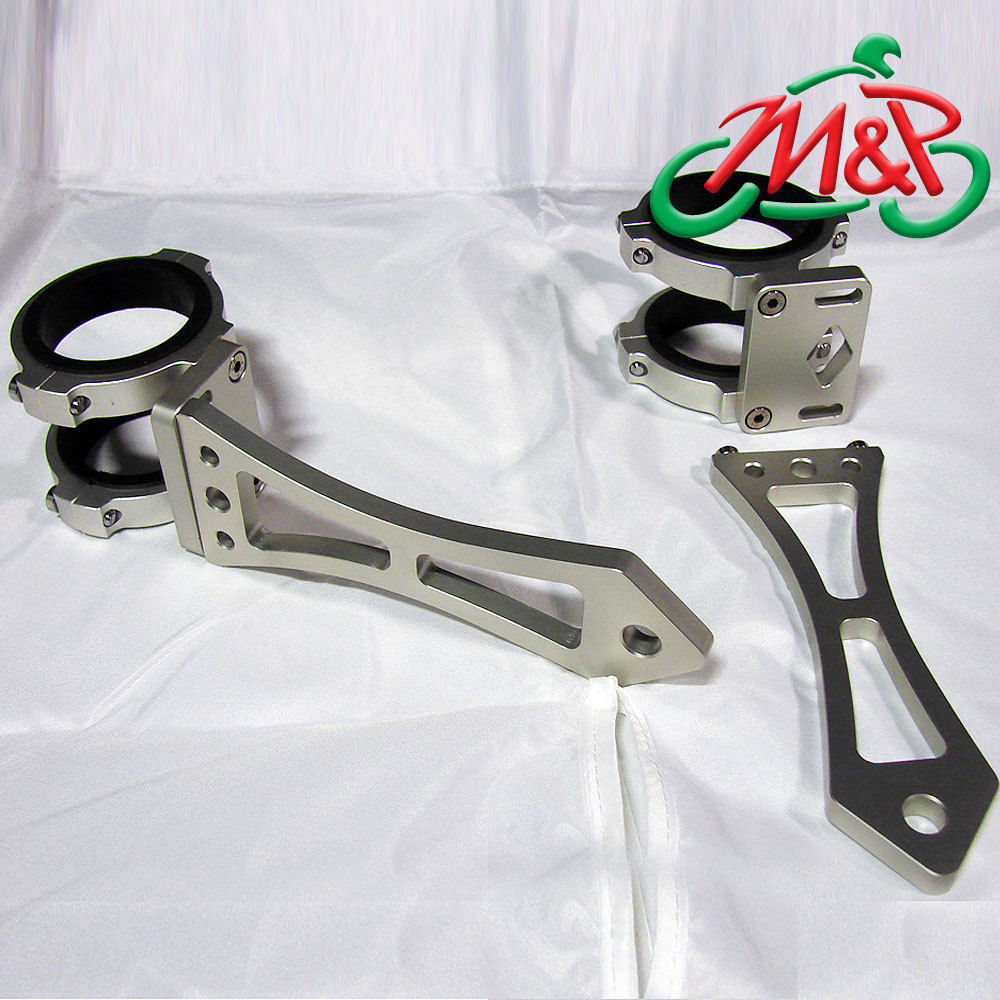
But sadly they were far to long. In the end I found some guy in Germany who cnc’d these.

They are awesome, I’ve ordered a set of indicators from the same guy. His site is http://thospa.de/thospa.html for those wanting to find out more. I need to find some time to fit them, but I’m waiting for the indicators to arrive before fitting them.
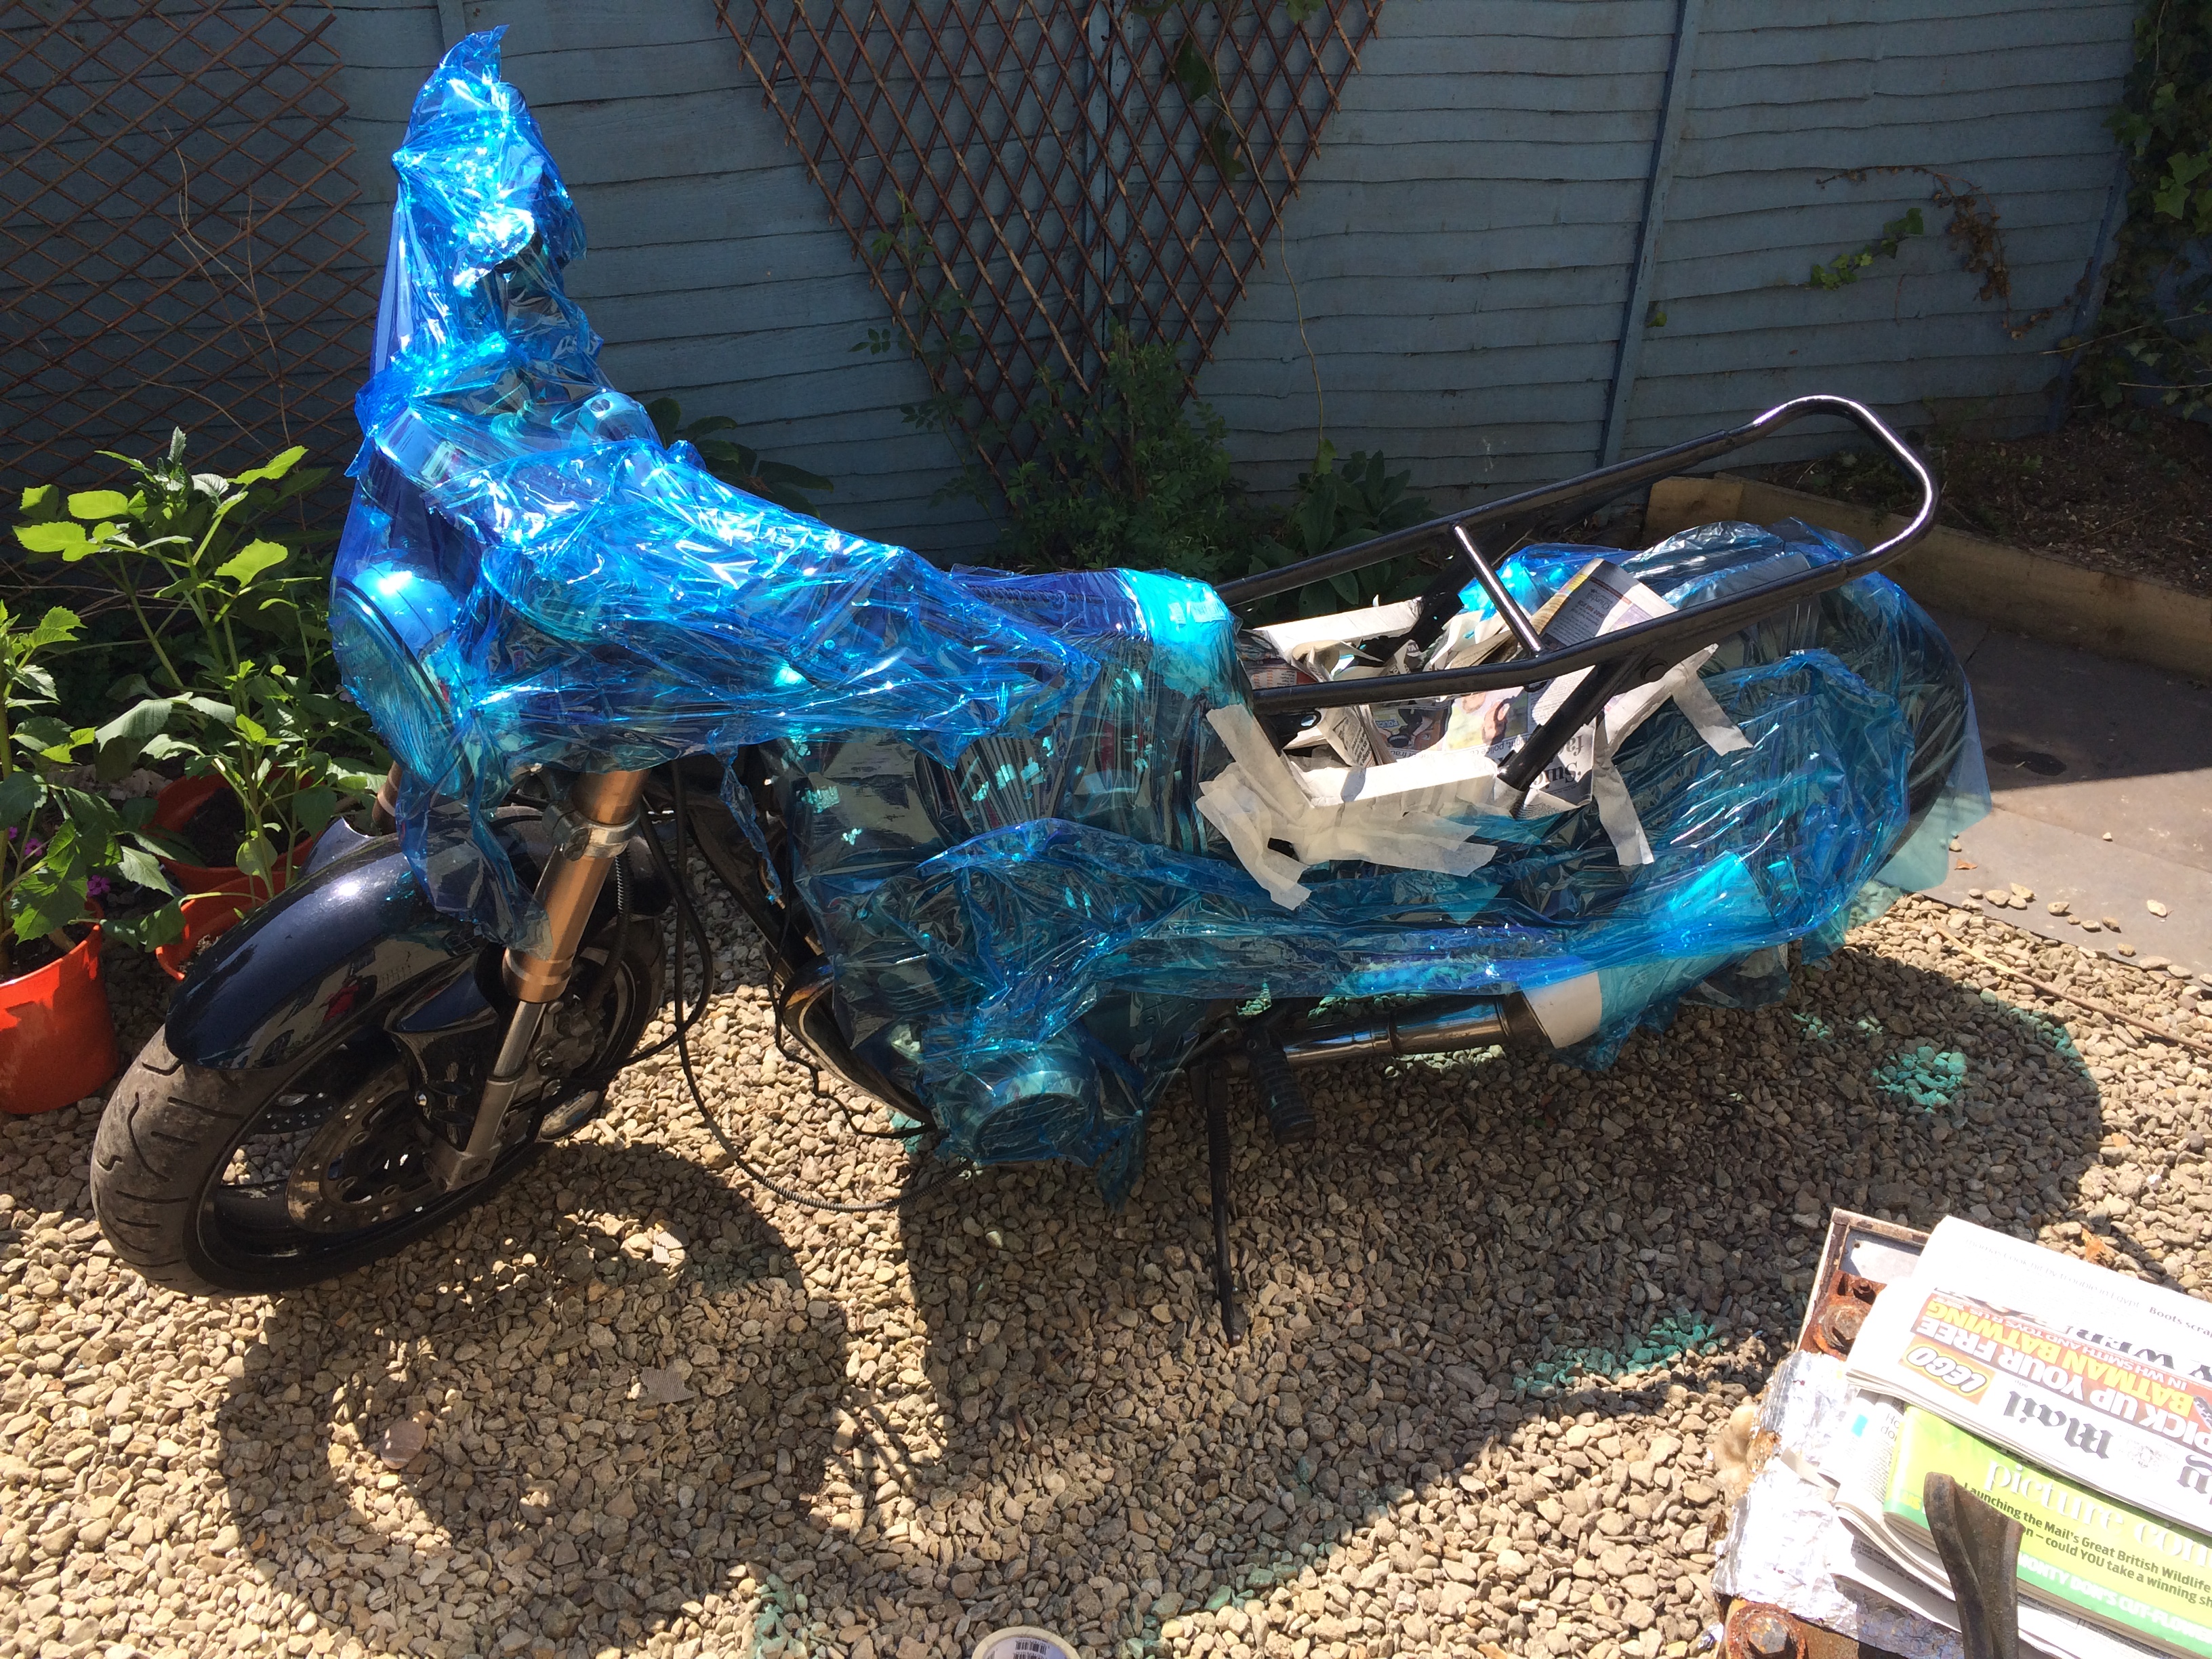
Next up I had to paint the frame where I had cut and sanded back. I masked off the rest of the bike and went to work.
After that it was time to work on the seat pan. I first bent the sheet aluminium to the right angles

Test fit went well
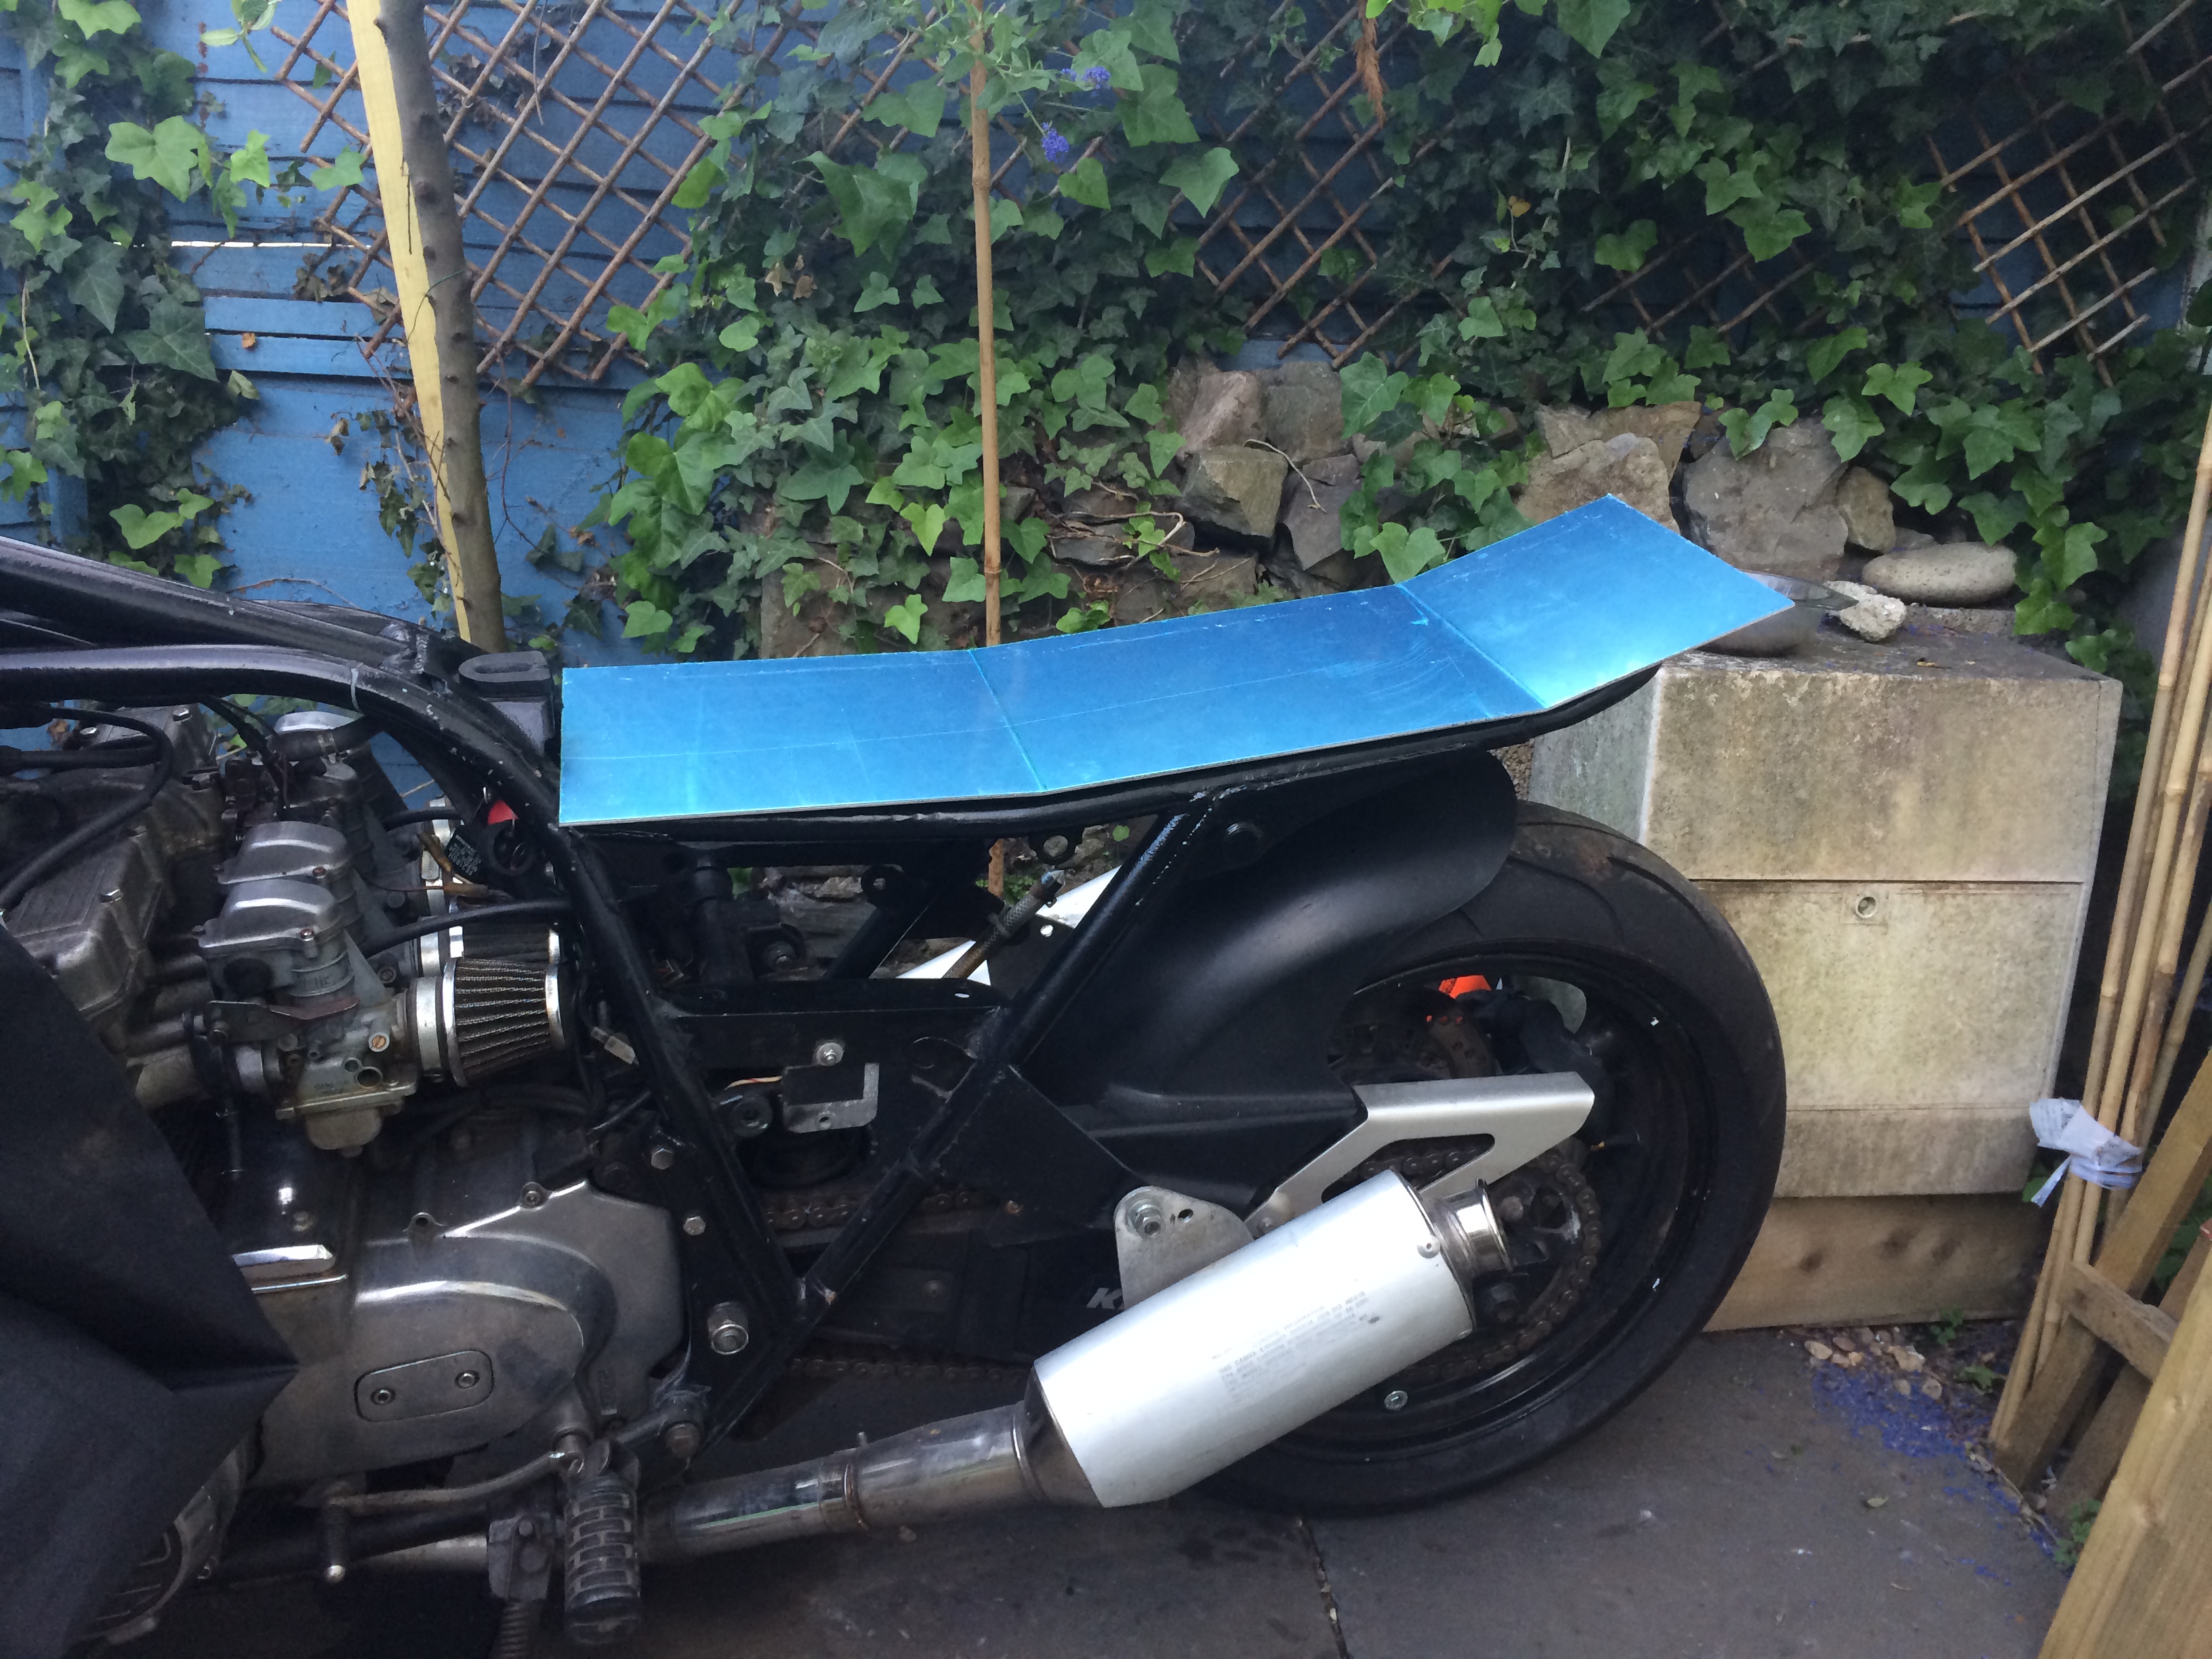
I then trimmed it to get the shape of the frame.

I had created a new battery cage to be attached to the bottom of the seat pan

I’m working on the mounting points for the seat pan. I’ve drilled through the cross member and put two nutsert’s into the seat pan as the main attachment point. I’m now making a bracket to also attach the front of the seat to the frame. Using the two threaded holes under the tank.

Progress on the Kawasaki
I’m still researching the kill switch issue. There seems to be a distinct lack of good looking switch gear. My favourite choice so far is from Highway Dirt bikes

Though I’m not sure how much they will end up costing when being shipped to the UK. There is a supplier just down the road from me with the silver ones in stock as another option. I would prefer to go for the black ones though.
I’ve not done as much work this weekend on the bike as it’s been absolutely foul in the weather department. High winds and rain are not conducive to painting. I managed to find some decent weather to start making my replacement battery box.

I making it in aluminium, I’ve made a cardboard template of what I’m planning. The first piece has been cut and shaped. I am waiting on some 2mm aluminium for the more complicated piece, as it will make the bending much easier.

My cordura has arrived for the seat, I’ve been trying to design how it will look with my wife. Neither of us is 100% clear on how best to get the look I want to achieve, so more research is needed. I also need to order some foam to start to make the base of the seat. The extra 3mm aluminium in the above picture is going to make up the base of the seat, I’m going to need to shape and bend it to follow the profile of the frame.
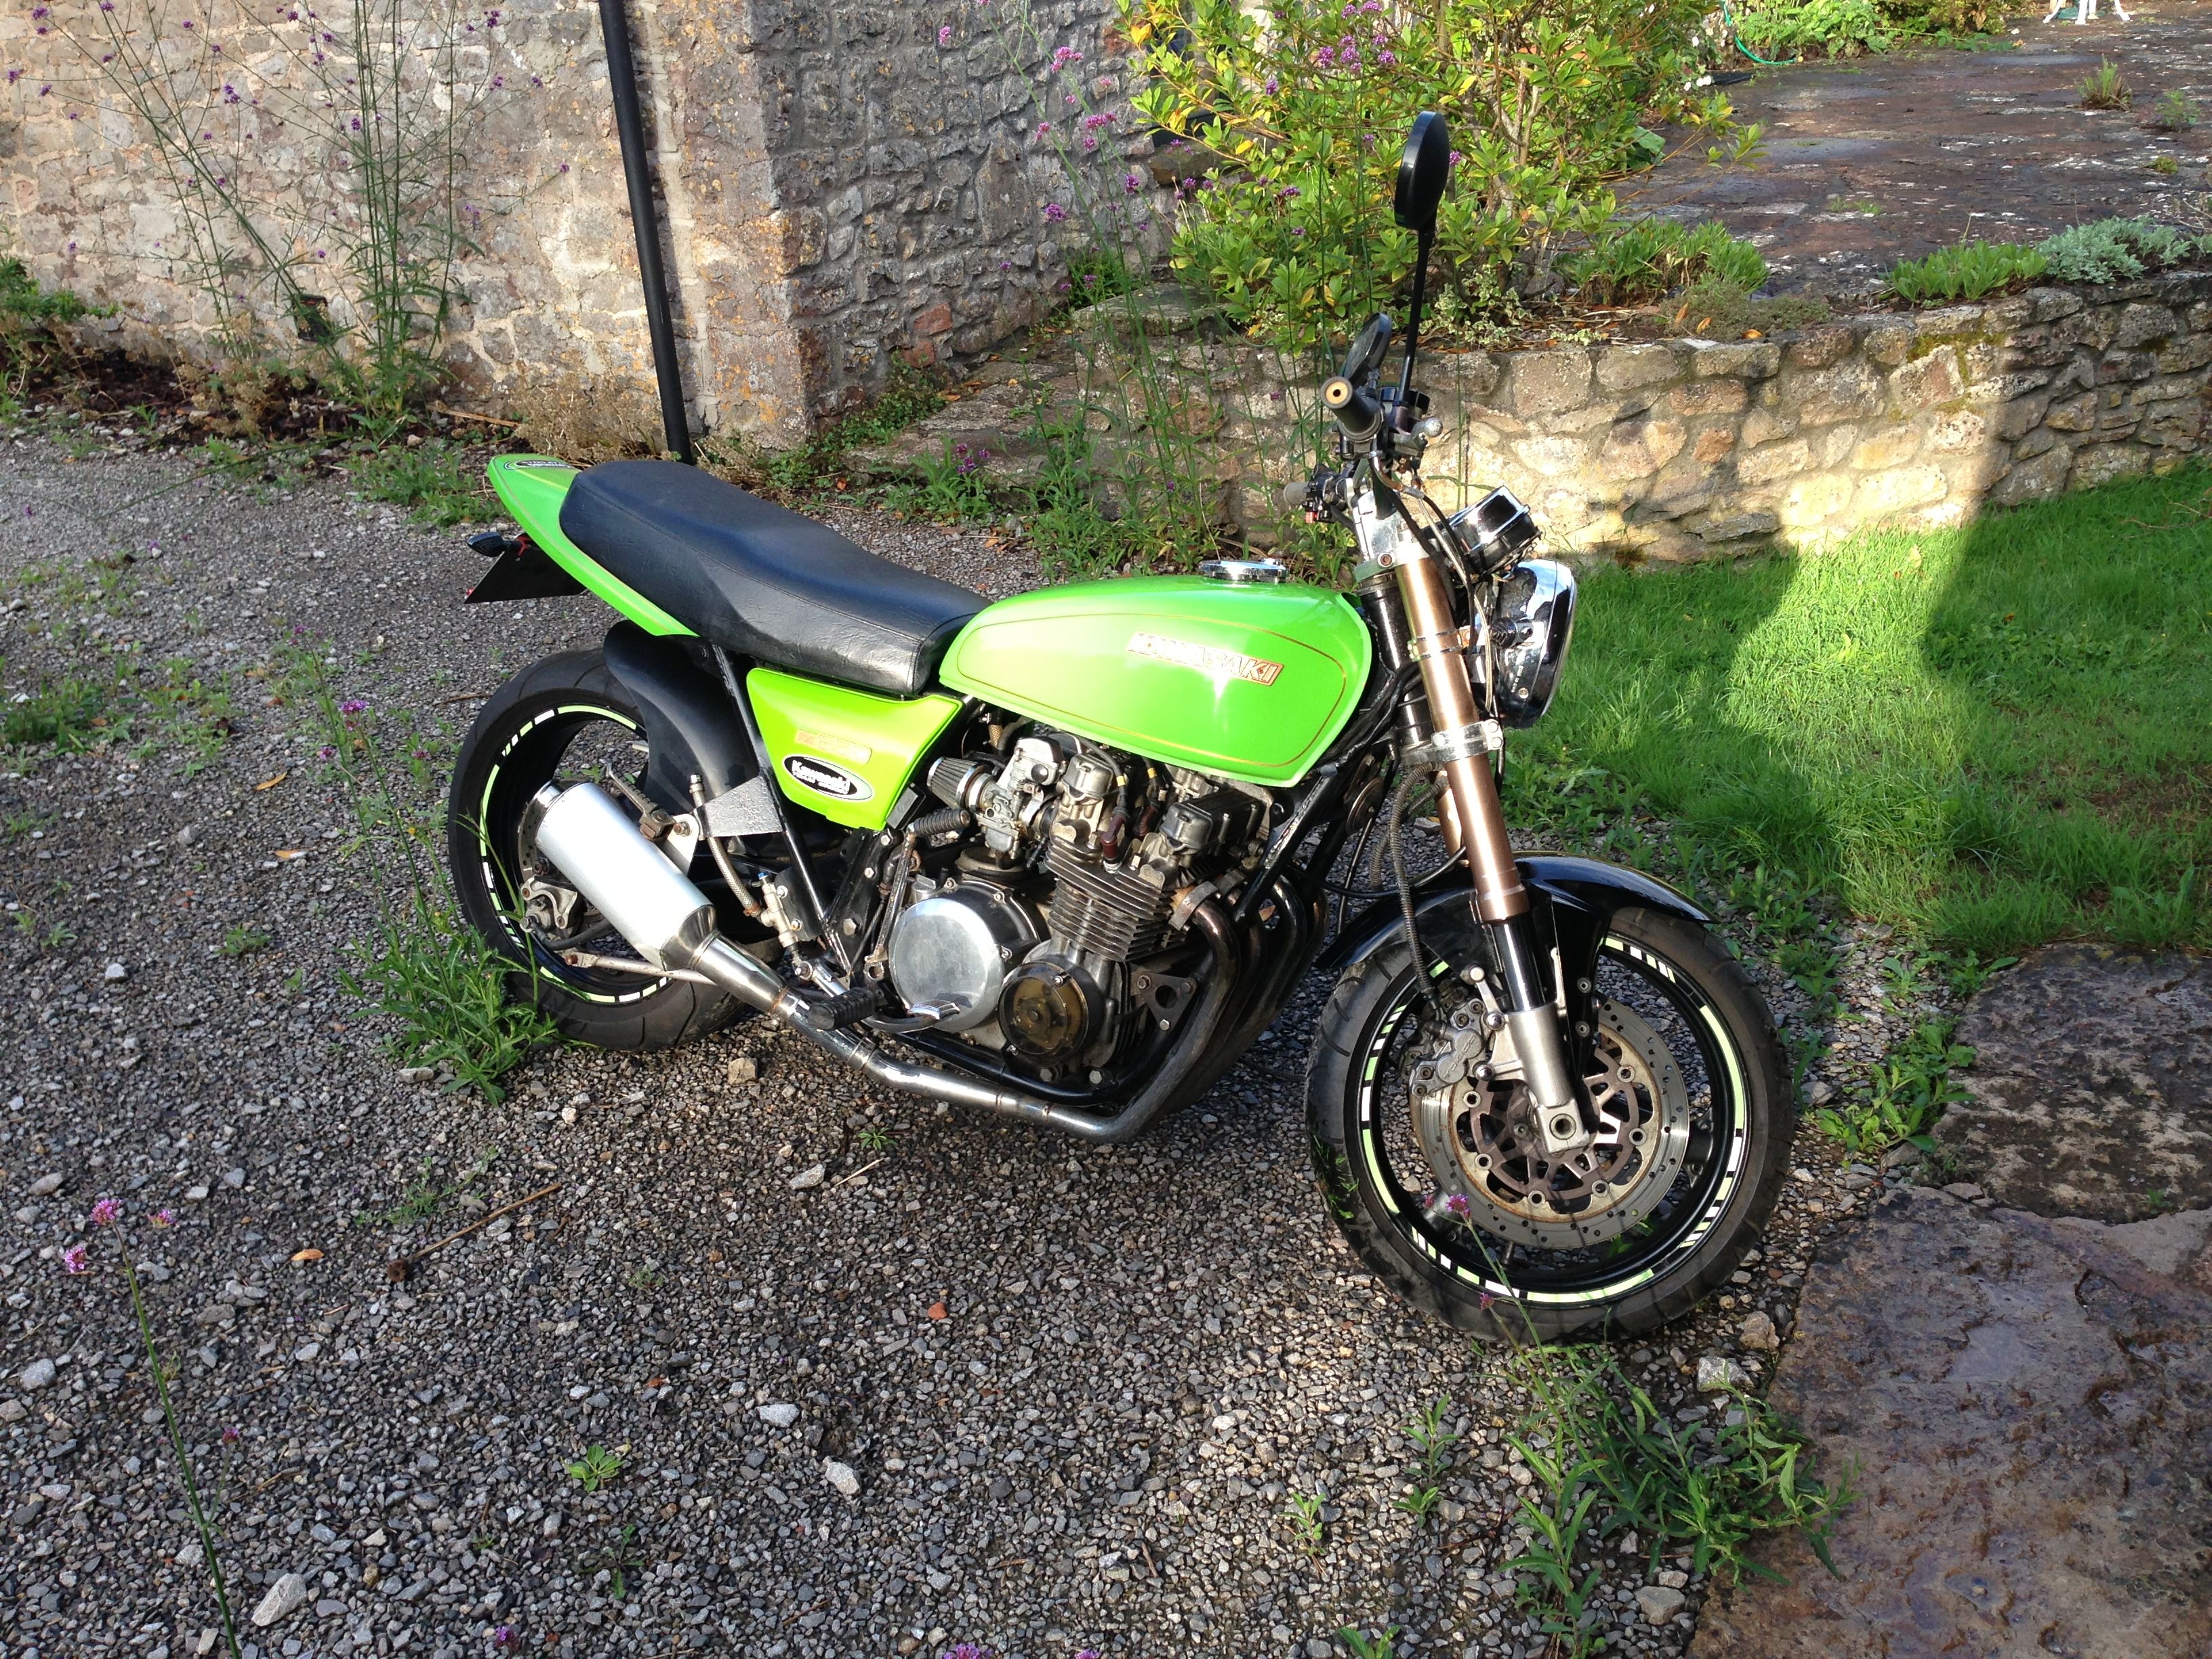
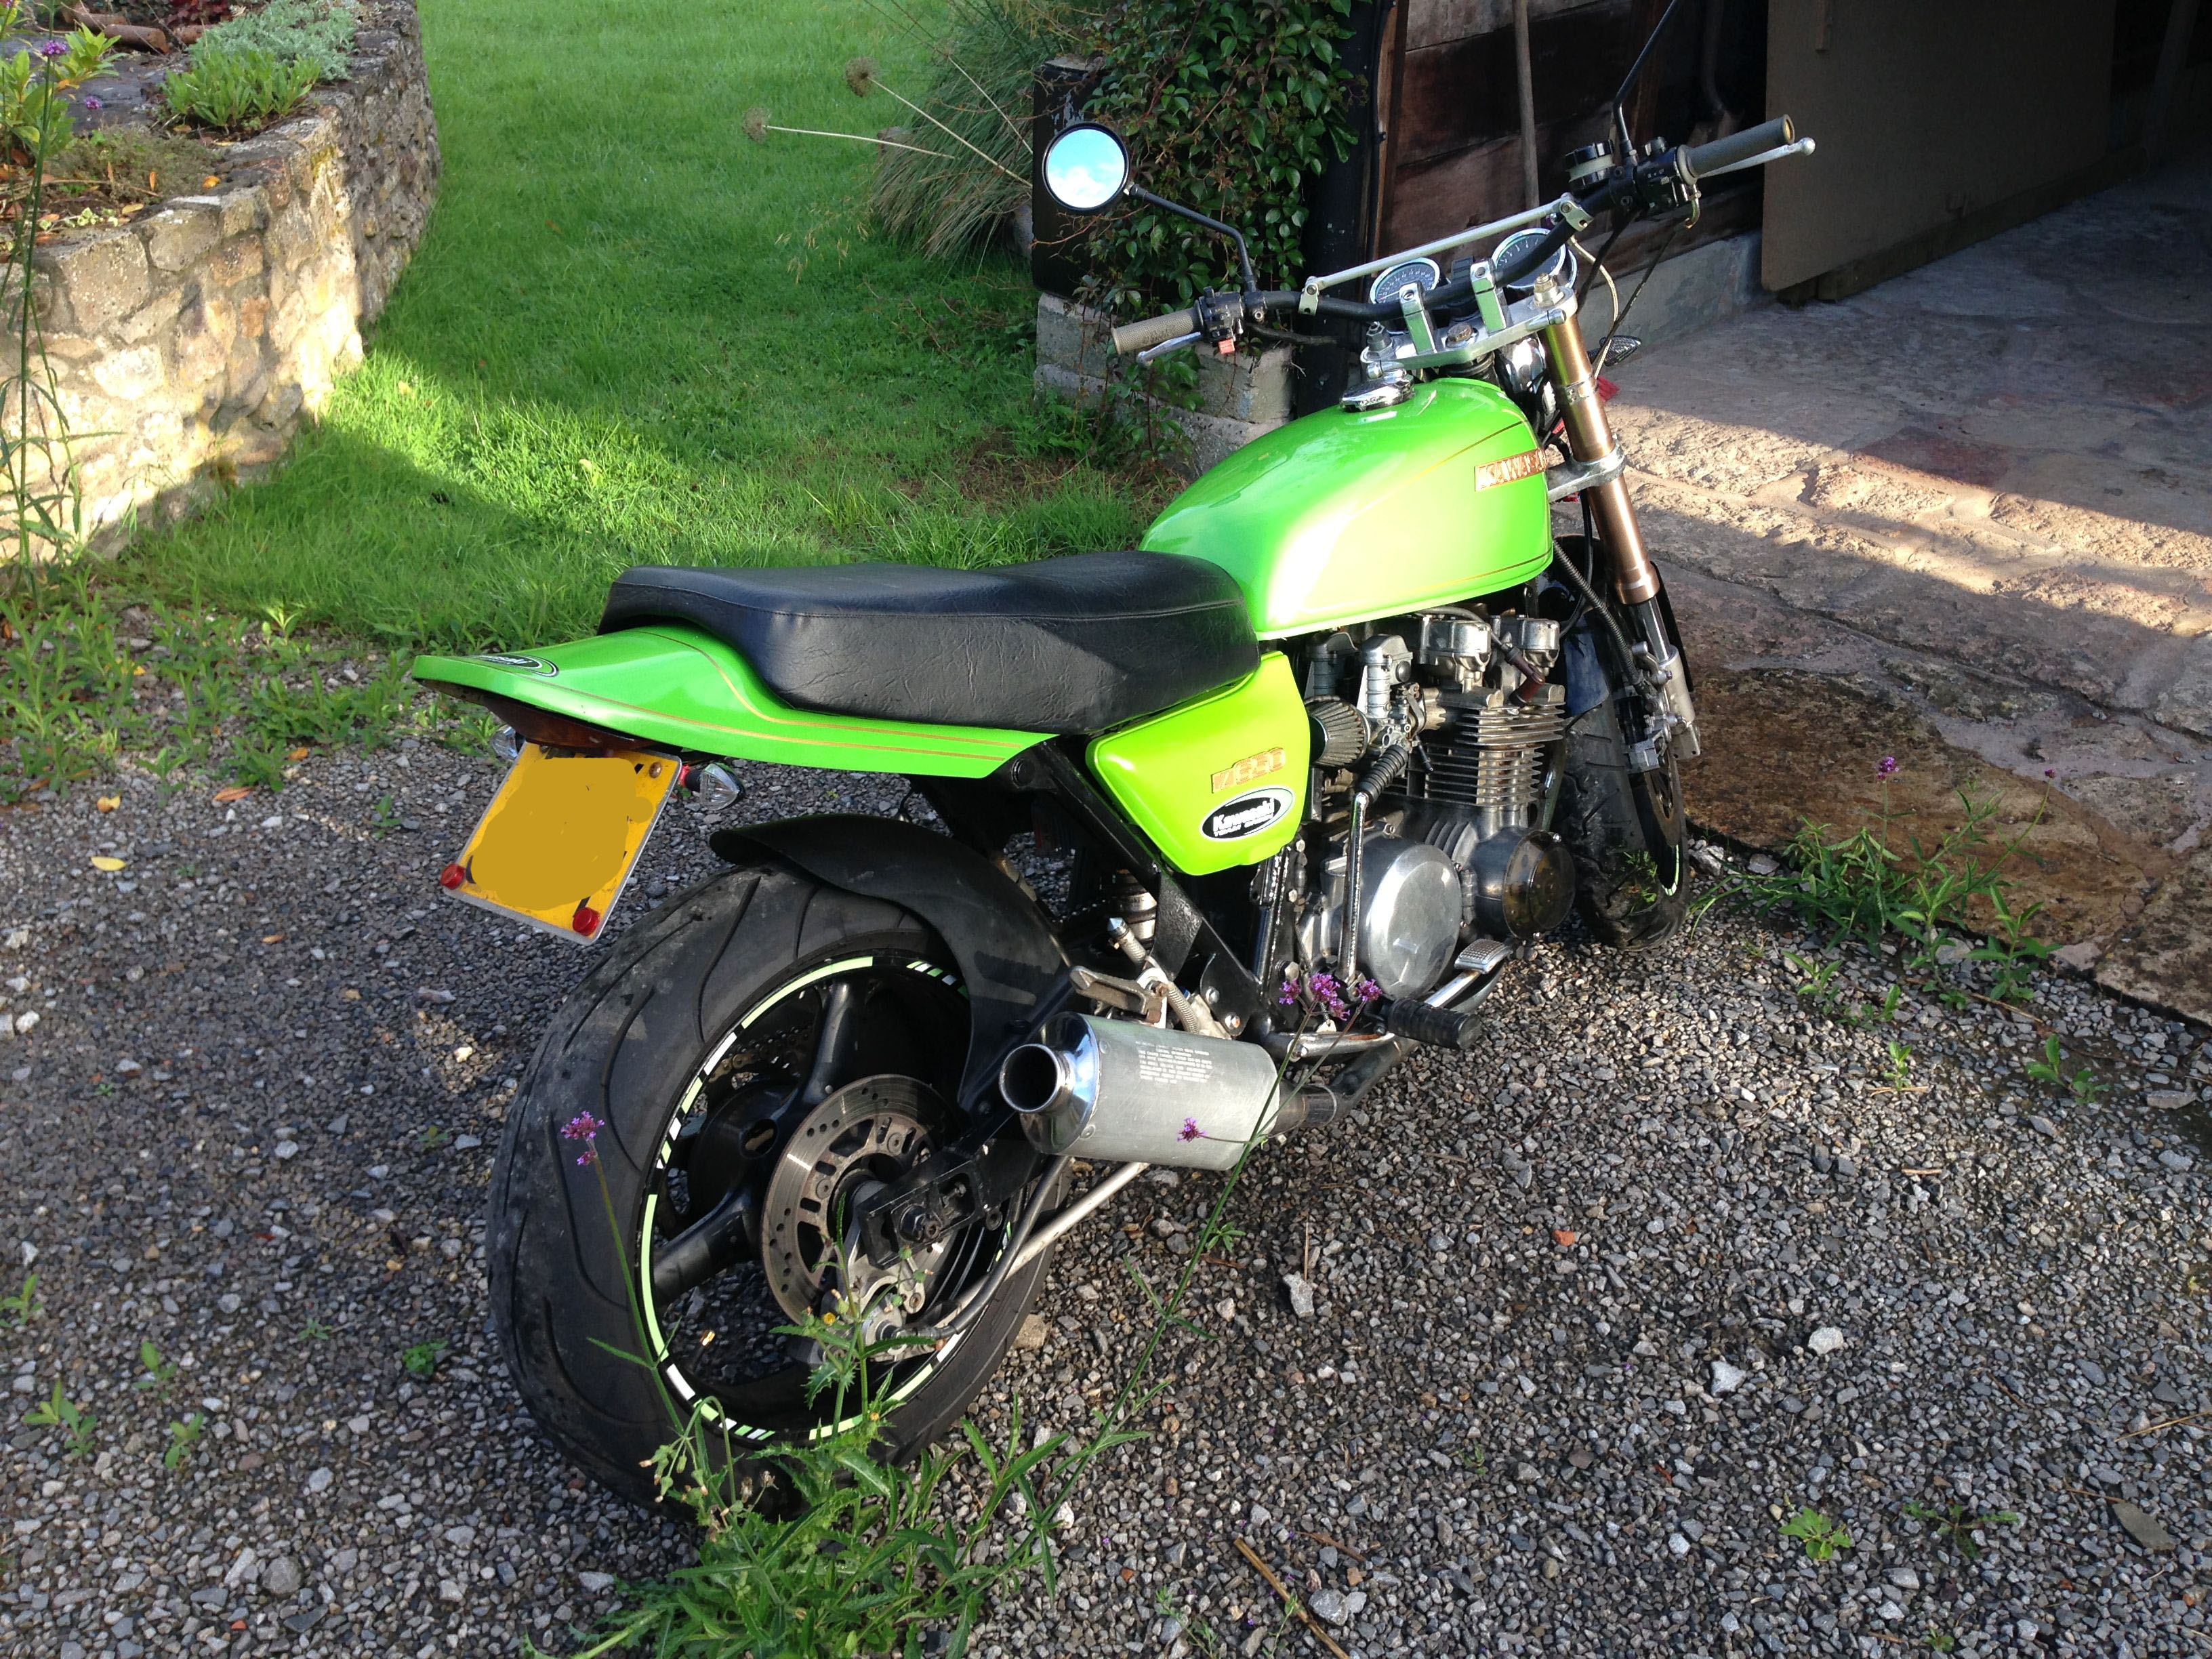
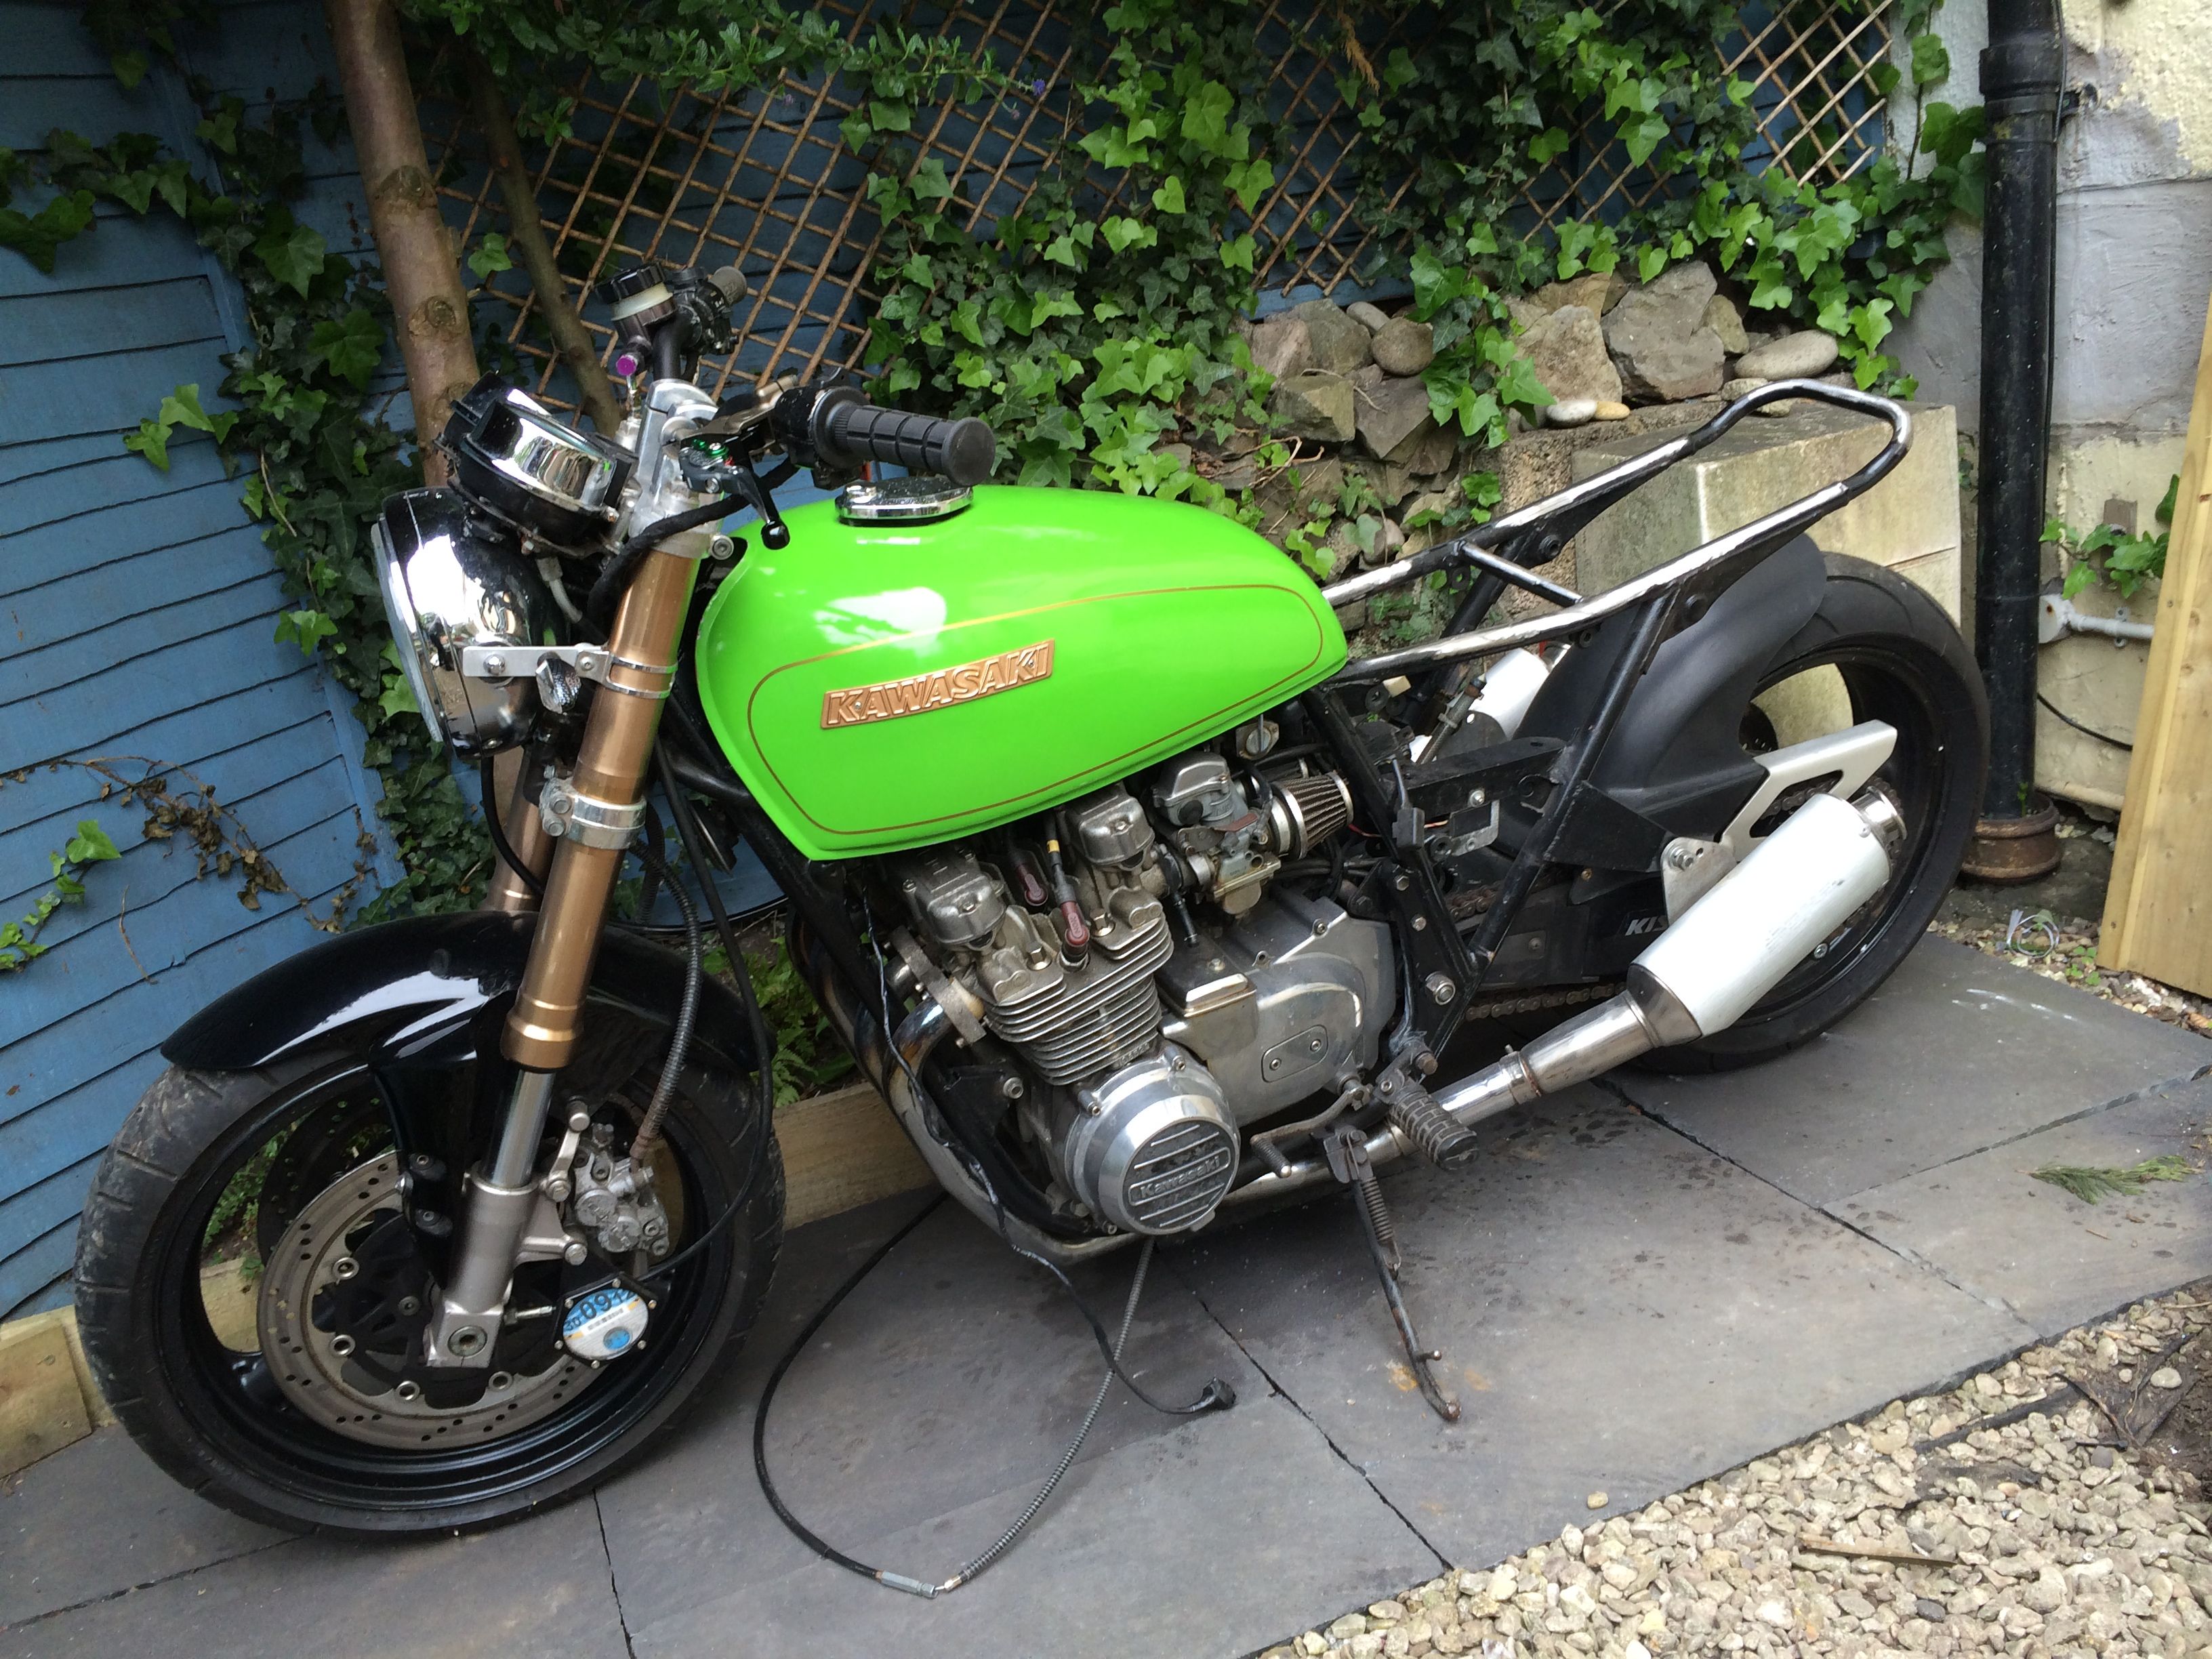
Kawasaki Z650 modifications
Hi All
After looking through so many amazing projects I thought it was time to start documenting mine. I bought it a few months ago in preparation for getting my license. Family and work stuff has meant that I haven’t finished that process yet, but intend to do it over the next month or two.
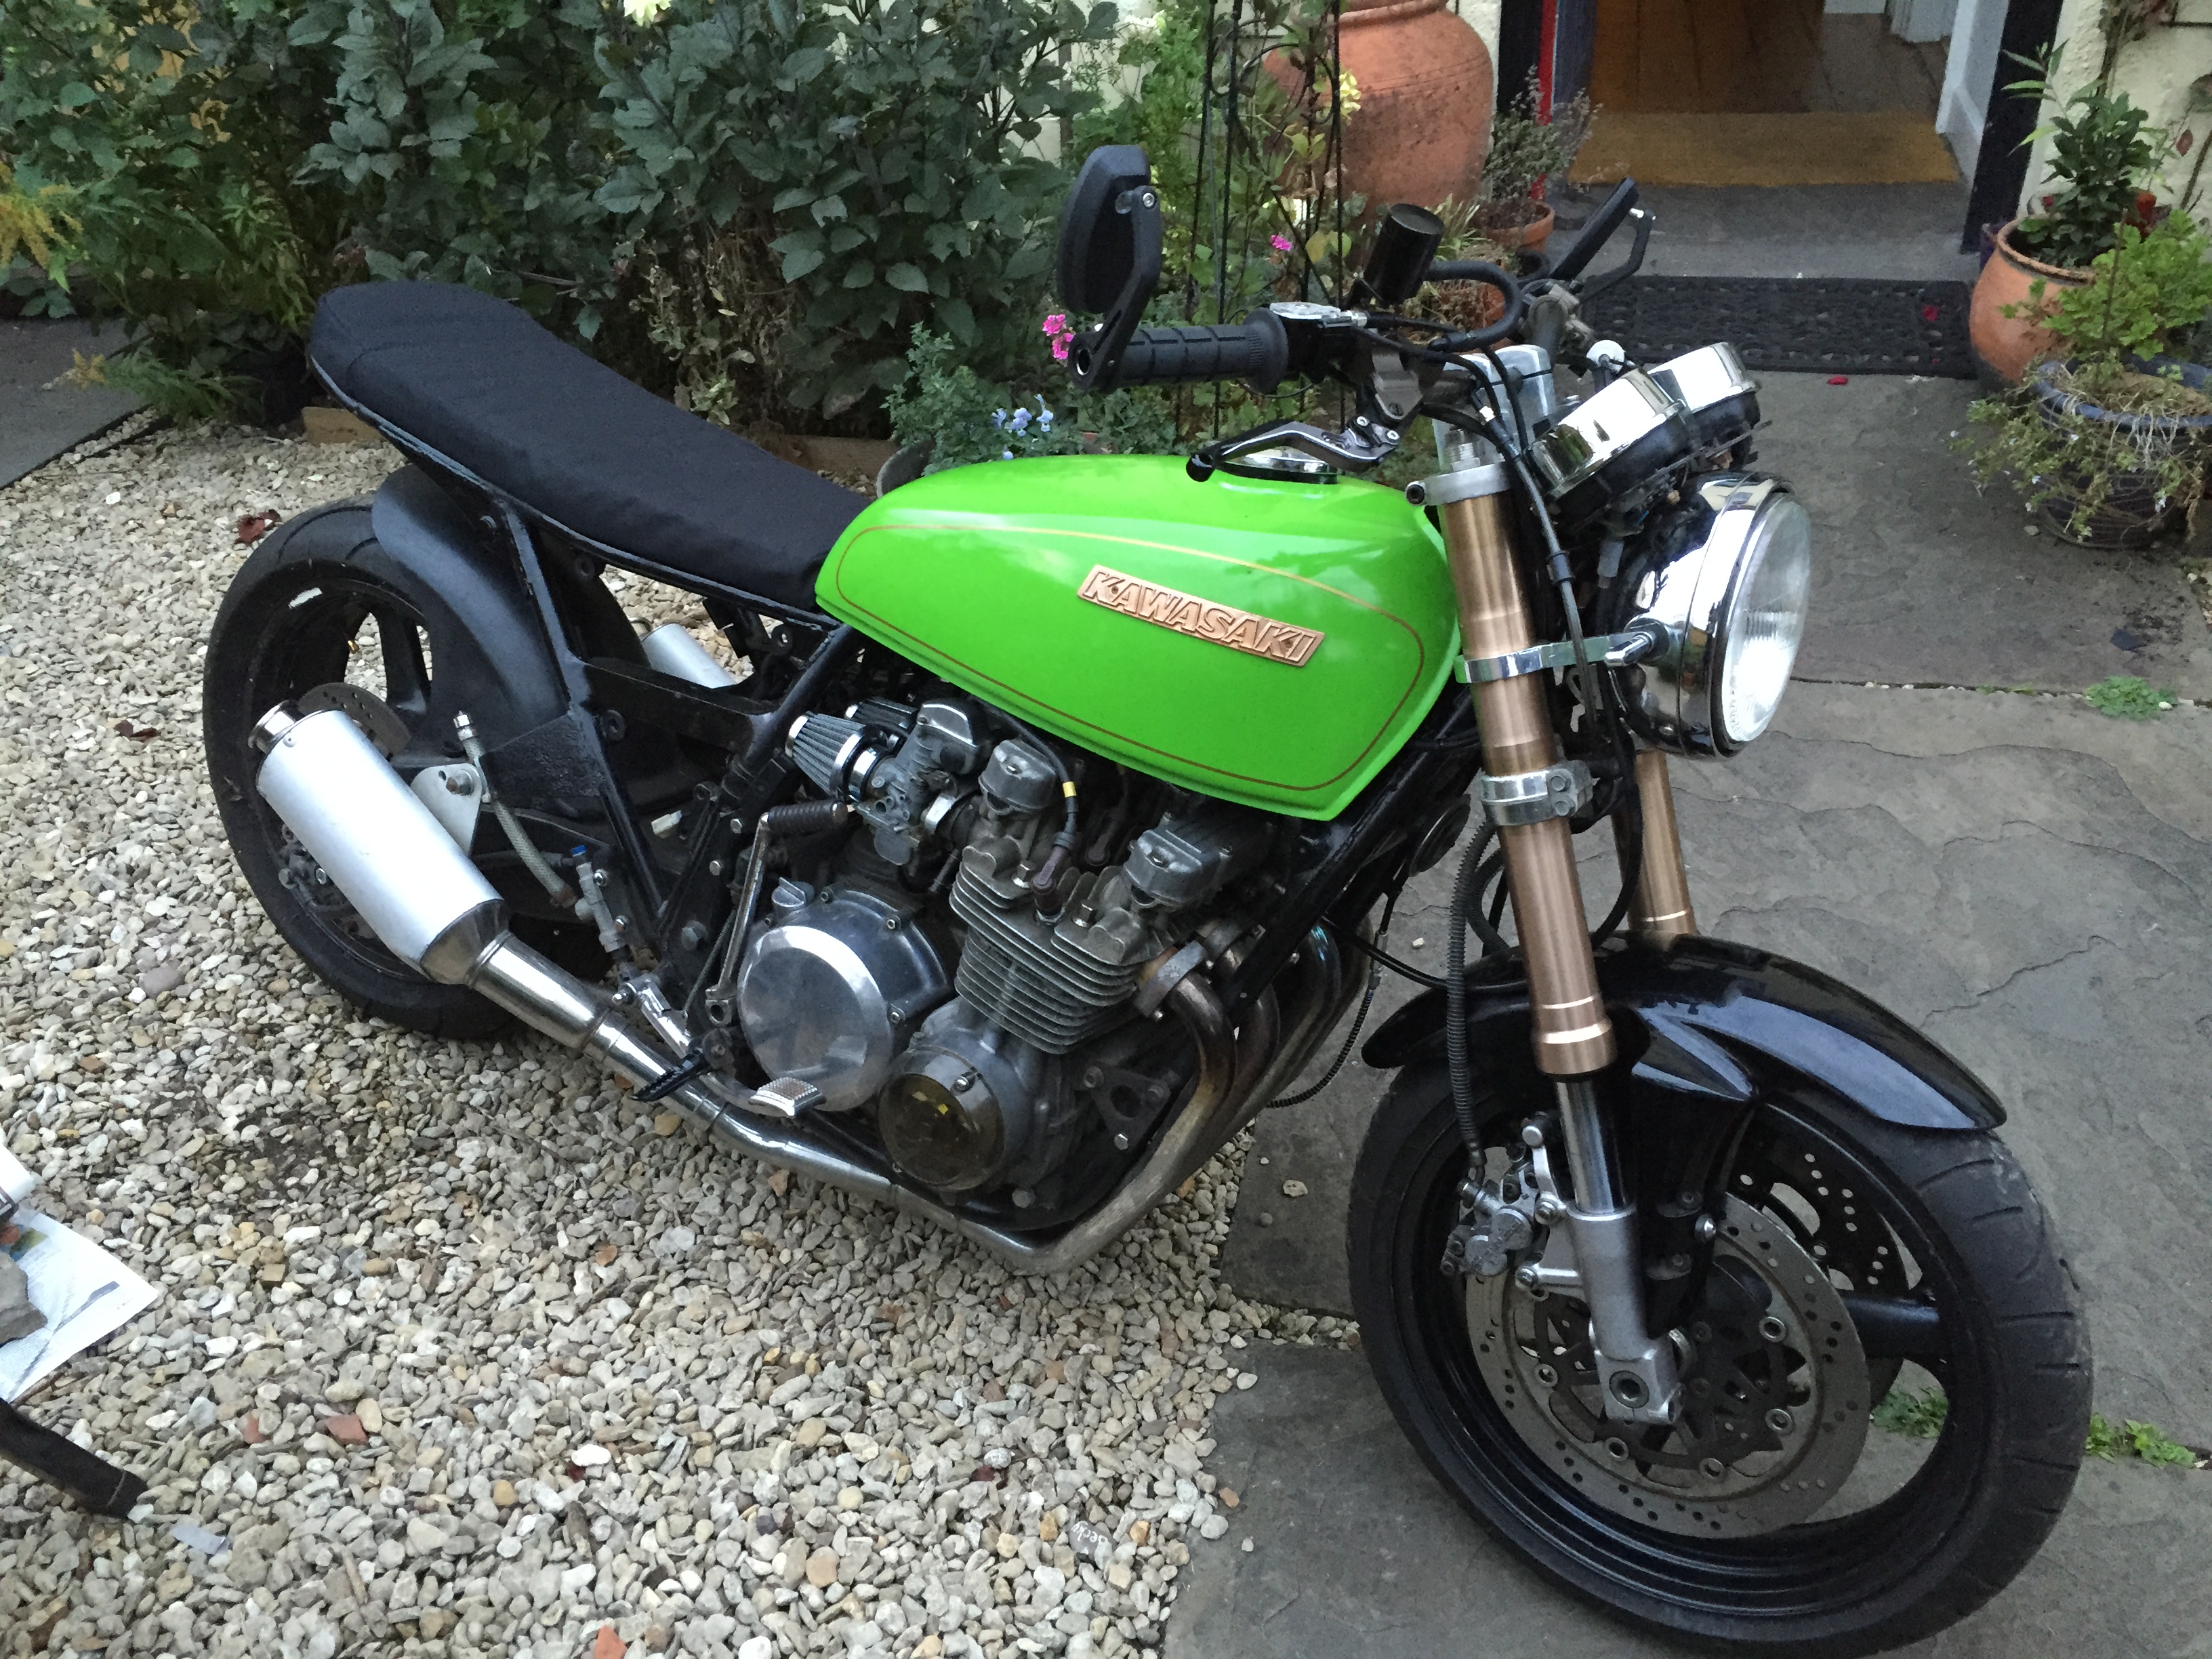
It was a 78 KZ650 which was modified professionally for a previous owner. He had a ZXR400 front and rear end grafted on. It was what I was wanting from the bike, so when I saw it for sale at a great price I had to jump on it.
When I picked it up it looked like this
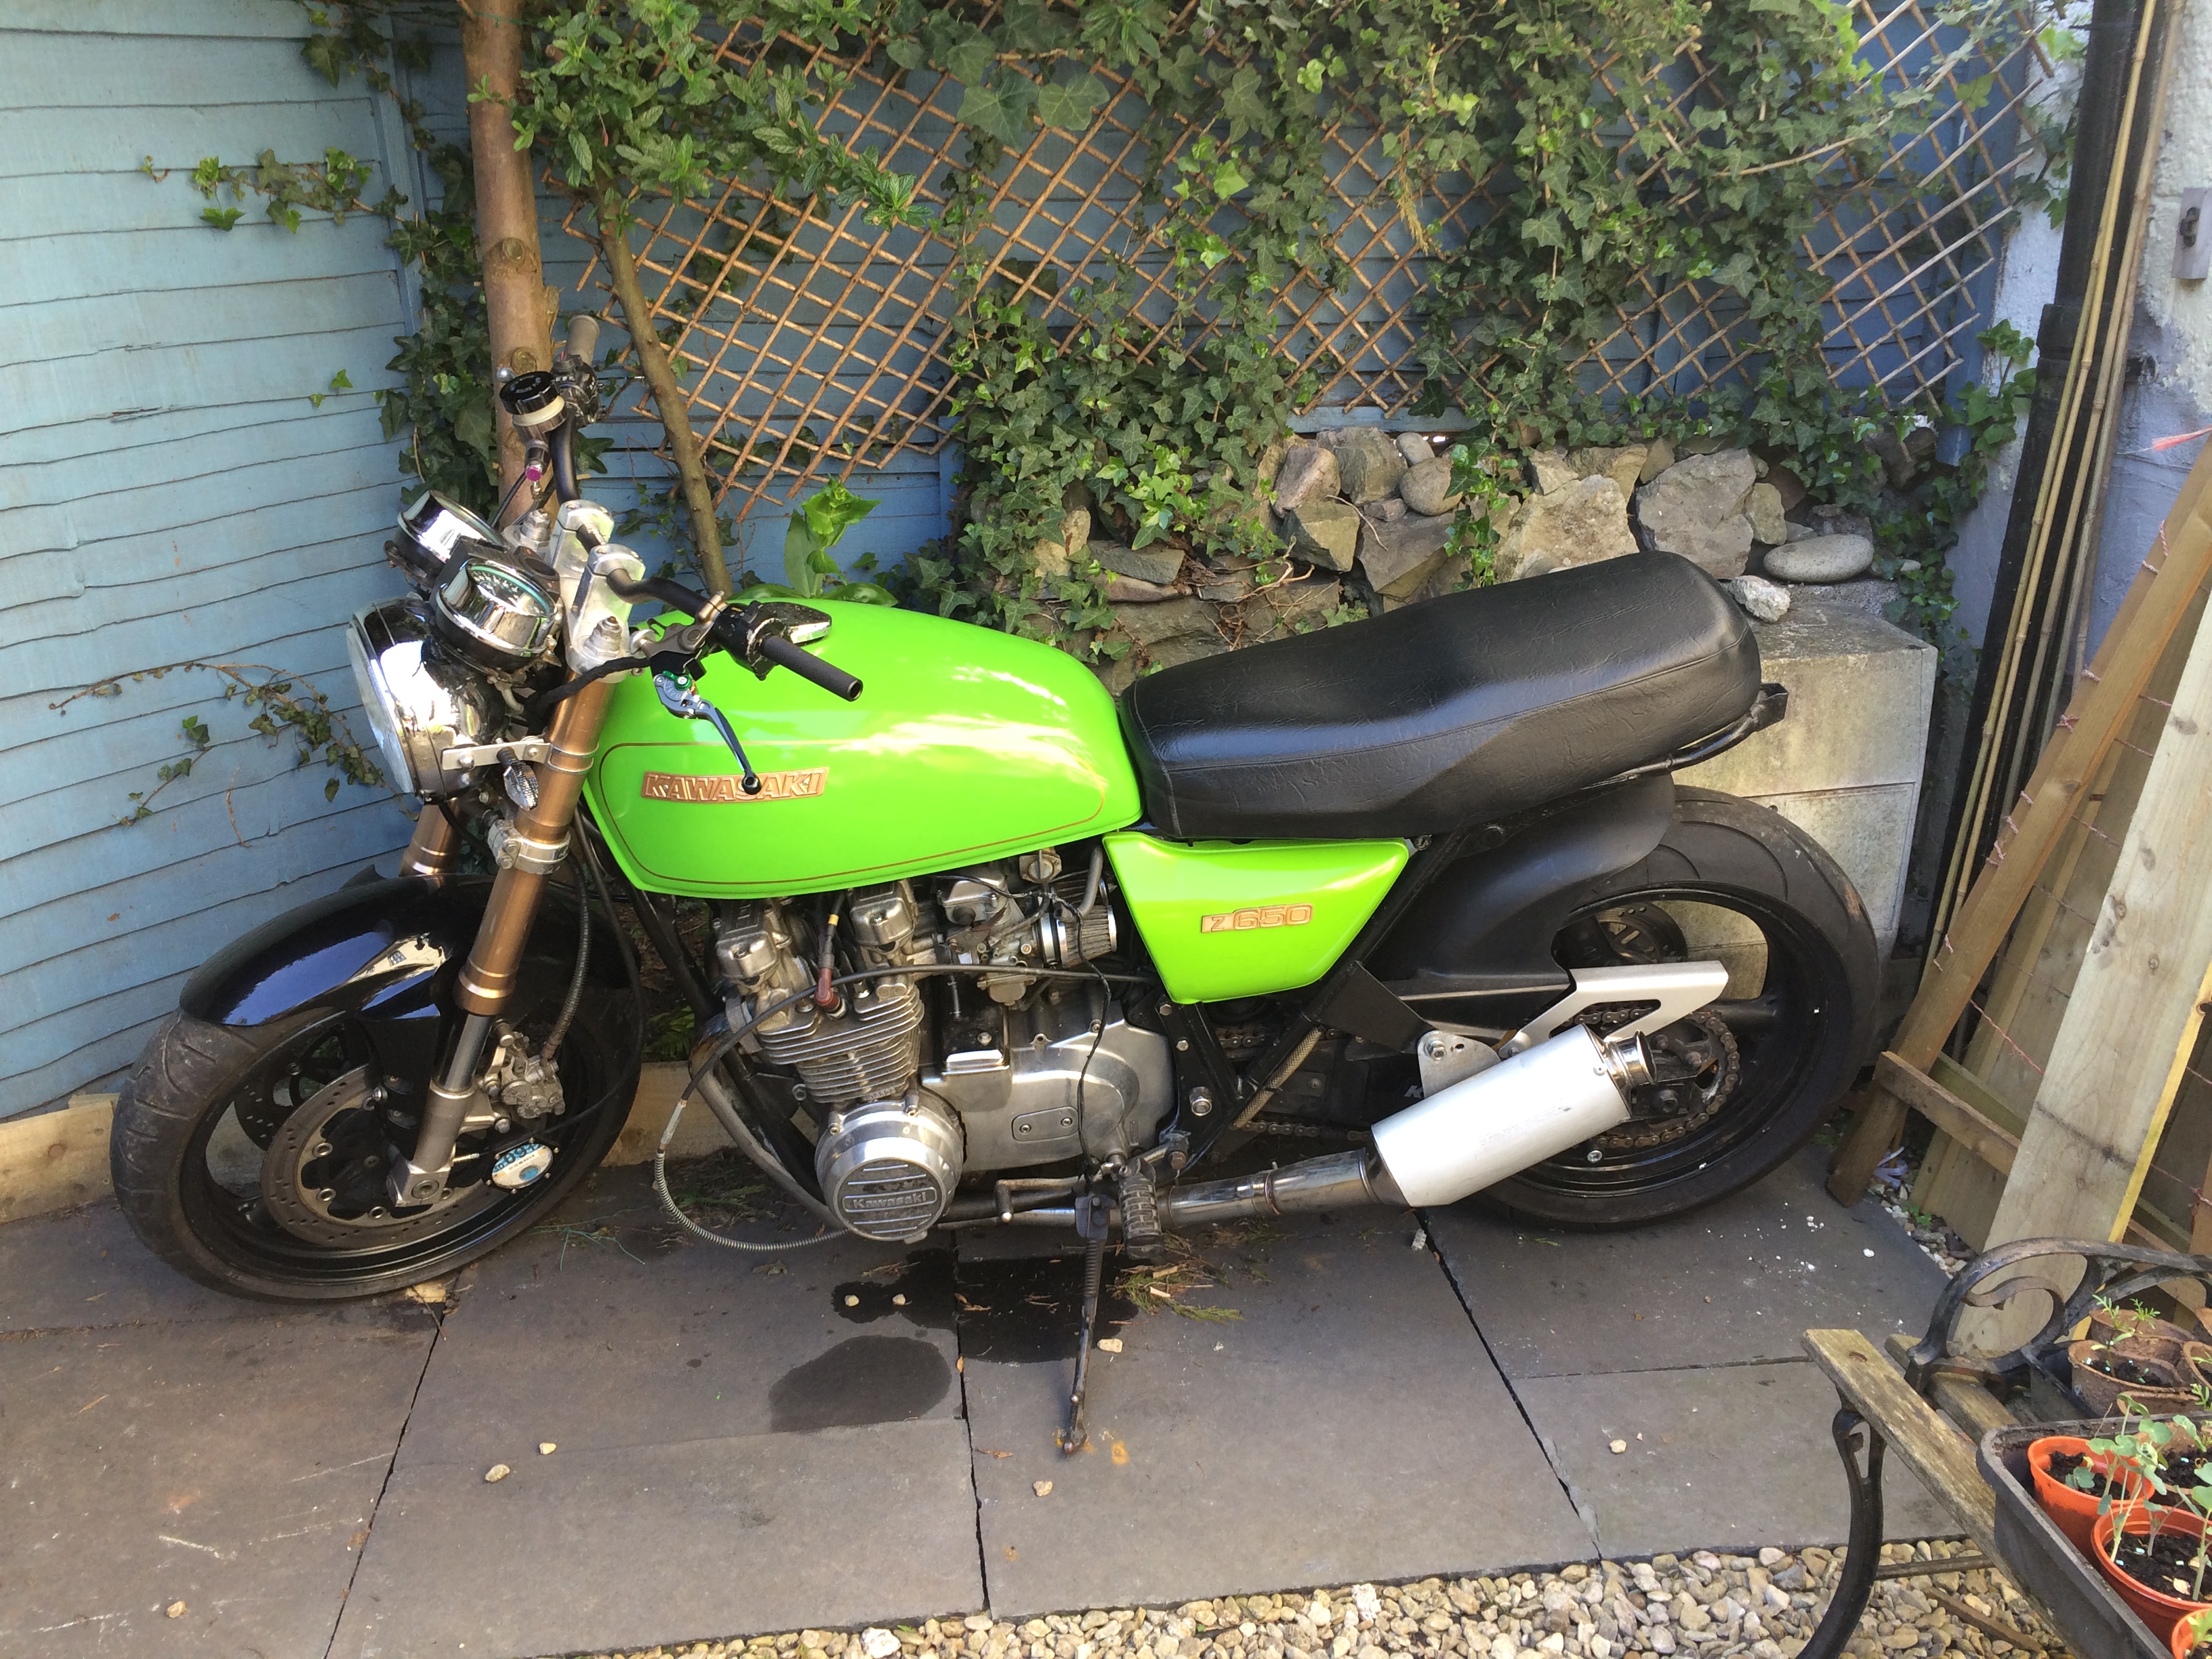
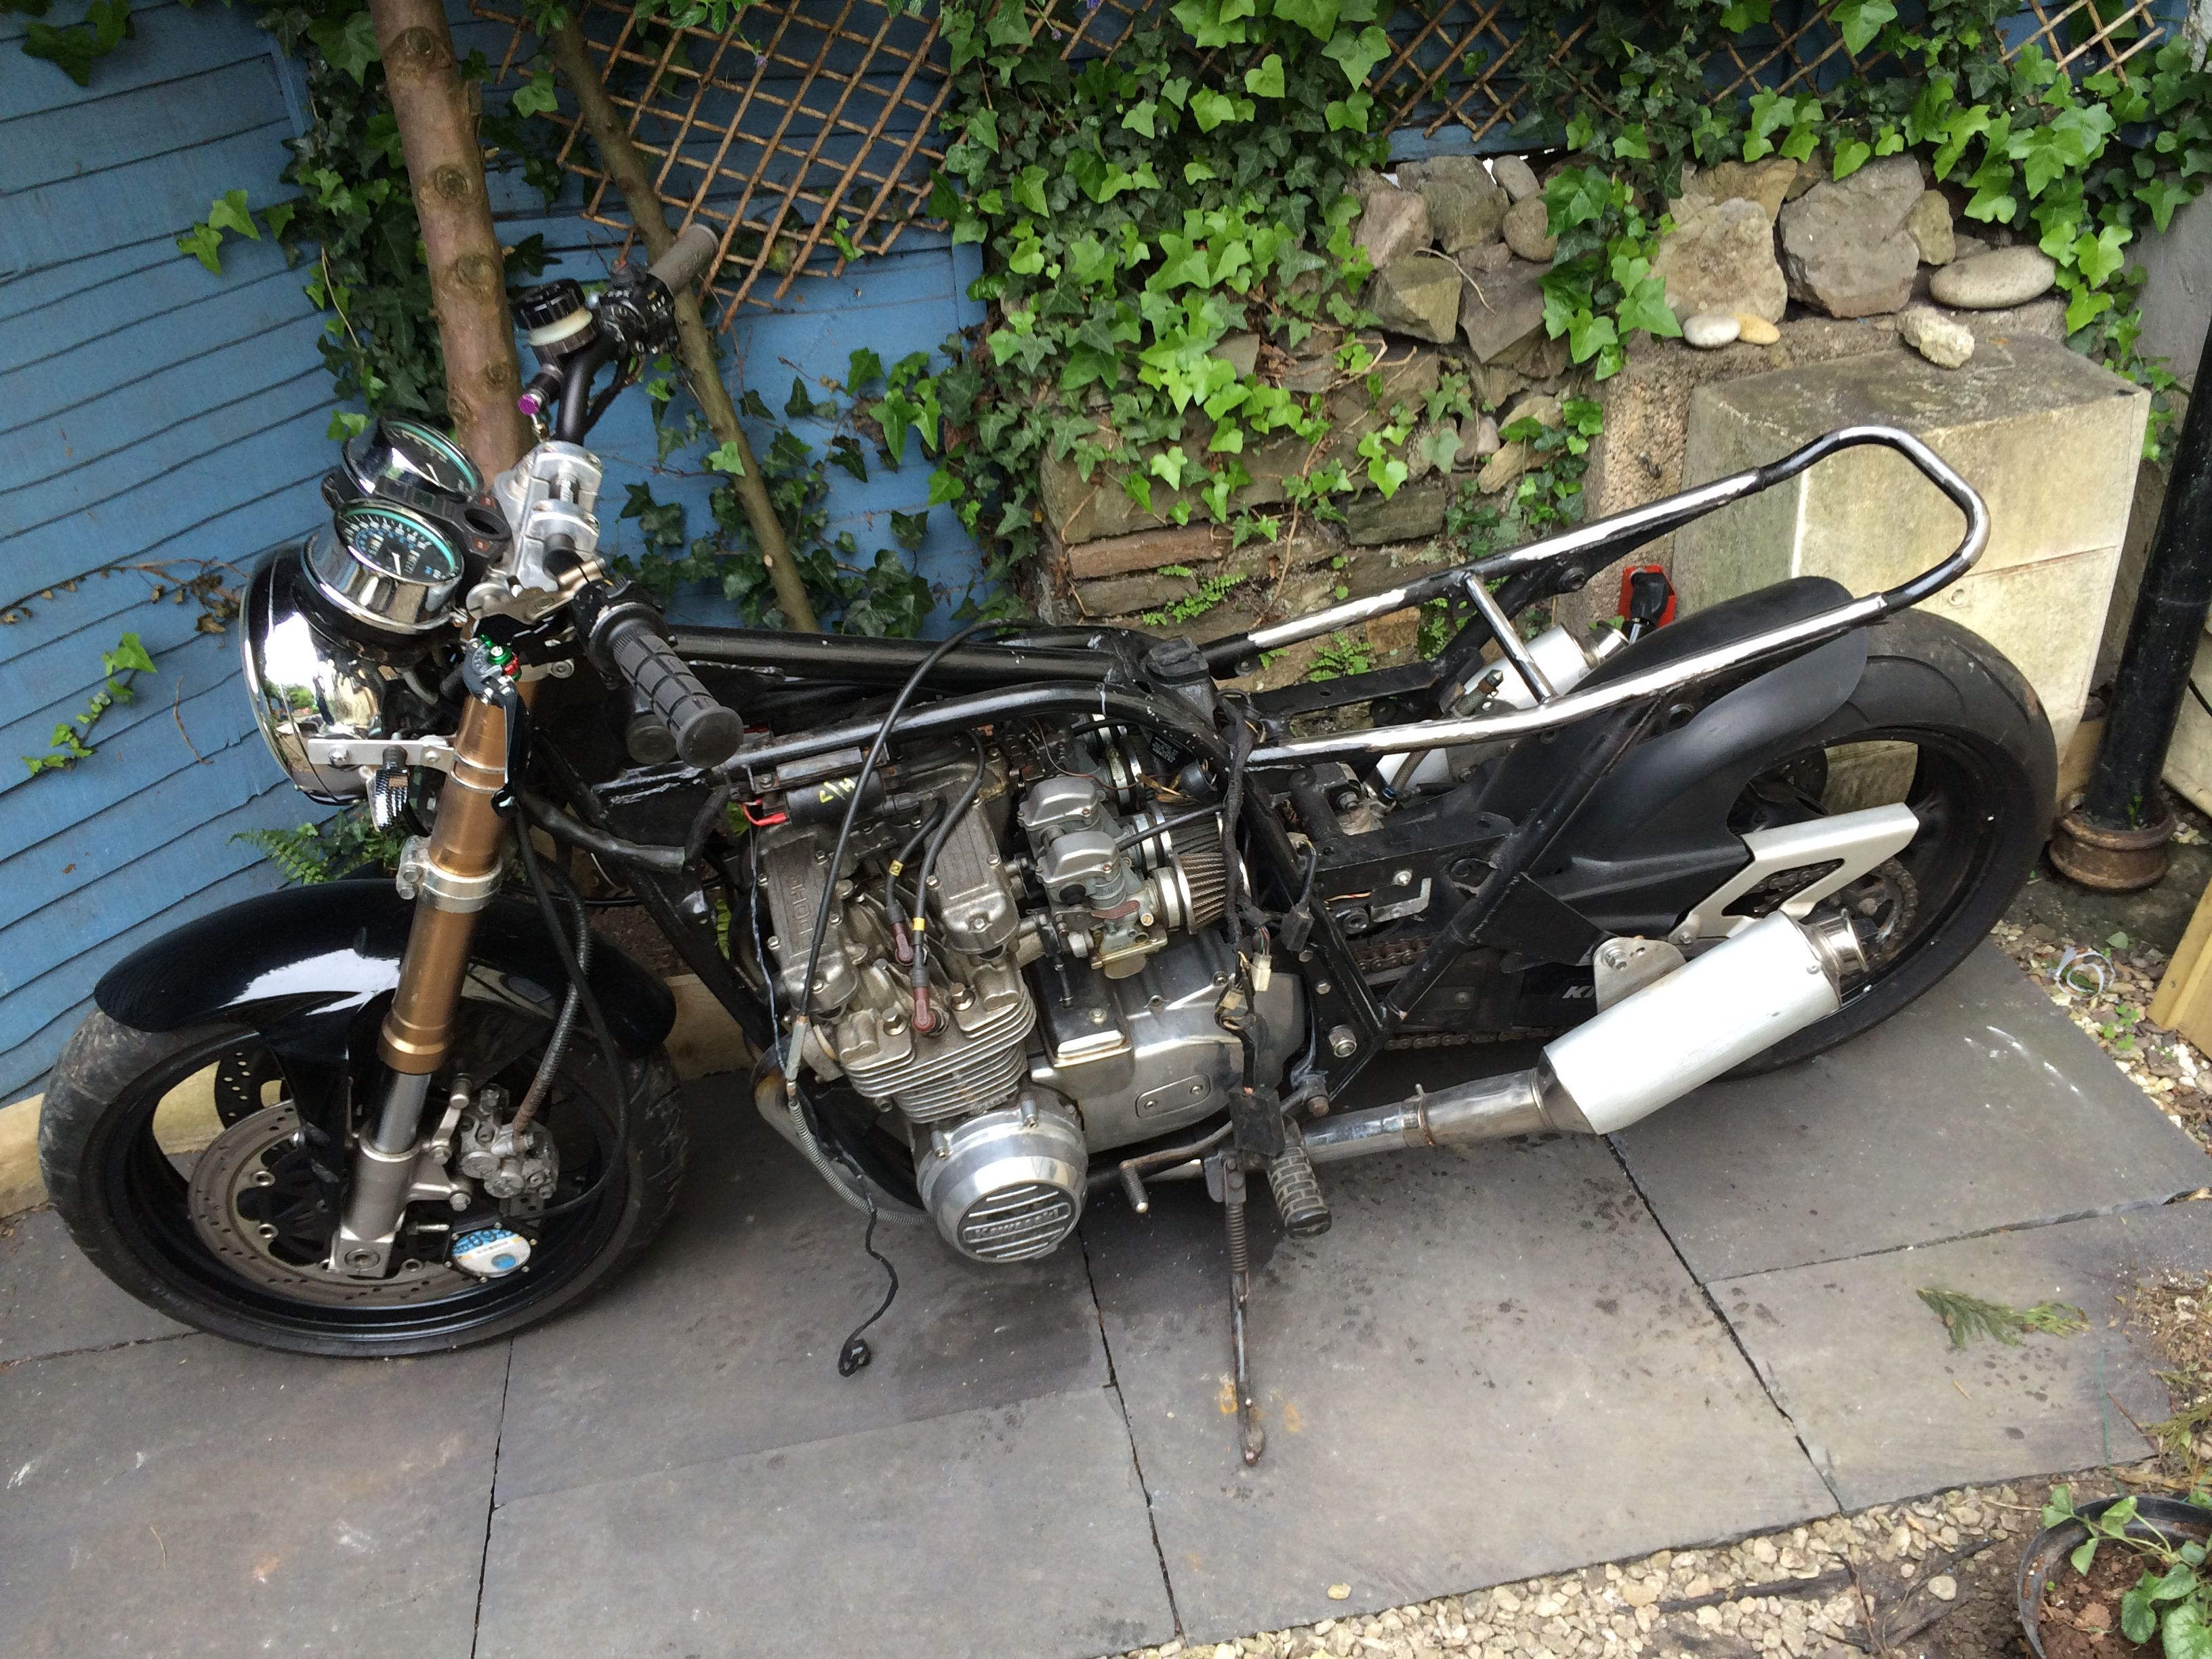
The first things I wanted to do was to tidy up the front end. To simplify the controls and to make it much cleaner looking. So I ditched the bars and mirrors it came with. As they were not so clean.
I picked up a Renthal bar in grey along with some new Oury grips and new levers.
I’ve still got loads more to do on the bars, but I’m waiting on parts. I’ve bought a new throttle and switch set that looks like this.
http://www.pedparts.co.uk/c/products/lg/Stage6_CNC_Throttle_Switch_Kit_2.jpg
These will allow me to remove the tired looking old kawasaki controls for something much more modern and simplified.
Next I wanted to start work on the seat and tail area. I wanted to get rid of the rear fairings/lights and stock seat. I wanted something more brat/cafe style and less bulky.
This meant removing the stock seat and fairing.
Whilst I was doing that I found a long pipe which I didn’t know what it did. With a bit of research I discovered that when the previous owners removed the stock air filter the fitted this to the crankcase. It was going to get in the way of my seat plans so I replaced it with a simple filter instead,
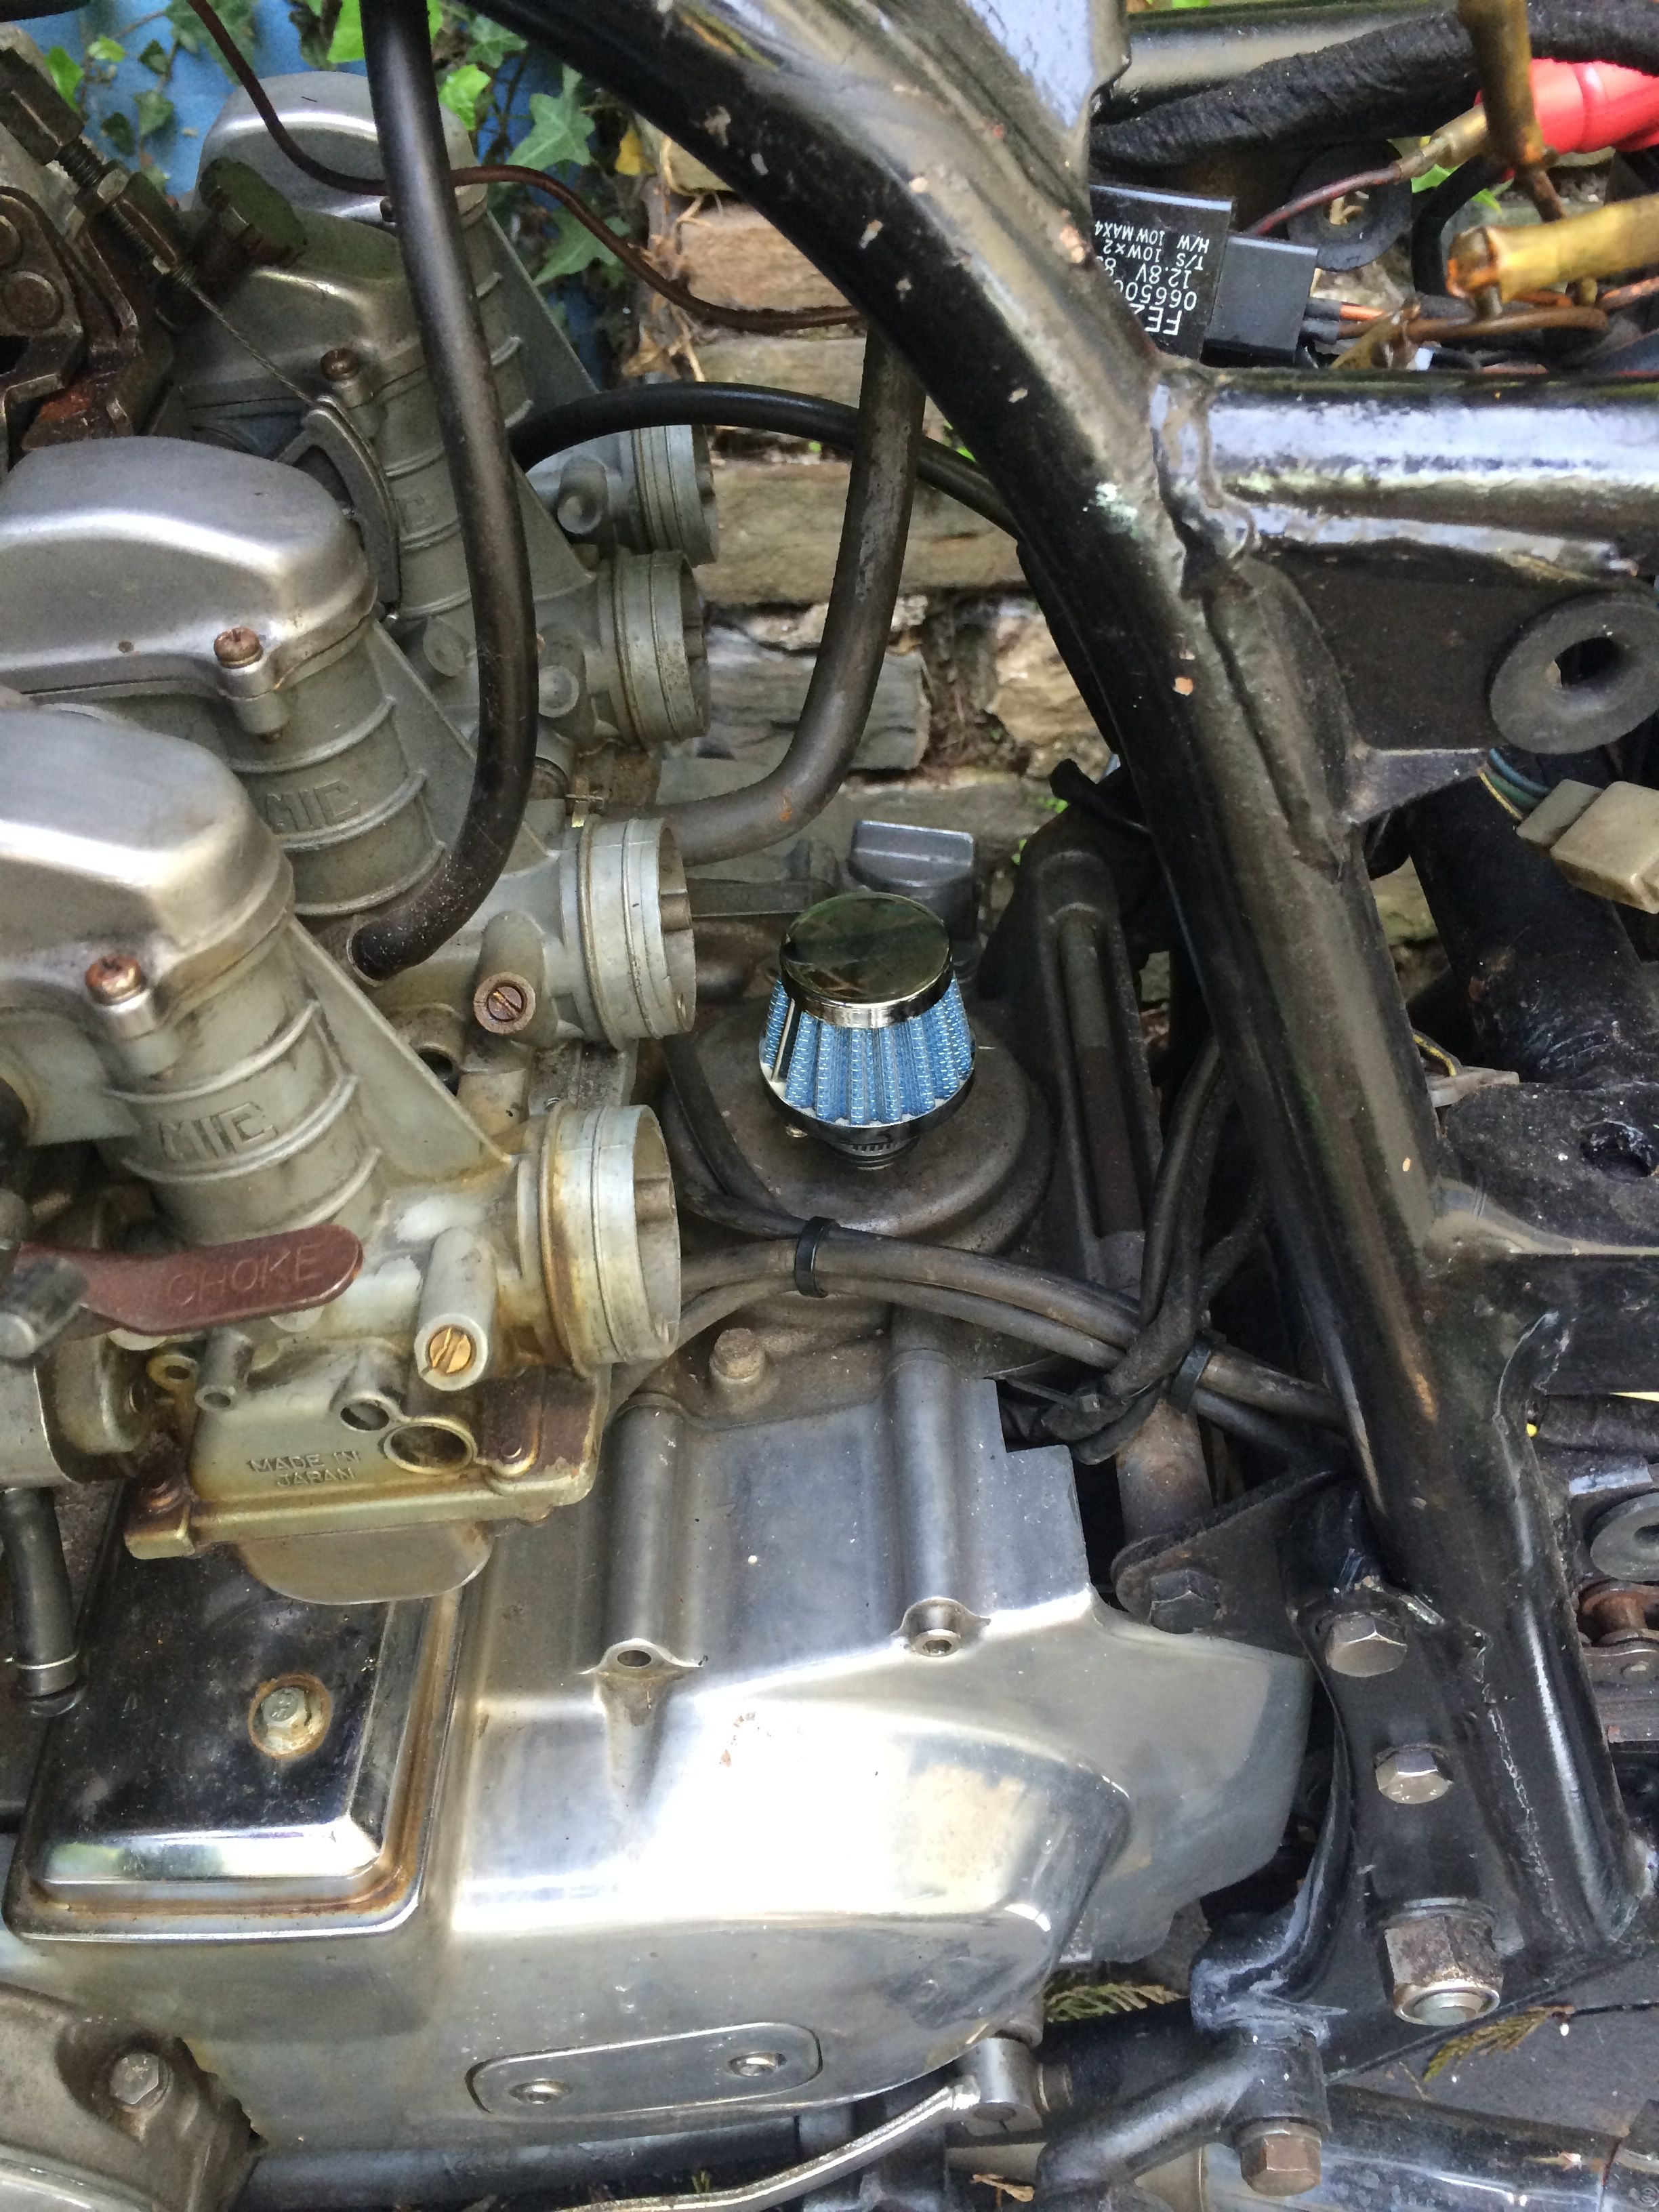
For some reason the ebayer I bought it off sent me two so if anyone else needs one let me know. (I’m in the UK).
Whilst doing this I checked over the air filters on the cards and most of the rubber had perished so I’ve order some new filters.
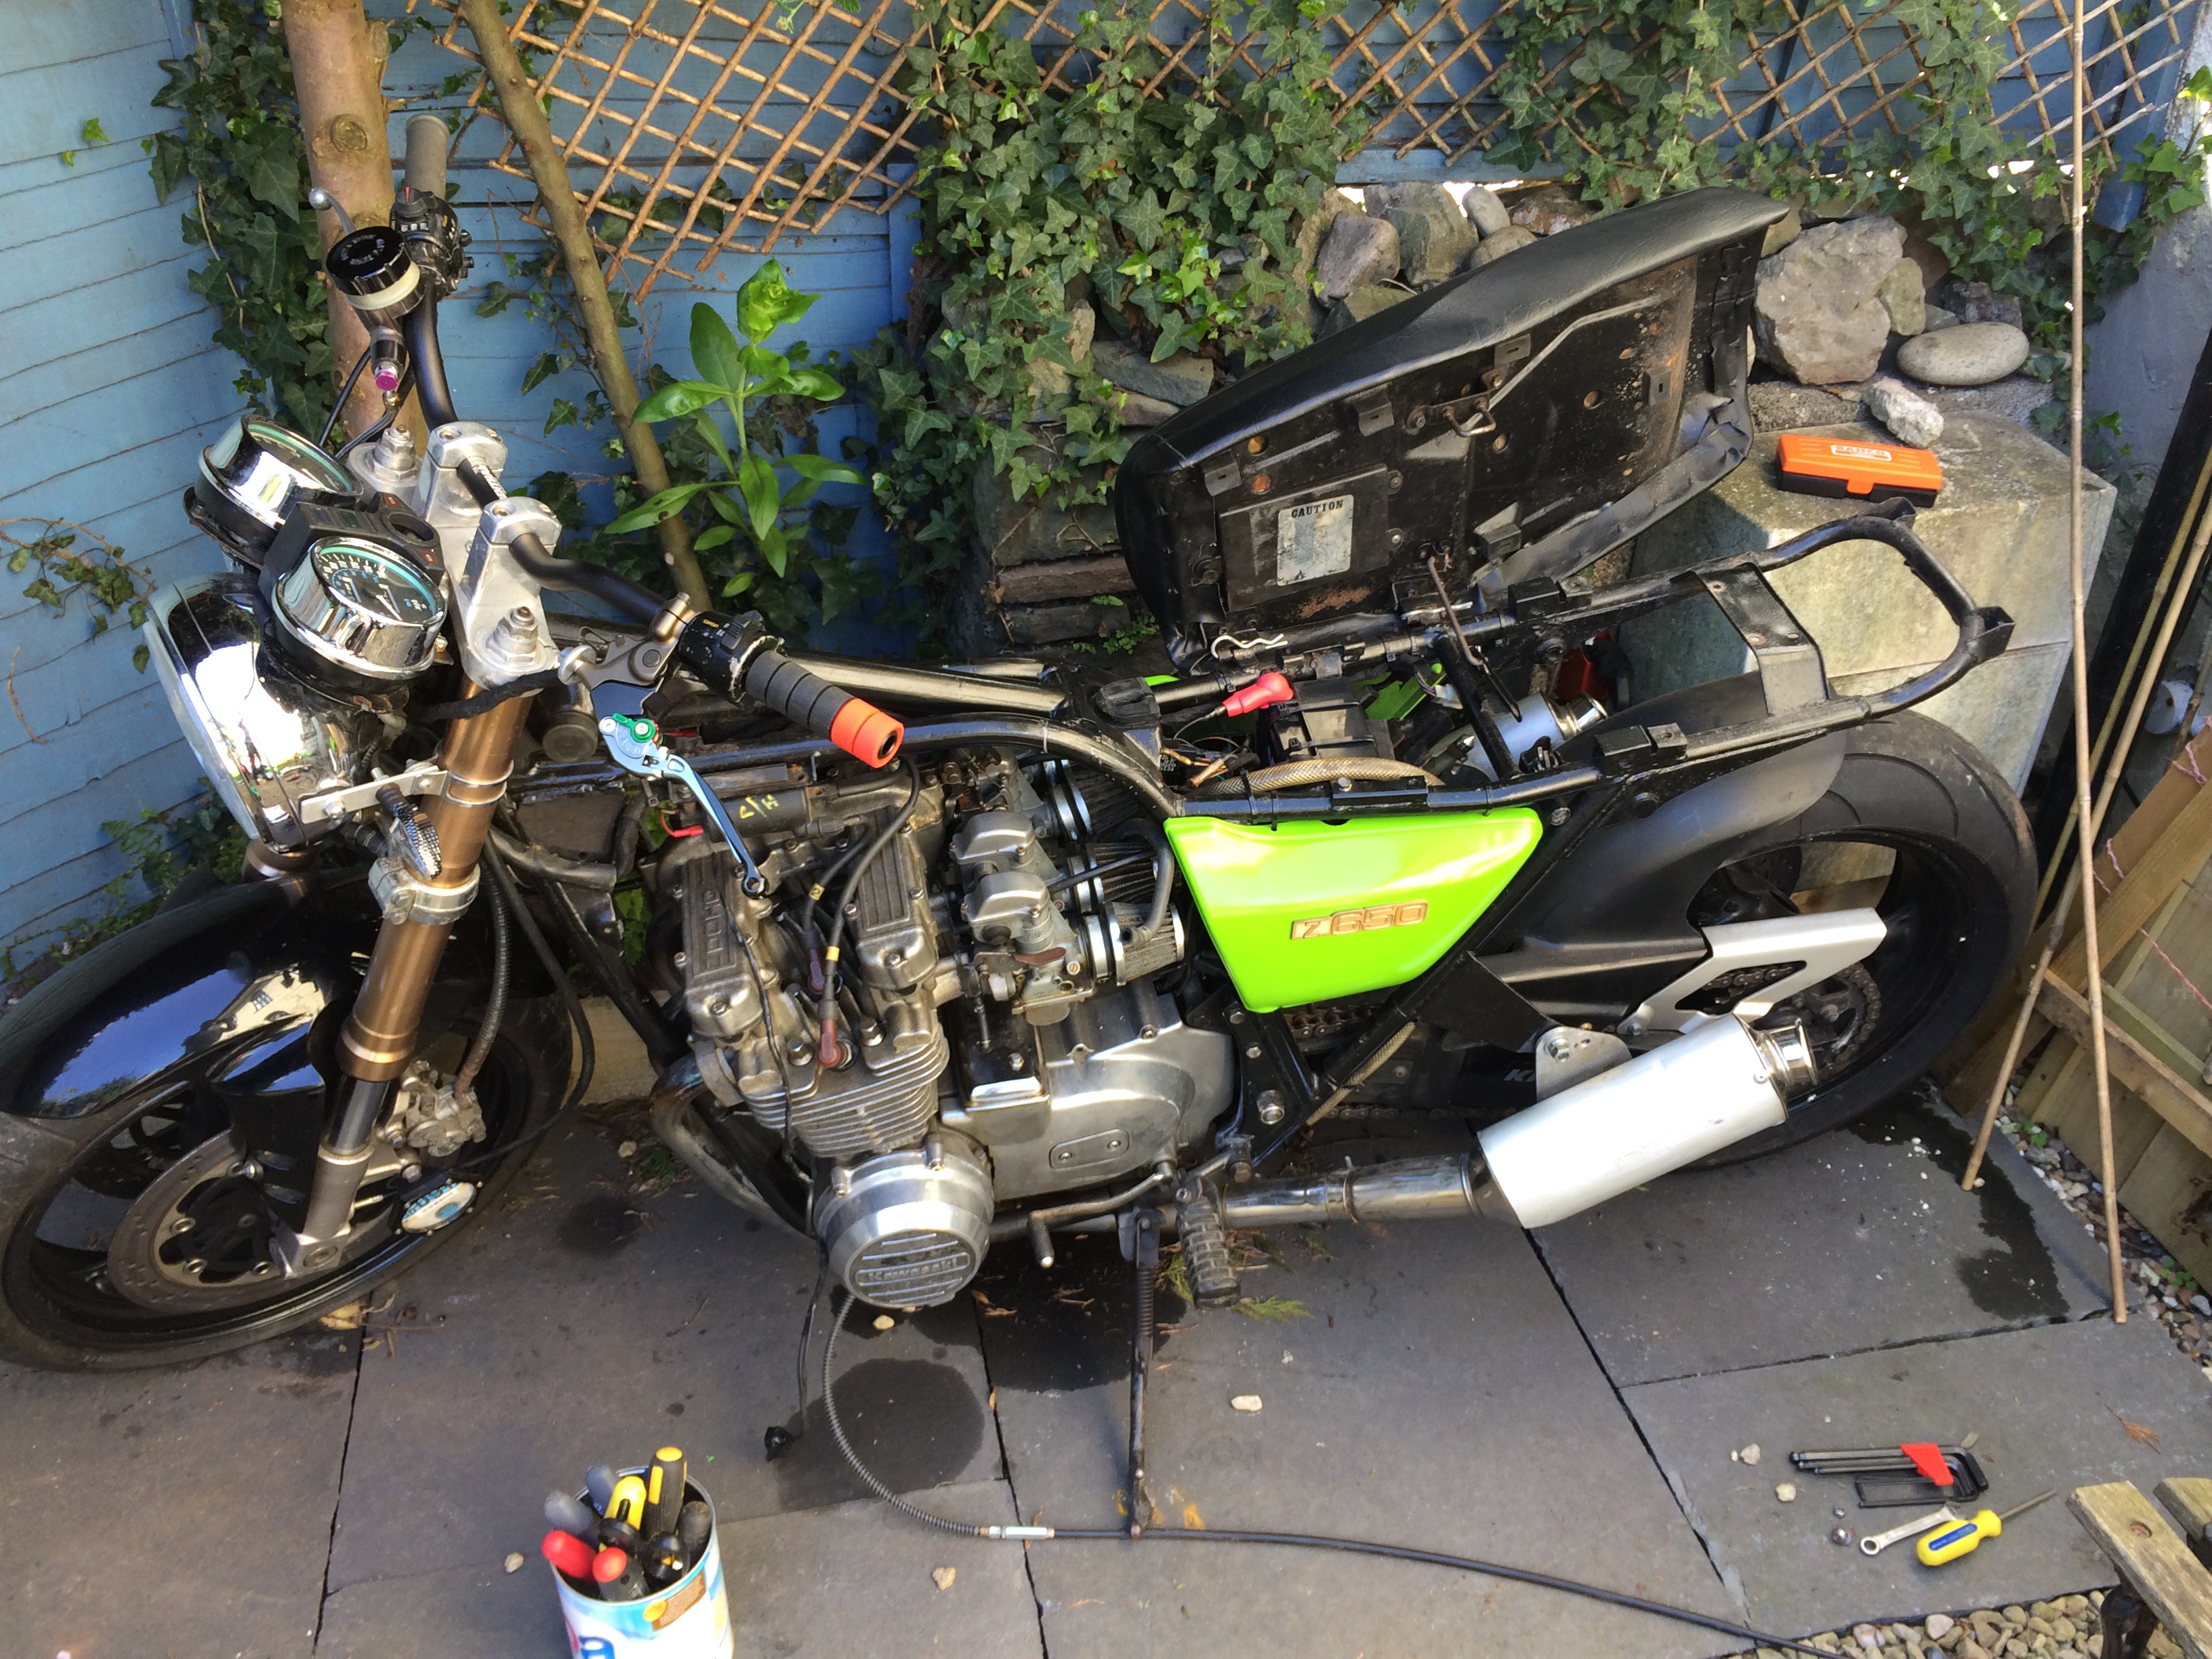
Next up it was time to crack out the angle grinder and clear up the rear area to make way for the new seat.
Before:
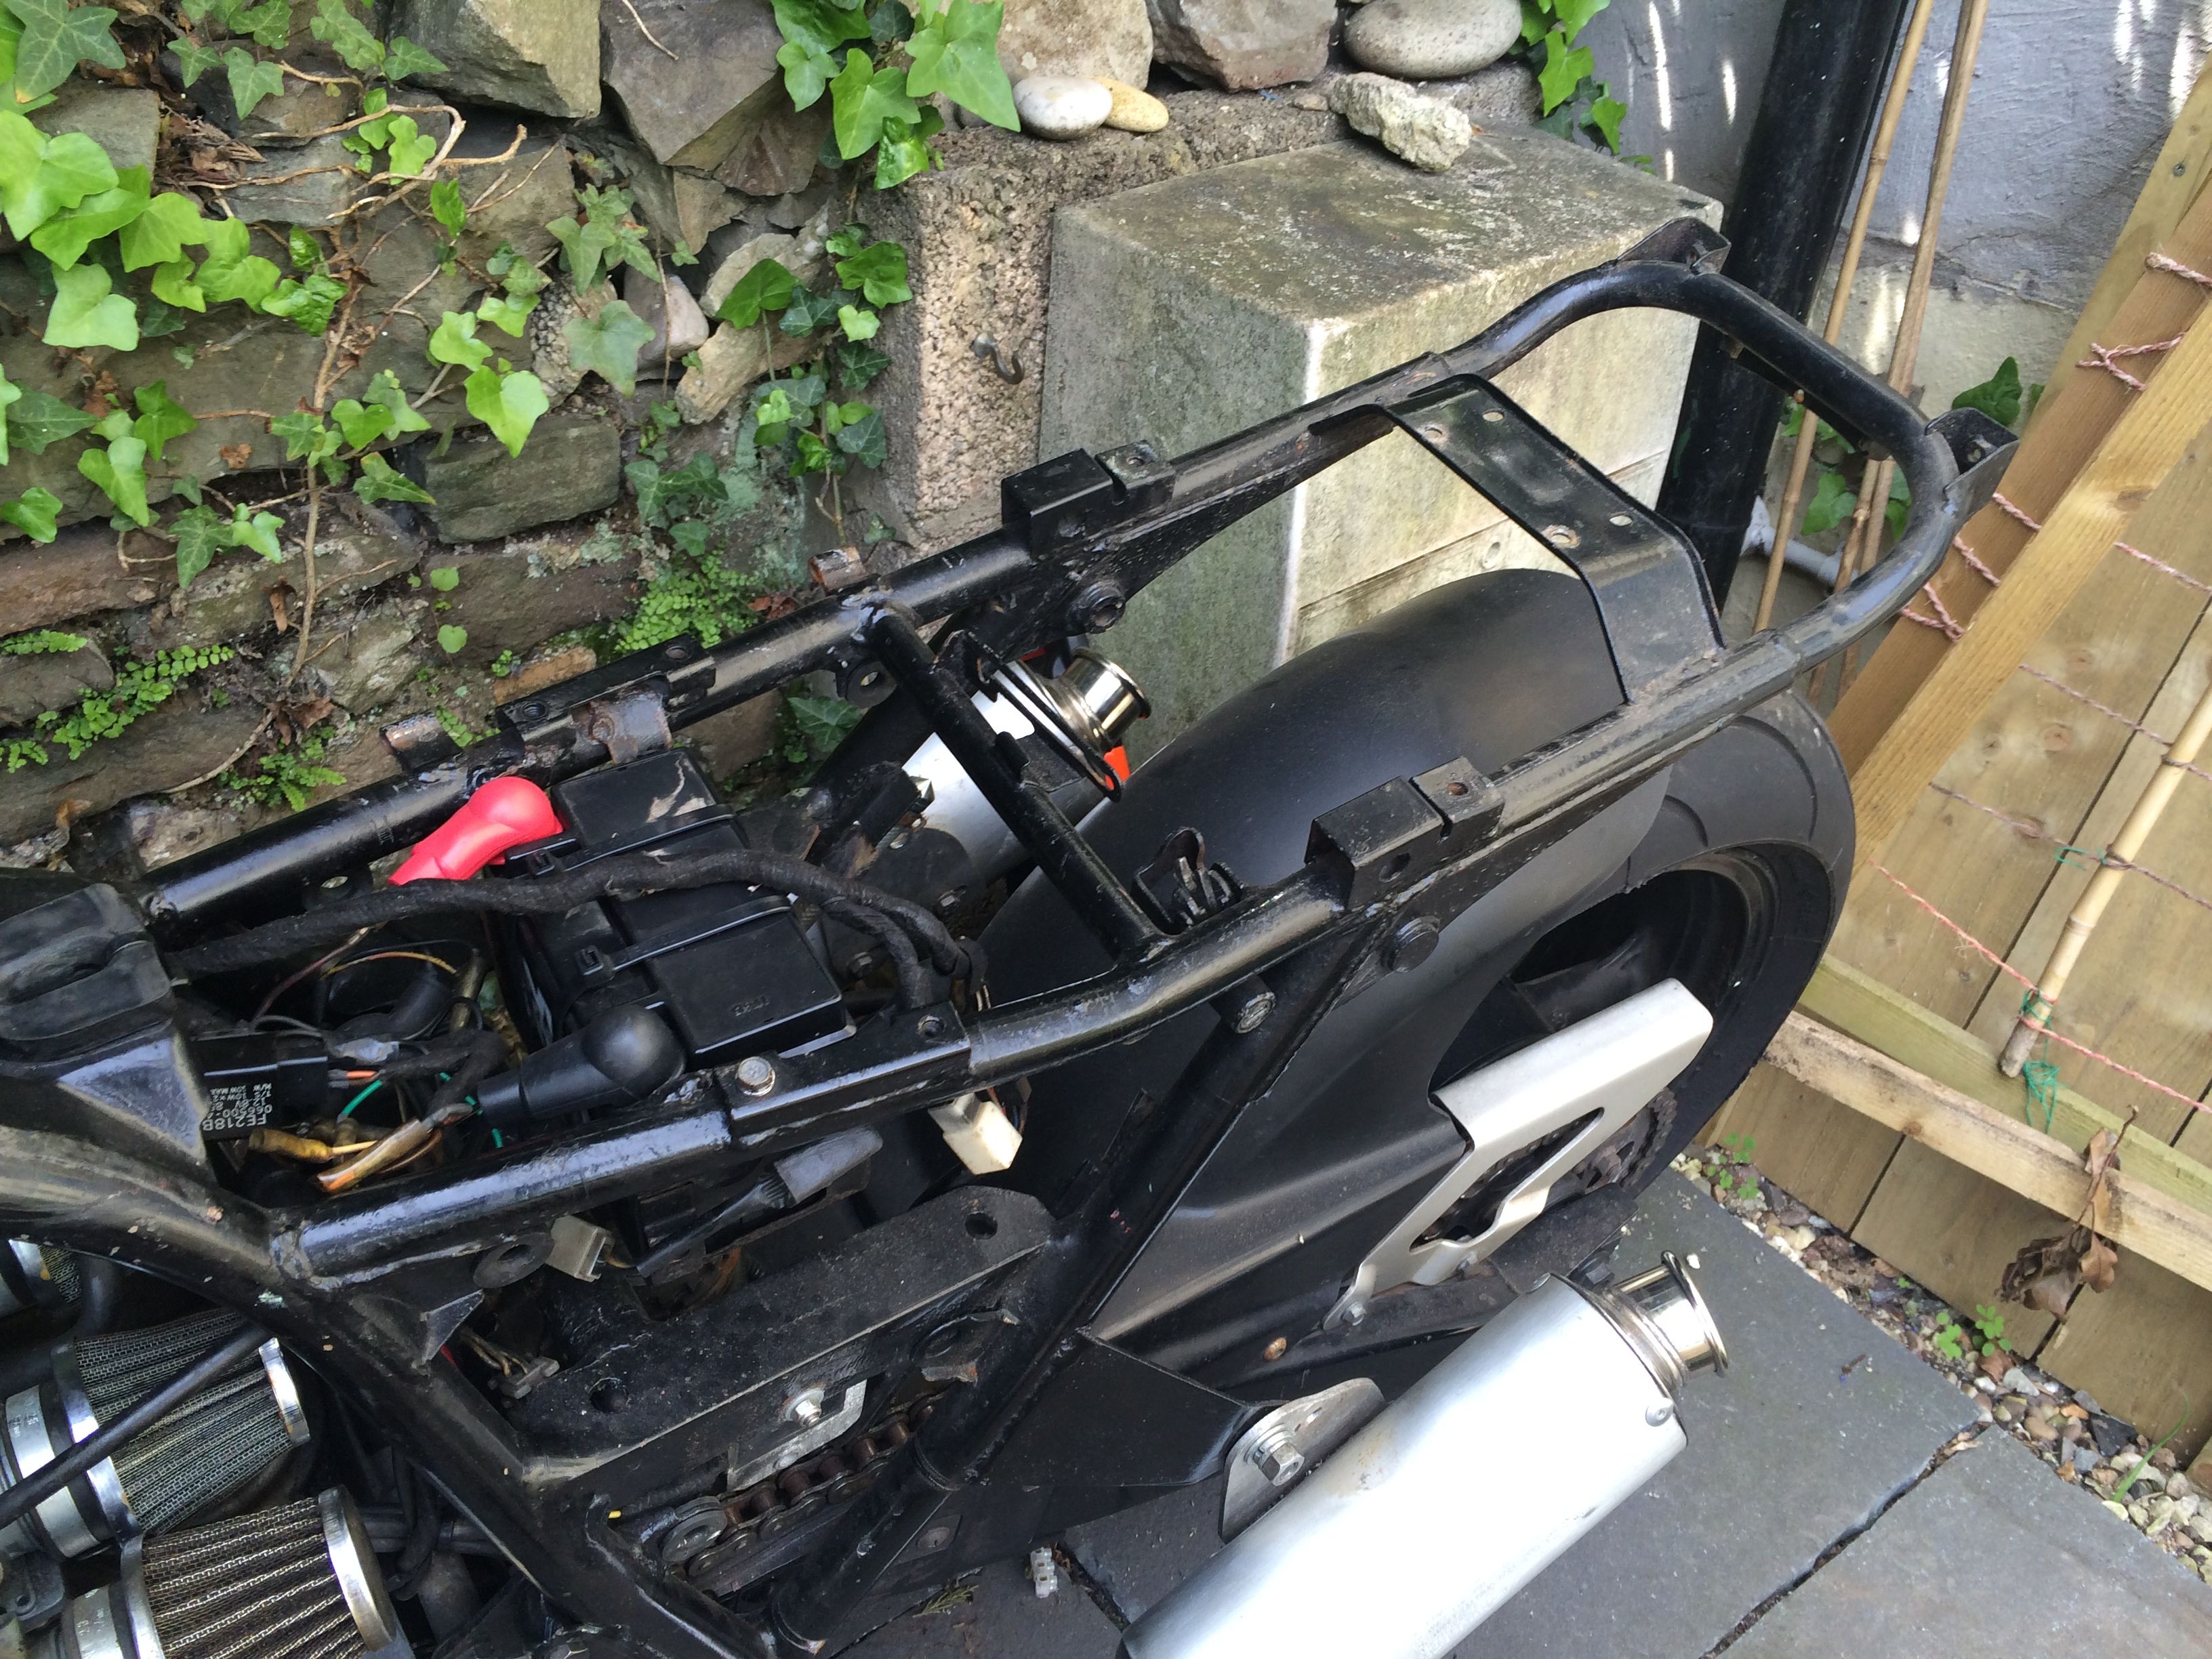
During:

After:
Whilst removing the seat lugs etc I also removed the battery cage as it was very badly made and fitted when they did the modifications to the bike. I think the tried to reuse the orginal one, but I was able to pull it off with my hands the welds were so bad. I also removed all of the tail mounts as they won’t work with my new rear light.
I will now have to fabricate and new seat pan and battery box. Along with fabricating a mounting for the lights and number plate at the rear.
For the seat design I want to get something similiar to the look of this one here
http://brmoto.blogspot.it/2012/03/kawasaki-z500-1981-br012.html
However I plan on using waterproof cordura fabric instead of leather of vinyl. I have a wife who is very hand with the sewing machine who has kindly agreed to make the seat cover for me.
Also I’m rewiring certain sections of the loom as there is some bad bodge jobs I’ve discovered. Any wiring I’m adding will be properly wired with waterproof connectors and sleeved like you can see me starting to do with the rear light.
Clevedon Pier on a Cloudy Day
I took a really quick shot of Clevedon beach and pier yesterday on my iPhone and it’s amazing how it came out.
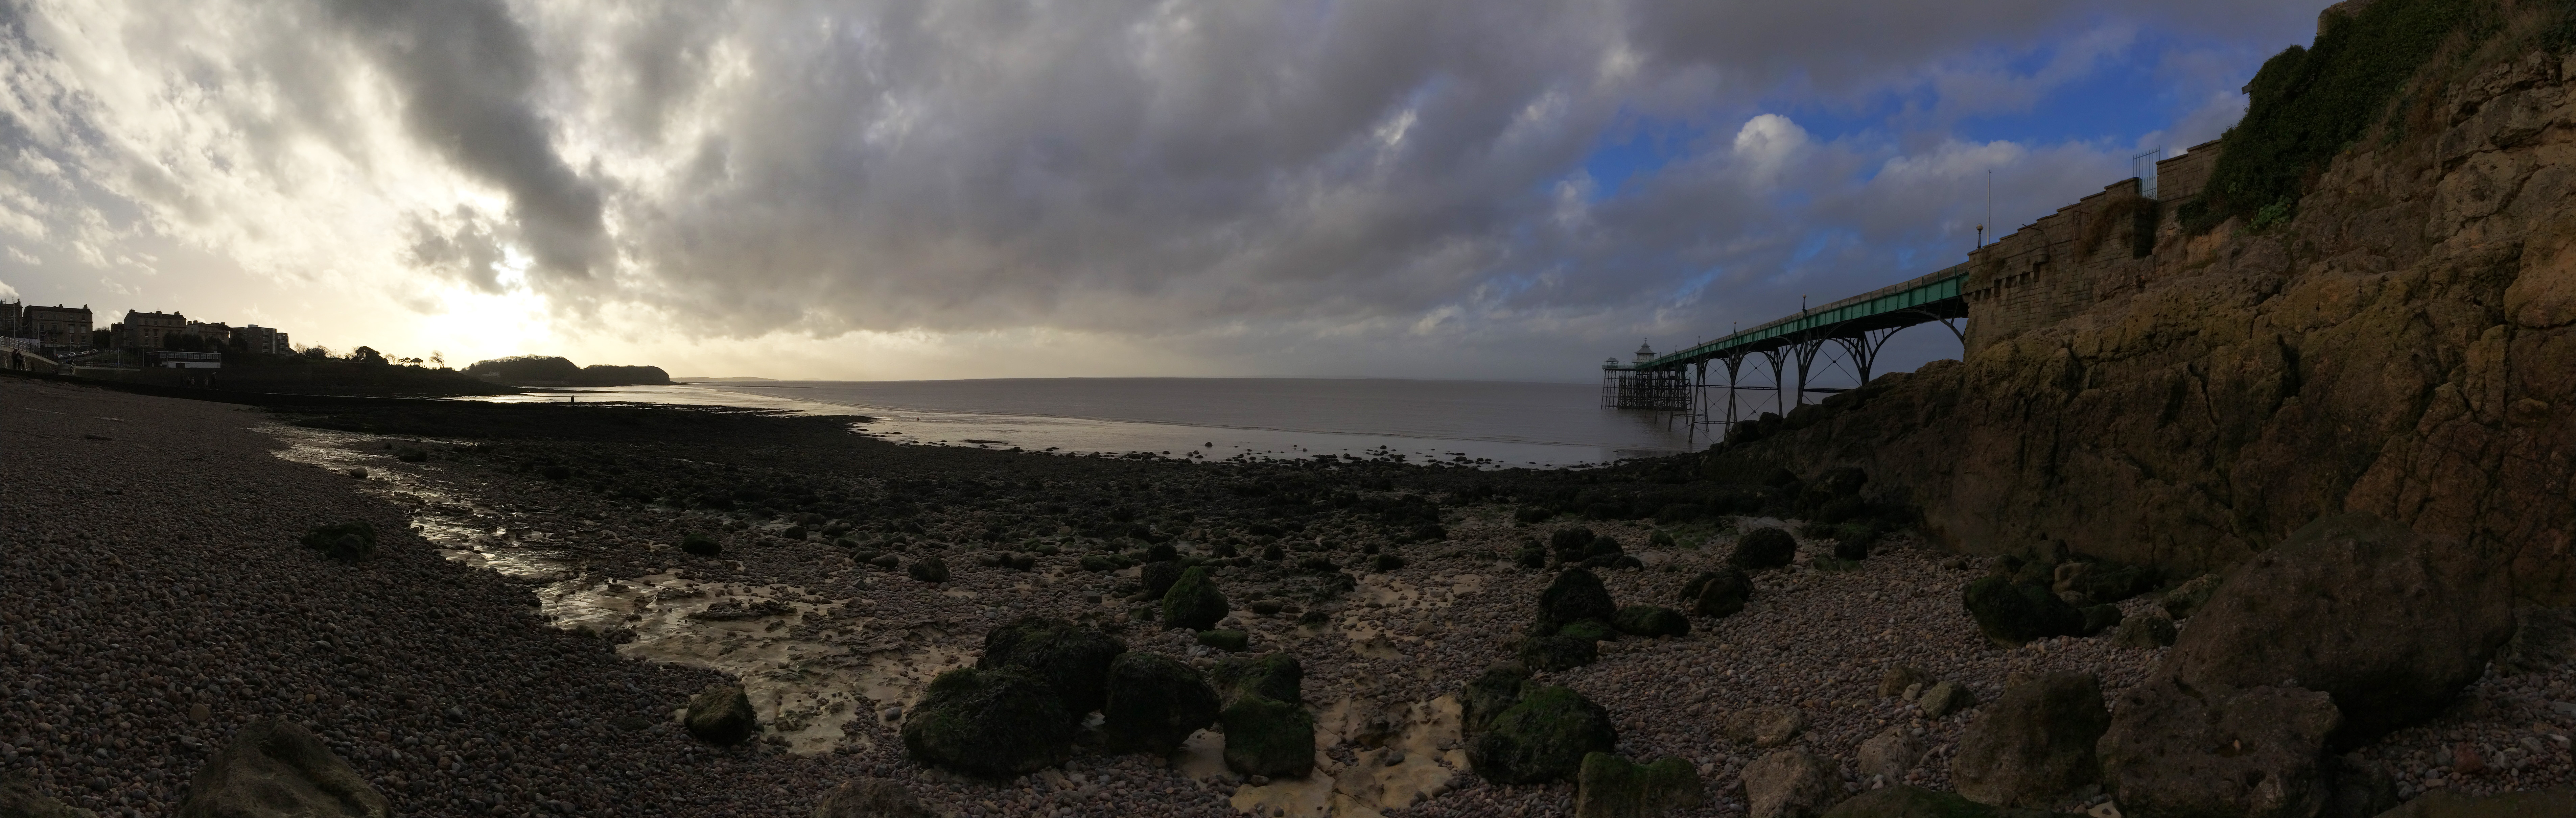
Clevedon Pier
Click on the image for the full sized version
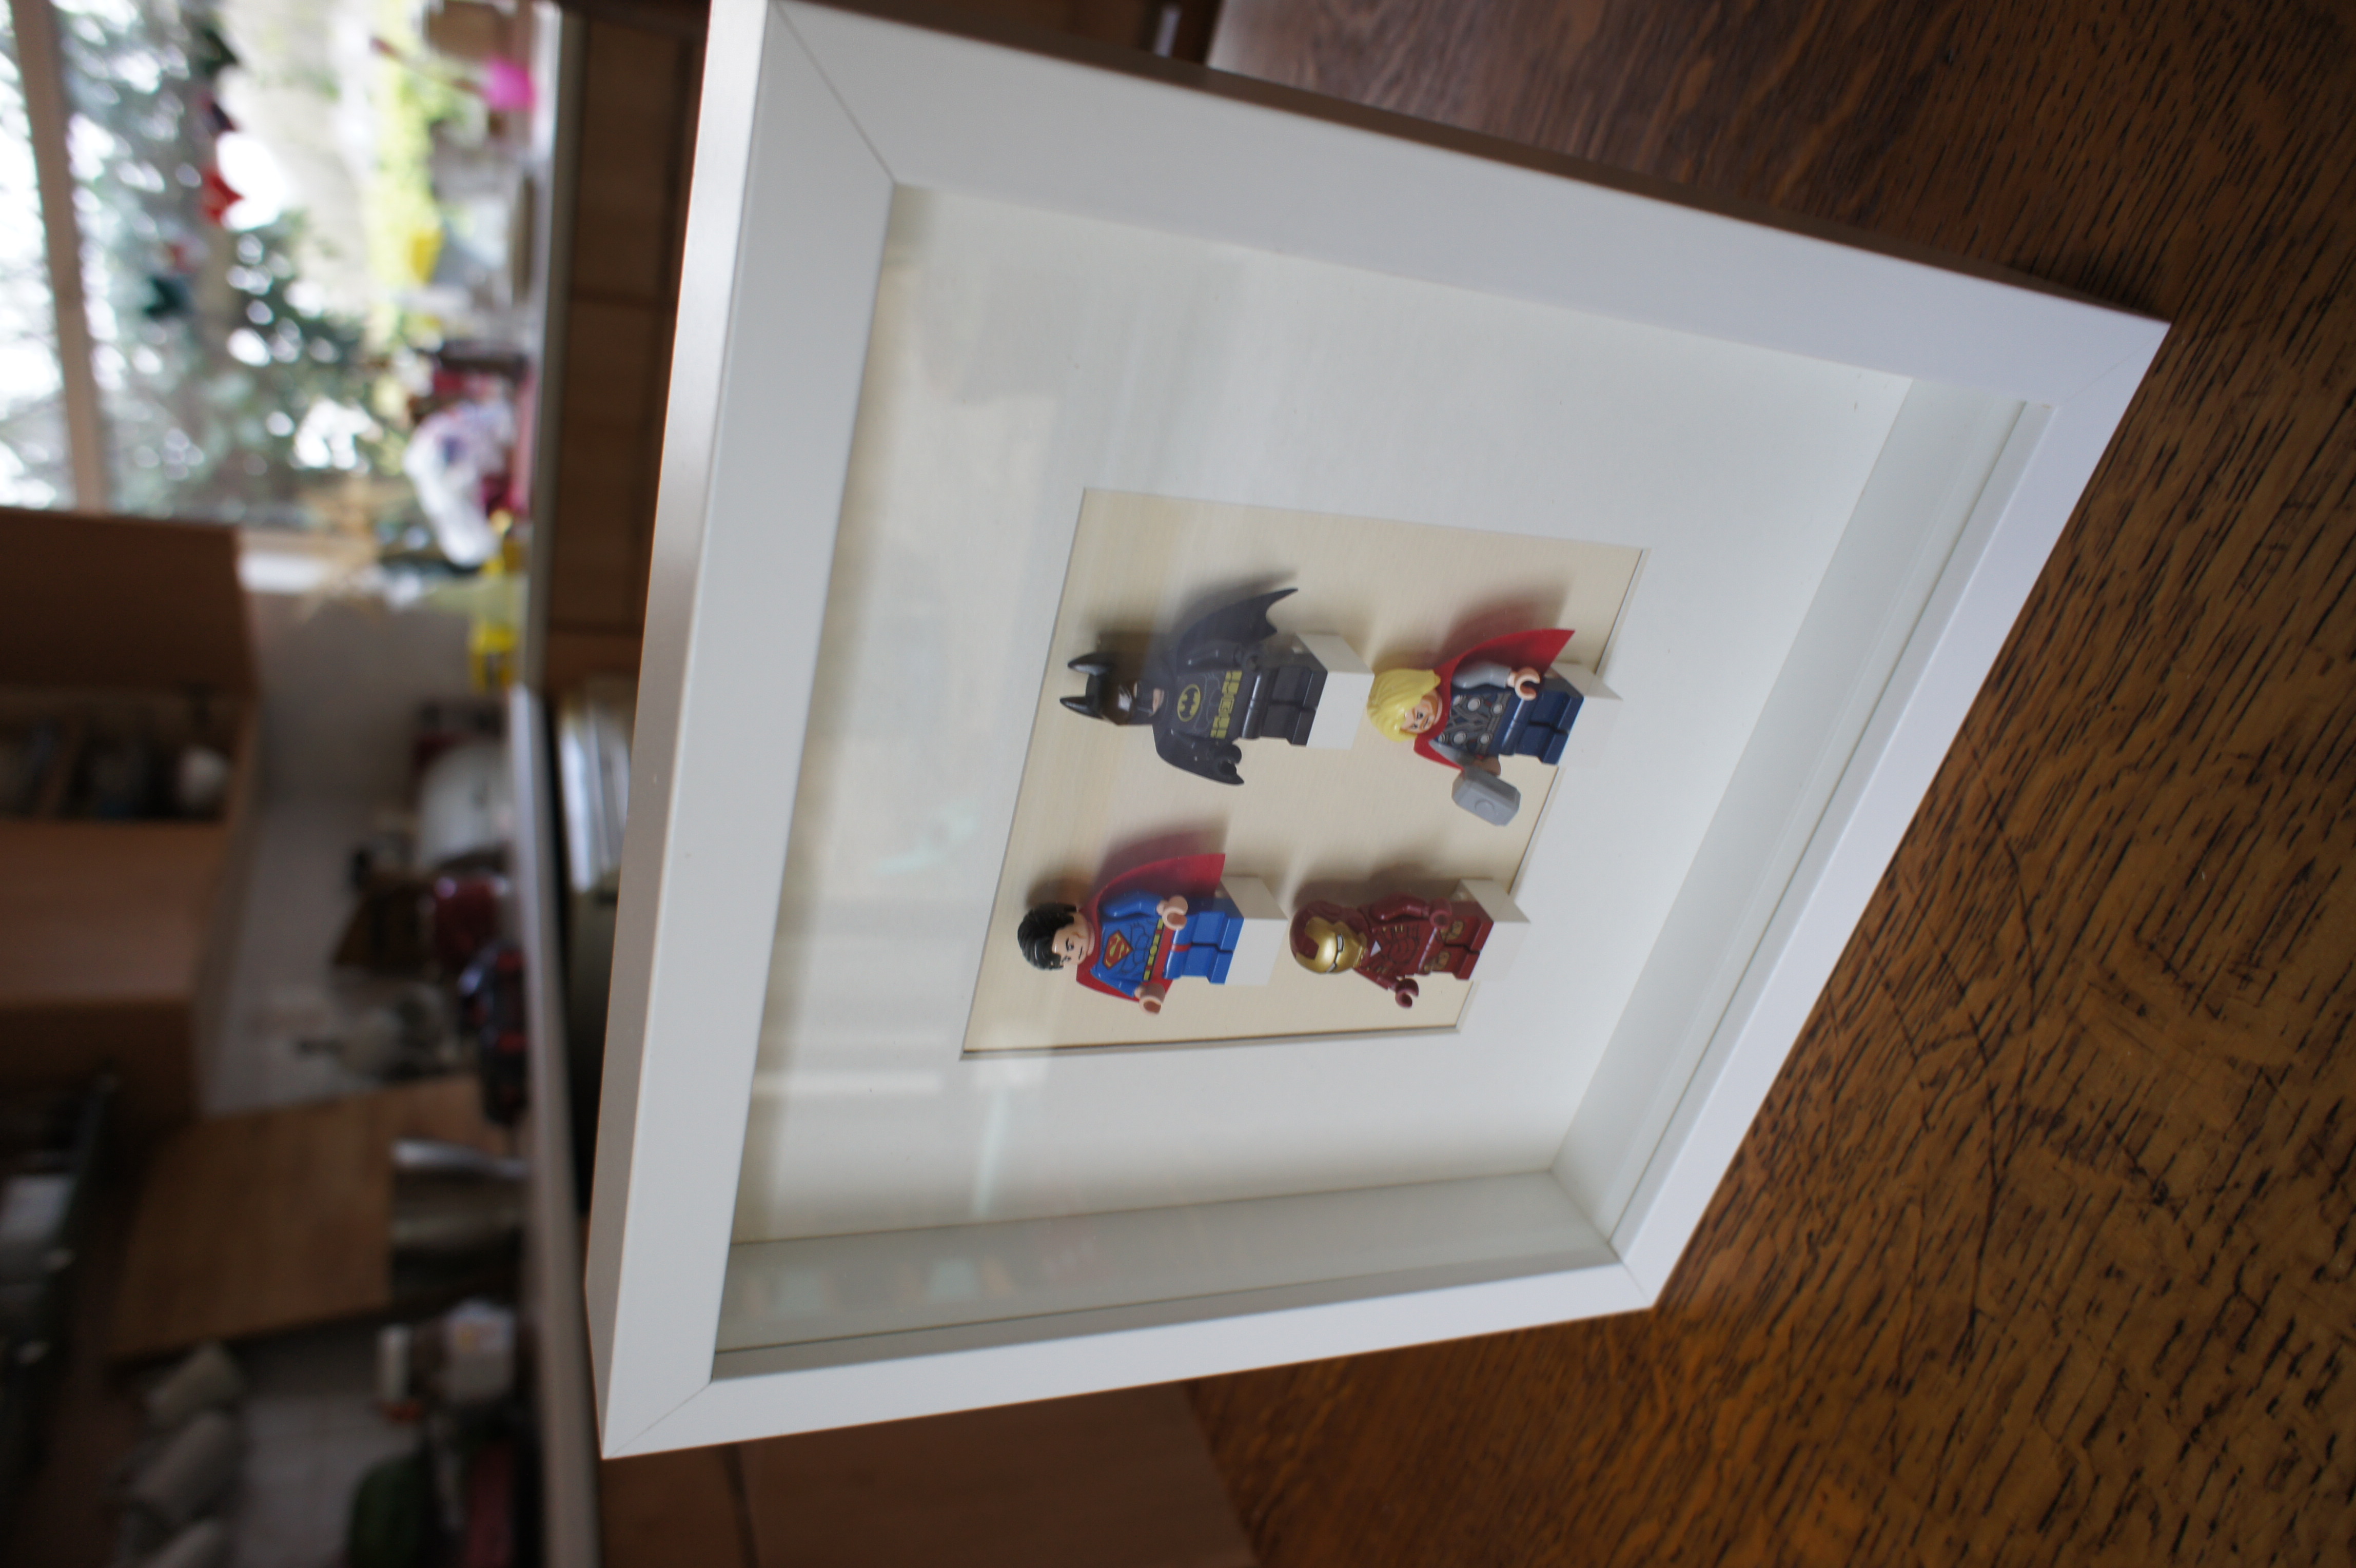
Lego Superhero’s picture
I needed some pictures for my new office and I was inspired by other peoples Lego minifigs in a picture frame. It didn’t take long, but I loved the result.
Raspberry PI in a Lego/Megablocks Porsche
I’ve not really had a chance for doing any modding for some years, but I couldn’t resist the urge to pick up a raspberry PI a while back. My intention to was have a play and try to make a nice case. What I did in the end is use a Megablocks Porsche as a basis for the case. I had to do a bit of tweaking and drilling to get the cable routing, but it was very quick in the end.
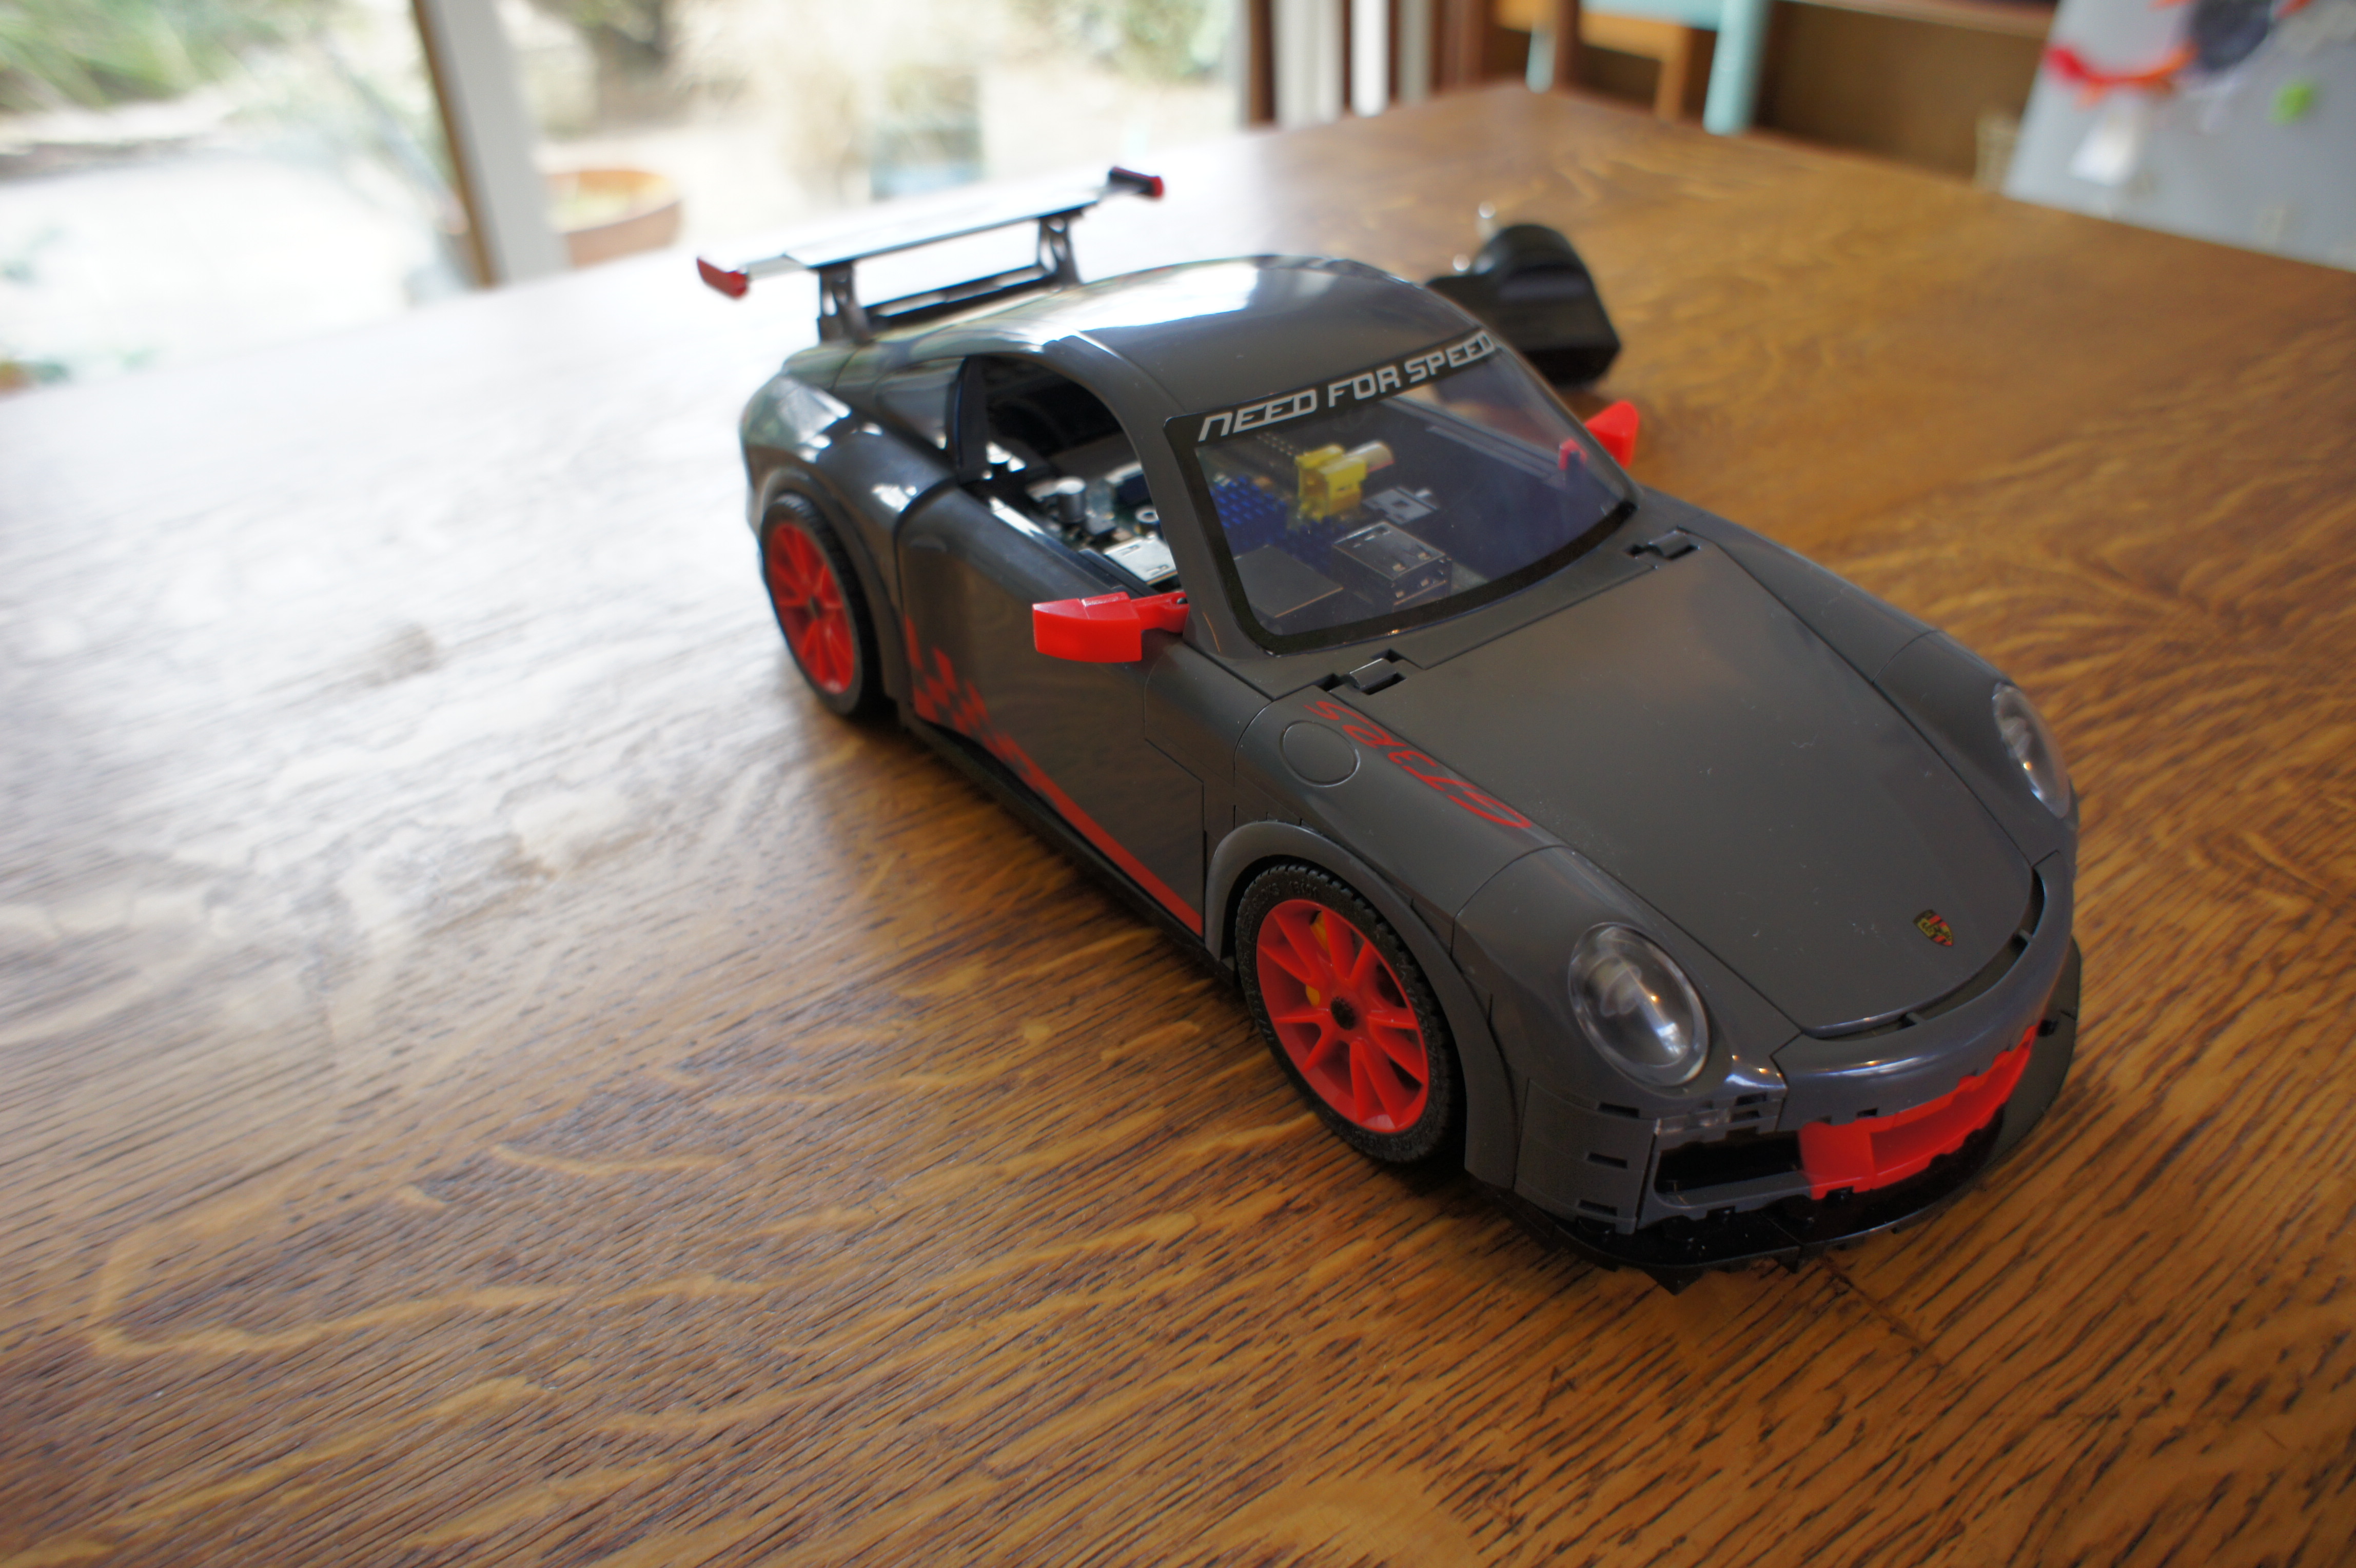


The process was quite simple, strip out all the extra bricks and create some kind of mounting for the board.


Cable routing was a pain, but I just managed to squeeze it into place. I plan to run it headless, but if I need to connect anything up I just open the doors.
The Raspberry Pi is an awesome bit of kit. I added a wireless card and some nice blue heatsinks.

You can see how I mounted the board. I used some plastic standoffs glued into 2×1 lego tiles with a central hole. Works perfectly and allows the board to be removed in seconds.

The Porsche was on offer at only £9.99 so was a bit of a steal. You can see it here on their website: Megablocks Porsche
